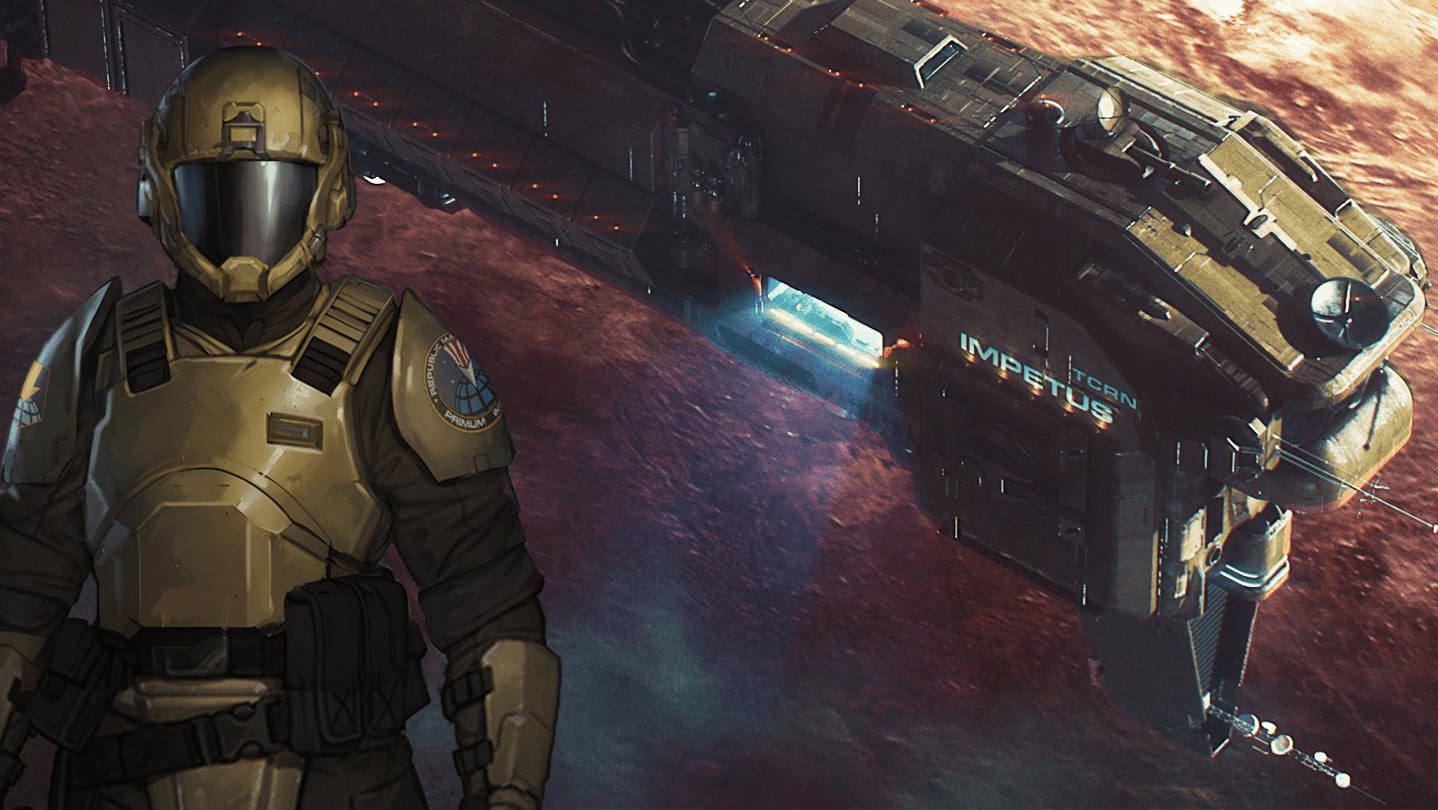
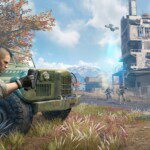
MENACE is a brutal tactical combat game that doesn’t hold your hand. Between managing squad leaders, choosing the right weapons, and staying alive in close-quarters firefights, new players can feel overwhelmed fast. This comprehensive guide compiles veteran player insights from the Gate Rippers playtesting community to help you survive your first deployments and build effective squads from the ground up.
Choosing the Right Difficulty
Your first decision matters more than you think. MENACE offers three difficulty modes that fundamentally change how the game plays, not just enemy health bars.
Normal
This mode gives you extra starting items and a higher supply point cap, letting you field more units with better gear. Enemies unlock new units gradually and use simpler tactics. If you’re new to tactical games or want to experiment without harsh penalties, start here.
Challenging
You begin with bare-bones equipment and tighter supply limits. Every decision about who and what to bring becomes critical. Enemies introduce advanced units earlier, forcing you to adapt quickly. Losing a Squad Leader is a constant threat.
Expert
Same starting conditions as Challenging, but enemies are more numerous and better equipped. This is for experienced tacticians who know the systems inside and out.
Veterans of XCOM, Jagged Alliance, or similar games can safely start on Challenging. If you’re brand new to the genre, Normal lets you learn without constant punishment.
Understanding Squad Leaders
Squad Leaders come in two types: Infantry (commanding up to 8 soldiers) and Pilot (driving vehicles). They’re also rated by stars — 1-star, 2-star, or 3-star — which indicates their base strength.
For your starting roster, pick 3 Infantry and 1 Pilot. You won’t have a second vehicle for a while, so taking two pilots early is inefficient.
The Star System Explained
Higher-star Squad Leaders have better stats and stronger abilities, but they also cost significantly more supply points to deploy. A 3-star leader might dominate the battlefield, but you’ll often sacrifice gear or squad size to afford them.
Lower-star leaders are cheaper and can receive multiple promotions for the same cost as promoting a single 3-star. The game balances raw power against supply efficiency — you’ll need to decide when to bring your elite squads and when to lean on cheaper options.
Best Starting Pilots
Achilleas (3★) — The best pilot in the game, especially in mechs. His perks unlock vehicle potential like no one else. The downside? Extremely high supply cost. You’ll make sacrifices elsewhere to field him, but he’s worth it.
Rewa (2★) — Aggressive and offensive-focused with balanced stats. She rewards chaining kills and staying on the attack. A solid main pilot if you don’t want to splurge on Achilleas.
Bog (1★) — Cheap, flexible, and efficient. His stats are poor, but his perk set is diverse. One of his perks even reduces vehicle supply costs at the expense of HP. Play him carefully and he’ll free up points for the rest of your force.
Best Starting Infantry
Darby (3★) — A precision shooter with strong scouting and concealment perks. She excels at long range and rarely misses. Her high supply cost and promotion tax mean you’ll need to plan carefully to field her consistently.
Lim (2★) — Flexible and aggressive. His perk kit allows him to function as a short-range assault leader, mid-range rifleman, or mobile infantry paired with a vehicle. He scales well into mid-game.
Pike (2★) — A support-focused leader who buffs other squads. He can grant action points, morale boosts, accuracy improvements, and suppression recovery. His utility is unmatched, especially on defensive missions.
Tech (2★) — The tankiest infantry leader. His signature perk lets him use heavy weapons on the move without deployment delays. If you want raw firepower and durability, Tech is your go-to.
Carda (1★) — Starts with terrible stats but has the highest growth potential in the game. Her innate perk boosts her stats during missions, and she can eventually outpace even 2-star leaders. She’s extremely cost-efficient if you’re willing to invest in her survival.
Early Game Weapons Guide
Your starting carbines are borderline useless. Replacing them should be your first priority after recruiting a couple of Squad Leaders.
C1A2-SPC Carbine
Your basic rifle. Inferior to almost everything else. Use it only until you can afford better.
R10A6 K-PAC Assault Rifle
The best all-around weapon. Higher armor penetration, suppression, and rate of fire than the carbine. This should be your default if you don’t have a specific role in mind for a squad.
R14A2 ARC Assault Rifle
Better HP and armor damage, but shorter range. Great for close-to-mid engagements and dealing with armored enemies. A solid general-purpose alternative to the K-PAC.
BR3A3 Kr-BaR “Crowbar” Battle Rifle
Long range, high damage, great armor penetration. Hits the hardest per shot but has a slow rate of fire and poor close-range accuracy. Think of it as a squad-level marksman rifle — it needs support from other units to cover close threats.
MP3A9 PPP SMG
Short range but devastating rate of fire. Shreds anything up close unless it’s heavily armored. Has a tap-fire mode for longer range, but it’s much less effective than dedicated rifles.
Stoneclad CS185 Shotgun
Very short range with no fallback option, but devastating accuracy and damage make it the king of close-quarters combat. Best weapon for clearing rooms and dealing with threats at point-blank range.
General Weapon Strategy
Buy new rifles as soon as possible. Every squad needs something better than carbines. A balanced force should cover all three engagement ranges:
- Crowbar for long-range engagements and light vehicle damage
- SMGs and Shotguns for close-quarters threats
- Assault Rifles for mid-range control
Rate of fire matters more than you think. The Crowbar may have great per-shot damage, but it struggles to clear large groups. Meanwhile, an SMG can turn a band of enemies into paste in one burst.
Black Market Accessories You Actually Need
It’s easy to blow all your money on new weapons and Squad Leaders, but accessories are often more impactful than you’d expect.
Smoke Grenades (Essential)
The single most important accessory in the game. Smoke removes enemy vision and blocks fire unless they’re targeting a marked unit. You’ll use smoke to stop mortars, facilitate retreats, and save downed leaders. Get at least one before fighting the Rogue Army.
Binoculars
Vision and information win battles. Seeing enemies earlier lets you react earlier. Great on scouts and helps counter stealth units like Outcasts and Jaegers.
Ammunition Types
- Hollow Point — Good against unarmored enemies, but only if it changes your time-to-kill. Best on high-penetration weapons.
- Match Grade — Increases accuracy and range. Solid general-purpose pick.
- Armor Piercing — Great on both high-AP and low-AP weapons. Counters armor and reduces range falloff.
- Rend — Shreds armor fast. Extremely effective on SMGs and shotguns.
Disposable Rocket Launcher (DLAT)
Costs 100 supply for one-time use, but it’s incredibly cost-effective on assault squads. You can neutralize a vehicle without losing a rifle slot. It won’t kill heavy tanks or mechs outright, but it can disable or armor-break them.
Vehicle Ammo
One of the most impactful accessories after smoke grenades. Letting your vehicle shoot more often turns it into a serious force multiplier.
Camo Kit
Perfect for stealth builds or defensive setups. Keeps your weapon team hidden until the enemy walks into the kill zone.
Stealth Mechanics Explained
Stealth in MENACE is driven by three stats: Vision, Concealment, and Detection. The range at which you spot an enemy is calculated as:
Your Vision − Enemy’s Concealment + Your Detection
The same calculation applies in reverse. Your goal is to spot enemies before they spot you.
Building a Stealth Squad
A typical stealth squad uses Darby with the Chameleon perk, wearing a Jaeger outfit, and carrying a silenced K-PAC or Crowbar. Optional gear includes binoculars, a camouflage kit, and night vision goggles for nighttime missions.
Aim for 3 to 4 Concealment for reliable performance. Keep in mind that firing an unsilenced weapon nullifies your concealment for one turn.
Key Modifiers
- Weather conditions reduce both your vision and the enemy’s
- Nighttime drastically reduces vision (counter with Night Vision Goggles)
- Standing in bushes grants +3 Concealment
- Being pinned down destroys your vision
- Never place stealth squads in towers — you lose concealment and become a priority target
Advanced Stealth Tips
- Press R with a squad selected to preview enemy detection ranges
- If an enemy suddenly appears nearby, don’t retreat immediately — pin them down first to eliminate their vision
- Check your squad’s icon: crossed eye means unspotted, no icon means spotted
- Advance one tile at a time and always leave AP to fall back
- Stealth squads work best as flankers while your main force draws attention
Close Quarters Combat Guide
Most new players instinctively stay at range and chip away at enemies. But close-quarters combat (CQC) — engagements at or under 4 tiles — is often faster, more efficient, and uses less ammo.
Why CQC Works
- Faster kills — Shotguns and SMGs shred enemies quickly, including armored targets
- Less ammo consumption — Shorter firefights mean you spend less time trading shots
- Forward momentum — Pushing the map creates pressure and opens opportunities for support units
Smoke Is Essential
You cannot succeed in CQC without smoke support. The basic flow looks like this:
- Throw smoke grenade
- Move into smoke cloud
- Next turn, burst out and engage at close range
Always leave AP for smoke grenades. Whether carried by your CQC squad, dropped by mortars, or delivered via other means, someone needs to be throwing that smoke.
Best CQC Squad Leaders
Lim — One of the best CQC leaders. His Counterstrike perk returns fire when attacked, Berserk refunds 30 AP after kills, and Run & Gun reduces firing cost after movement. Devastating with SMGs and shotguns.
Yaz — Thrives when enemies are wounded, wavered, or fleeing. No Mercy grants huge accuracy and damage against scared enemies, while Fearsome doubles morale damage. Surprisingly durable with proper armor.
Tech — Can use special weapons without deployment thanks to his signature perk. Extremely tanky and effective with grenades and CQB rifles. His perk synergies make him a walking weapons platform.
Pike — Not a frontline brawler, but invaluable support. Take Command transfers 40 AP to another leader, and his buffs to suppression, accuracy, and morale keep your CQC killers in the fight. His Rally ability removes suppression, letting you maintain momentum even when pinned.
Kody — Built for alpha strikes. Guerrilla grants improved accuracy and damage against high-HP targets, while Assassin increases damage on isolated enemies. His Vanguard perk lets him spawn directly on top of priority targets at mission start for instant elimination.
Pirate Gear Worth Keeping
Most players immediately sell all pirate equipment, but some items are worth using in the early game, especially if you have bad loot RNG.
Useful Pirate Weapons
Light Chaingun — Only 20 AP per shot, letting you fire up to 5 times per turn. Great suppression platform and solid damage output. Can jam at bad times, but it’s a strong backup option until you get better special weapons.
Workshopped RPG — Your first anti-tank weapon on Challenging difficulty. Doesn’t require deployment and can fire twice per turn. Keep one until you get the Rogue Army RPG2.
Pirate PDW — Rare drop from boarding commandos. Insanely deadly with high rate of fire and armor penetration. Shreds everything in early game and remains useful well into mid-game.
Pirate Assault Rifle — An upgrade over carbines, especially in the hands of accurate Squad Leaders like Darby, Pike, or Lim. Use it for your first 2-3 operations until you can afford proper rifles.
Useful Pirate Armor
Boarding Commando Armor — Your first heavy armor and currently the only jetpack option in early access. Extremely tanky and versatile. The jetpack has 6 uses per mission. Pairs perfectly with shotgun or SMG assault builds.
Outcast Rags — Grants +1 Concealment. Keep one for Darby if you’re building her for stealth.
Useful Pirate Vehicles
Pirate Jeep — A cheaper ATV. Fast and cheap to field, but very fragile. Use with care.
Rocket Organ — Your first long-range artillery weapon. Insane AOE suppression and decent damage. Inaccurate and expensive to use, but devastating when enemies bunch up. Bog makes an excellent Rocket Organ pilot.
Final Tips for New Players
- Replace carbines as soon as possible — they’re holding you back
- Don’t skip accessories, especially smoke grenades and vehicle ammo
- Balance your force between long-range, mid-range, and close-range capability
- Lower-star Squad Leaders can be more cost-efficient than 3-star elites
- Stealth squads work best as flankers, not your entire army
- Smoke grenades enable aggressive play — always leave AP to throw them
- Some pirate gear is worth keeping, especially the Light Chaingun and Boarding Commando Armor
- Play on Normal if you’re new to tactical games, Challenging if you’re a genre veteran
Conclusion
MENACE doesn’t ease you in gently. Understanding difficulty modes, Squad Leader economics, weapon roles, and combat fundamentals will save you from brutal early-game losses. Focus on replacing carbines, buying smoke grenades, and building a balanced force that can handle all engagement ranges. Whether you prefer long-range precision, aggressive CQC, or stealth flanking, the game rewards smart planning and tactical flexibility over brute force.
Special thanks to the Gate Rippers playtesting community for compiling this guide: Balki, Mephansteras, Prowler, sunlight5759, Trangles, Finx, and Matt from Hooded Horse.

