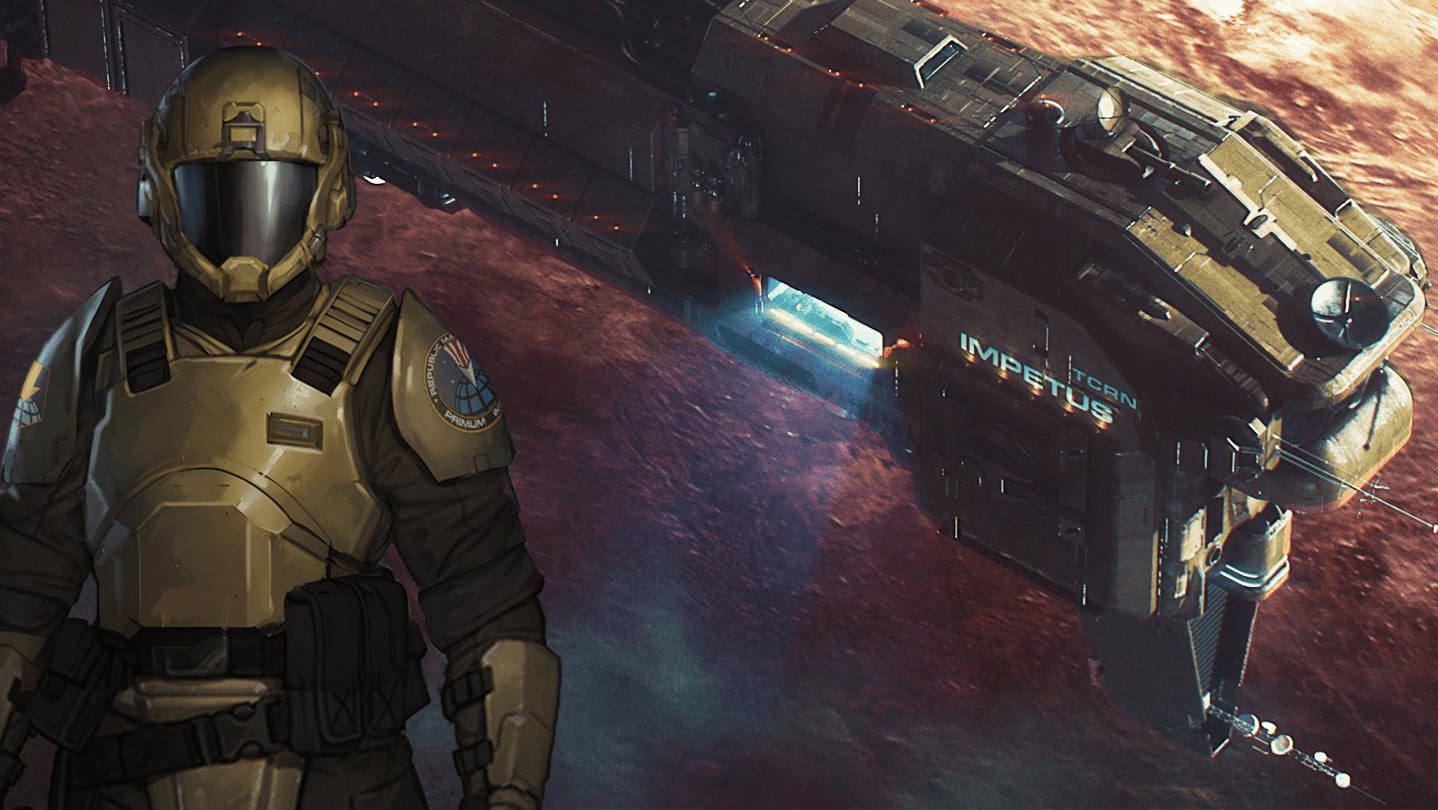
If you’re deep into Menace and finding yourself outgunned by the Rogue Army or swarmed by alien bugs, this guide is for you. We’ve compiled a complete enemy almanac covering every unit you’ll face — from fragile conscripts to heavily armored walkers and terrifying alien warriors.
Whether you’re planning your next operation or trying to figure out why your squad just got vaporized, this breakdown will help you identify threats, exploit weaknesses, and come out on top.
Rogue Army Overview
The Rogue Army (RA) unlocks after your first five missions and introduces a dangerous mix of infantry, mechanized units, and support weapons. They’re well-equipped, coordinated, and capable of shredding unprepared squads.
What you’ll face:
- ATGMs and autocannons
- Laser weapons and heavy tanks
- Officers that mark your units for devastating follow-up strikes
- Mortar and MG teams that suppress from range
Tactical Recommendations
Protect your vehicles. The Officer + ATGM combo is brutal. Officers mark your armor, and ATGMs follow up with high-damage strikes that can force your pilots to flee.
Don’t trust heavy infantry armor. The Rogue Army has multiple tools that bypass or ignore armor:
- Autocannons, machineguns, and laser rifles
- Walker-mounted lasers and tank cannons
- Mortars
Prioritize specialists. Focus fire on:
- Autocannon Teams
- Mortar Teams
- MG Teams
- Officers
These squads are only three soldiers strong, making them vulnerable. Killing them deals massive morale damage to nearby enemies.
Stay mobile. Control line of sight. Suppress early. The Rogue Army is one of the most dangerous factions in the game, but smart positioning and target priority will let you dismantle even their toughest formations.
Rogue Army Units
RA Conscripts
Overview:
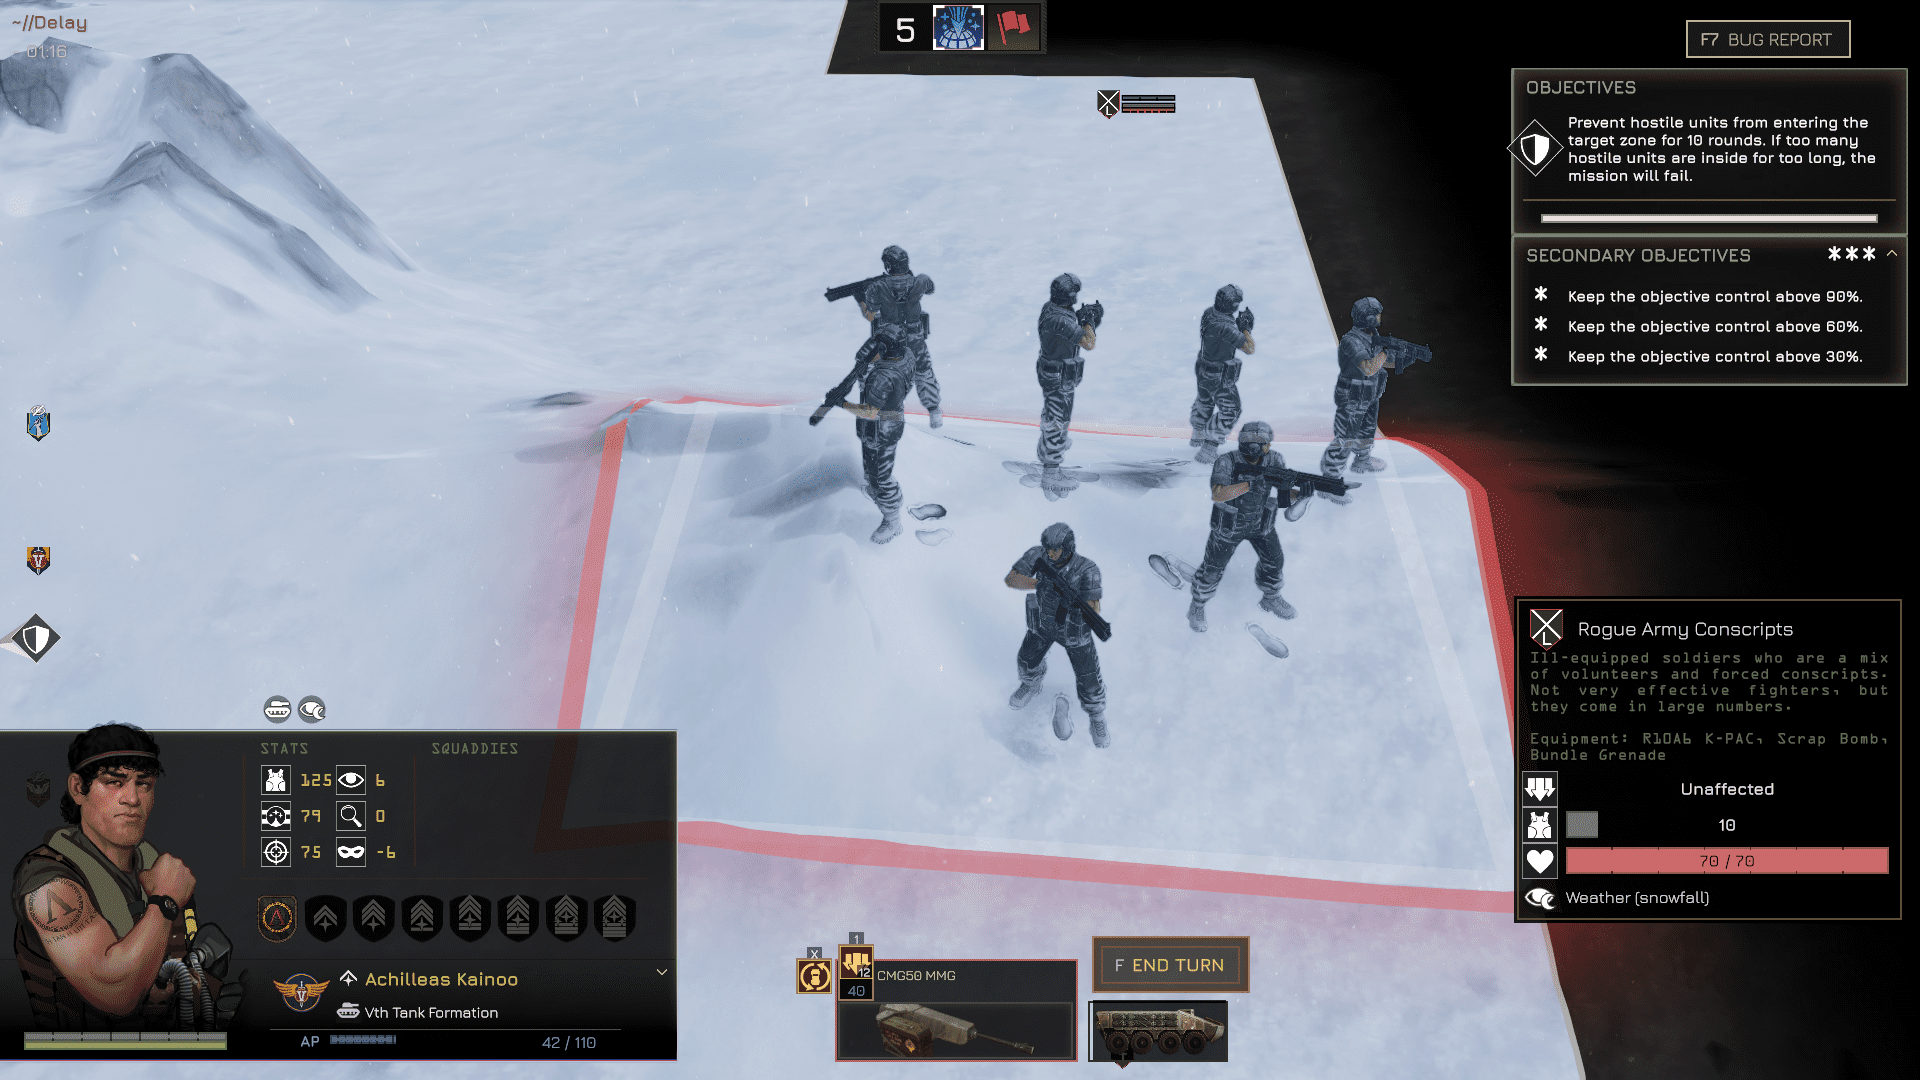
The weakest and most common RA unit. They move in groups of 7 and serve as expendable frontline infantry. While not individually threatening, their numbers can overwhelm unsupported squads — and they carry grenades.
Stats:
- HP per soldier: 10
- Armor: 10 (any weapon can penetrate)
- Equipment: R10A6 K-PAC Assault Rifle, Scrap Bomb, Bundle Grenade
Counter: Any weapon works. Focus fire and clear them quickly before they throw grenades.
RA Infantry
Overview:
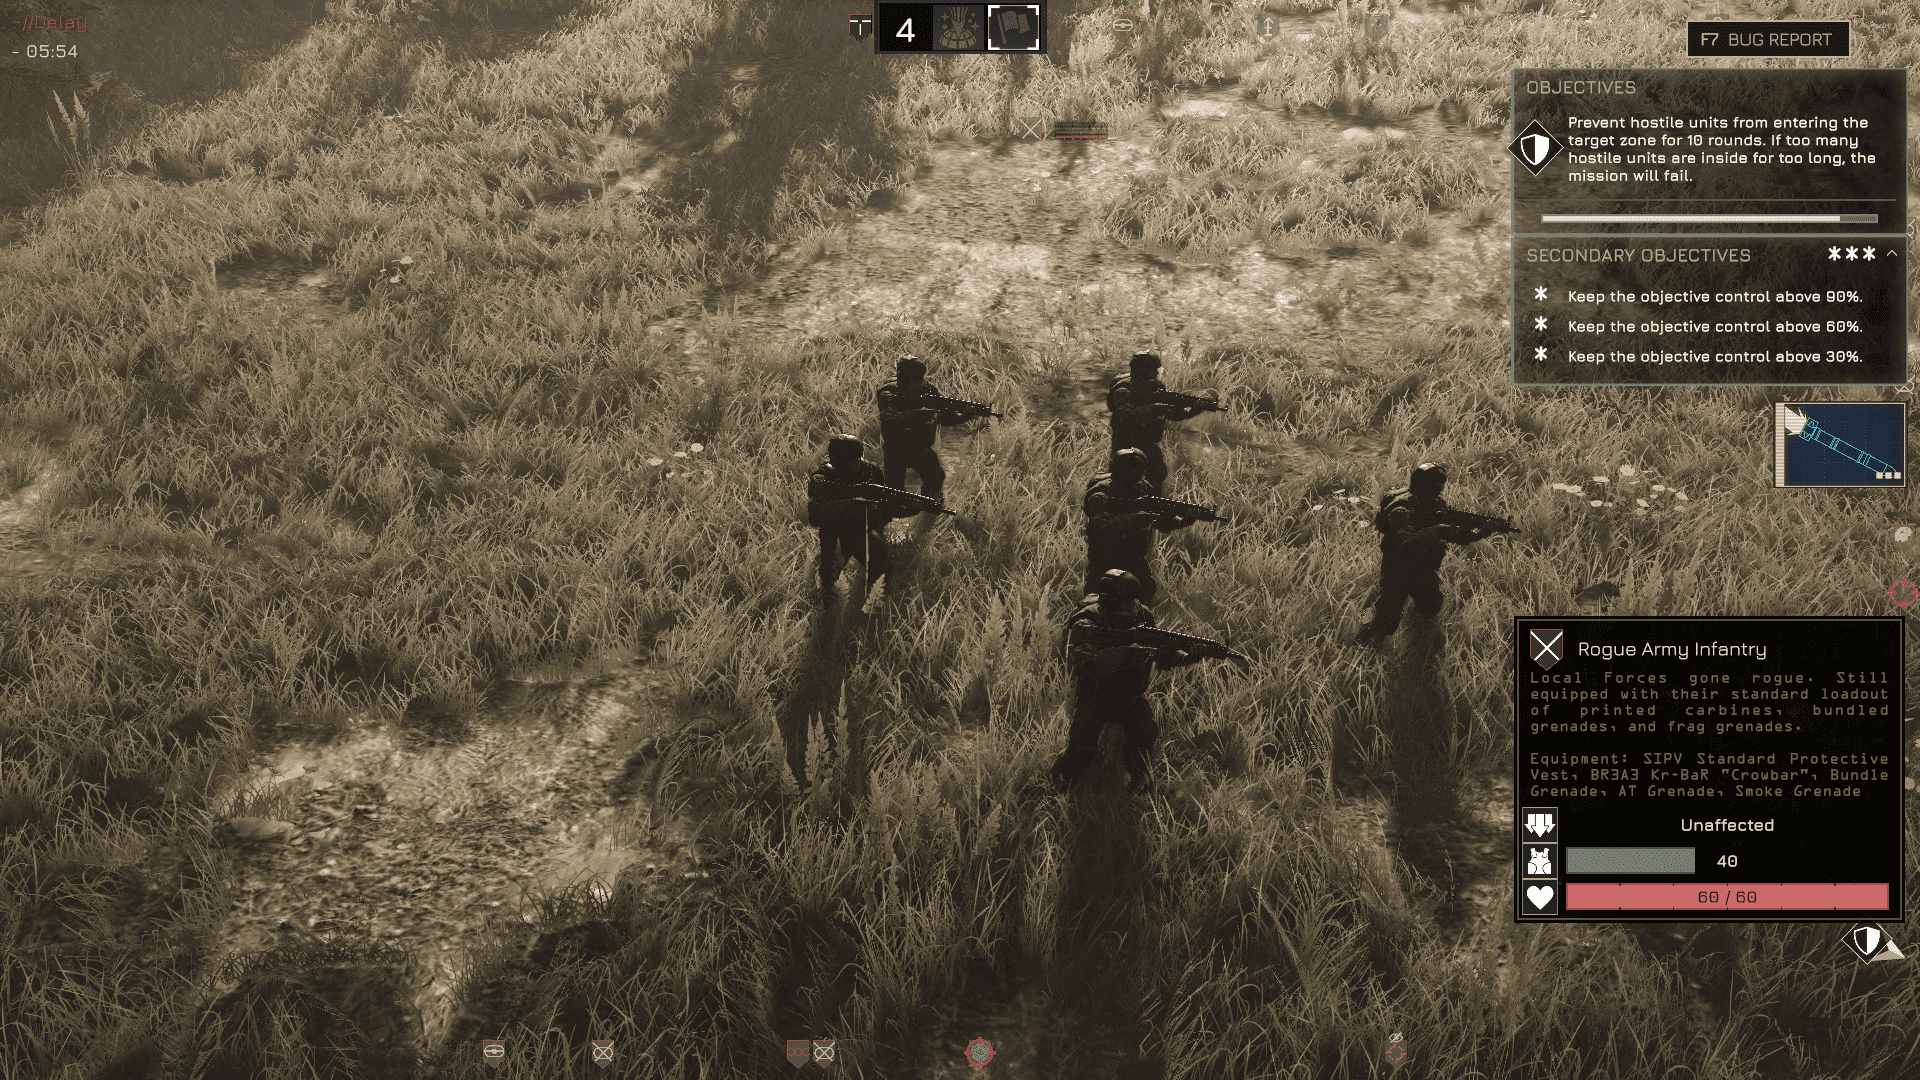
Standard line soldiers of the Rogue Army, moving in squads of 6. Better equipped than Conscripts and a real threat at mid-range. They carry smoke grenades and will deploy them to break line of sight and reposition.
Stats:
- HP per soldier: 10
- Armor: 40 (medium weapons or K-PAC can penetrate)
- Equipment: BR3A3 “Crowbar” Battle Rifle, Bundle Grenade, AT Grenade, Smoke Grenade
Counter: Medium weapons are ideal. Be ready for smoke — they’ll use it when threatened.
RA Heavy Infantry
Overview:
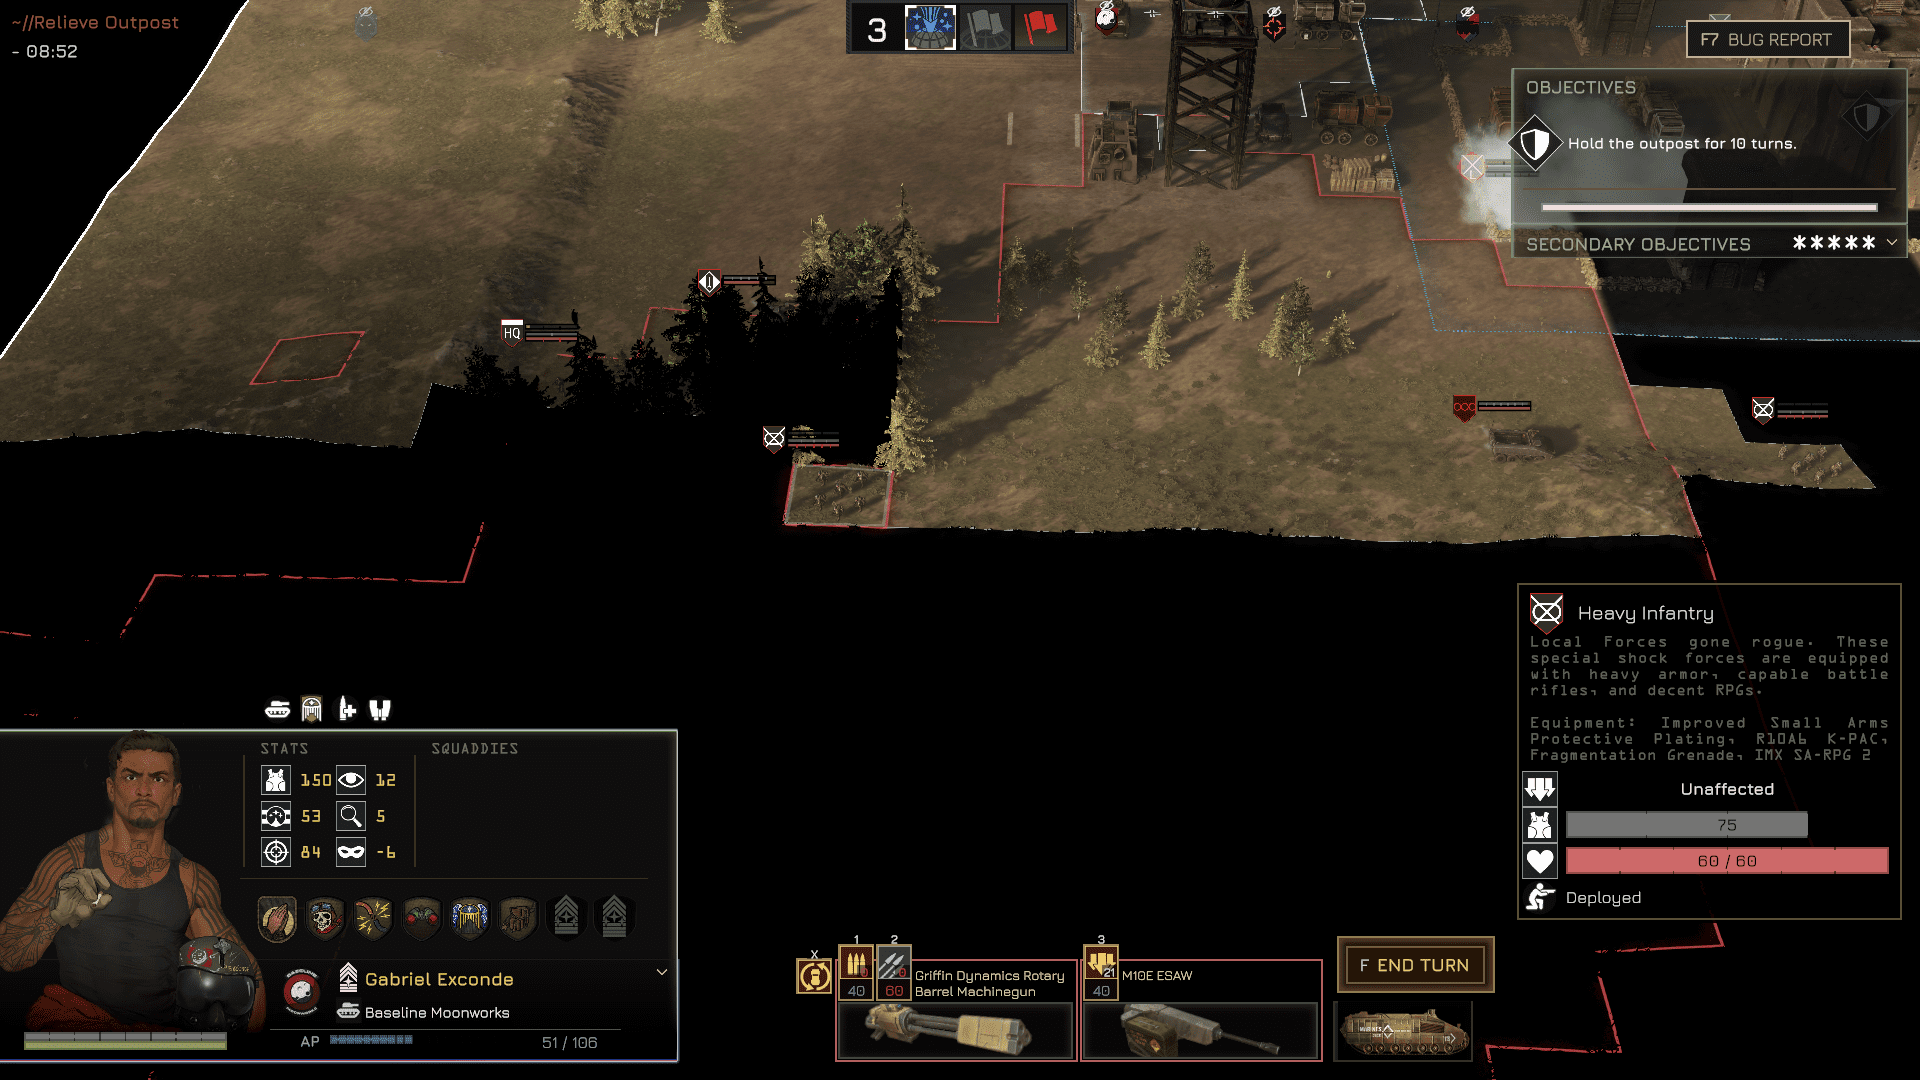
Well-armored frontline troops in squads of 6. They’re equipped with heavier weapons and can fire the IMX SA-RPG 2 twice per turn, making them a serious vehicle threat. Occasionally deployed via Light Troop Carriers for forward positioning.
Stats:
- HP per soldier: 10
- Armor: 75 (heavy weapons penetrate; medium weapons can damage)
- Equipment: R10A6 K-PAC Assault Rifle, Fragmentation Grenade, IMX SA-RPG 2
Counter: Heavy weapons or concentrated fire. Don’t let them get close to your vehicles.
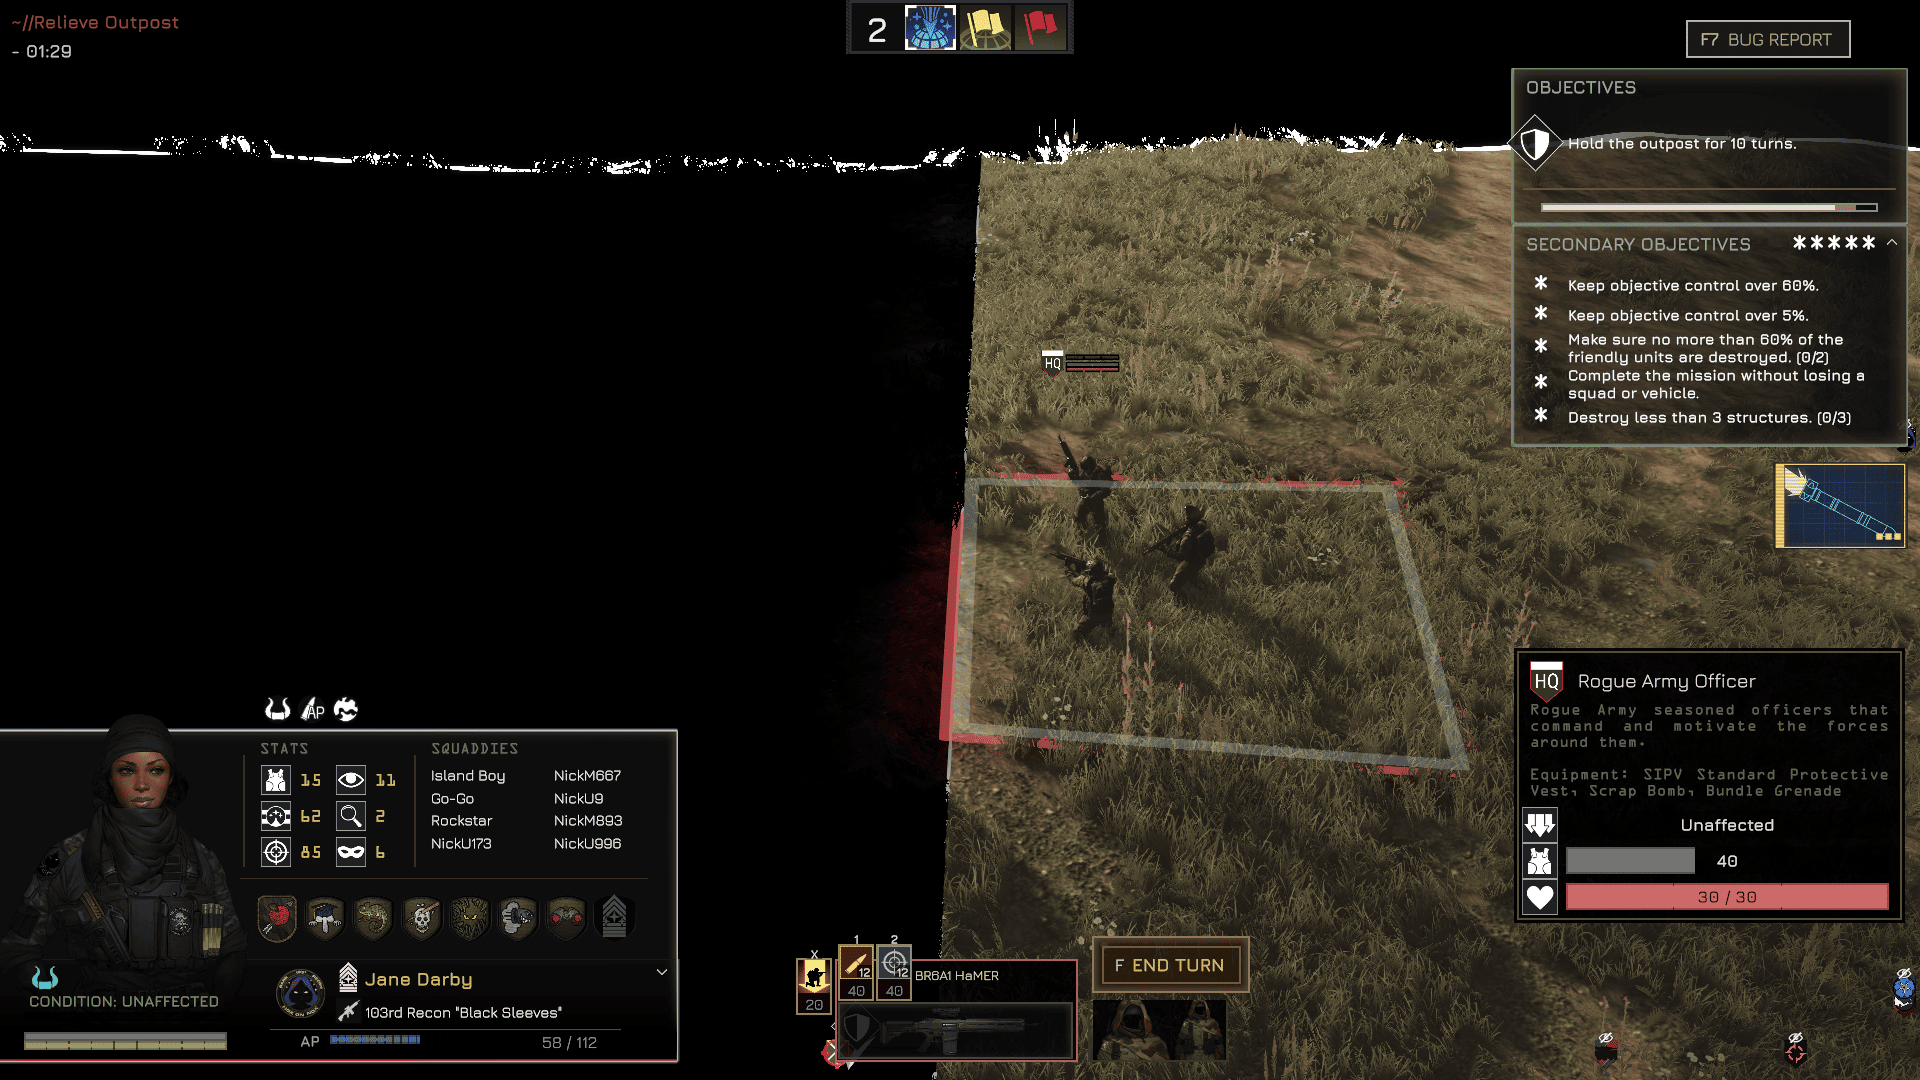
RA Officer
Overview:
Support units positioned behind RA lines. They boost morale, remove suppression, and — most dangerously — mark your units, extending enemy vision. This allows ATGM teams to blindfire at your vehicles.
Officers are fragile but critical. Removing them early can trigger morale collapse across nearby squads.
Stats:
- HP per soldier: 10
- Armor: 40 (medium weapons or K-PAC)
- Abilities: Marks TCR units, removes suppression, boosts morale
Counter: Priority target. Kill them before they mark your armor.
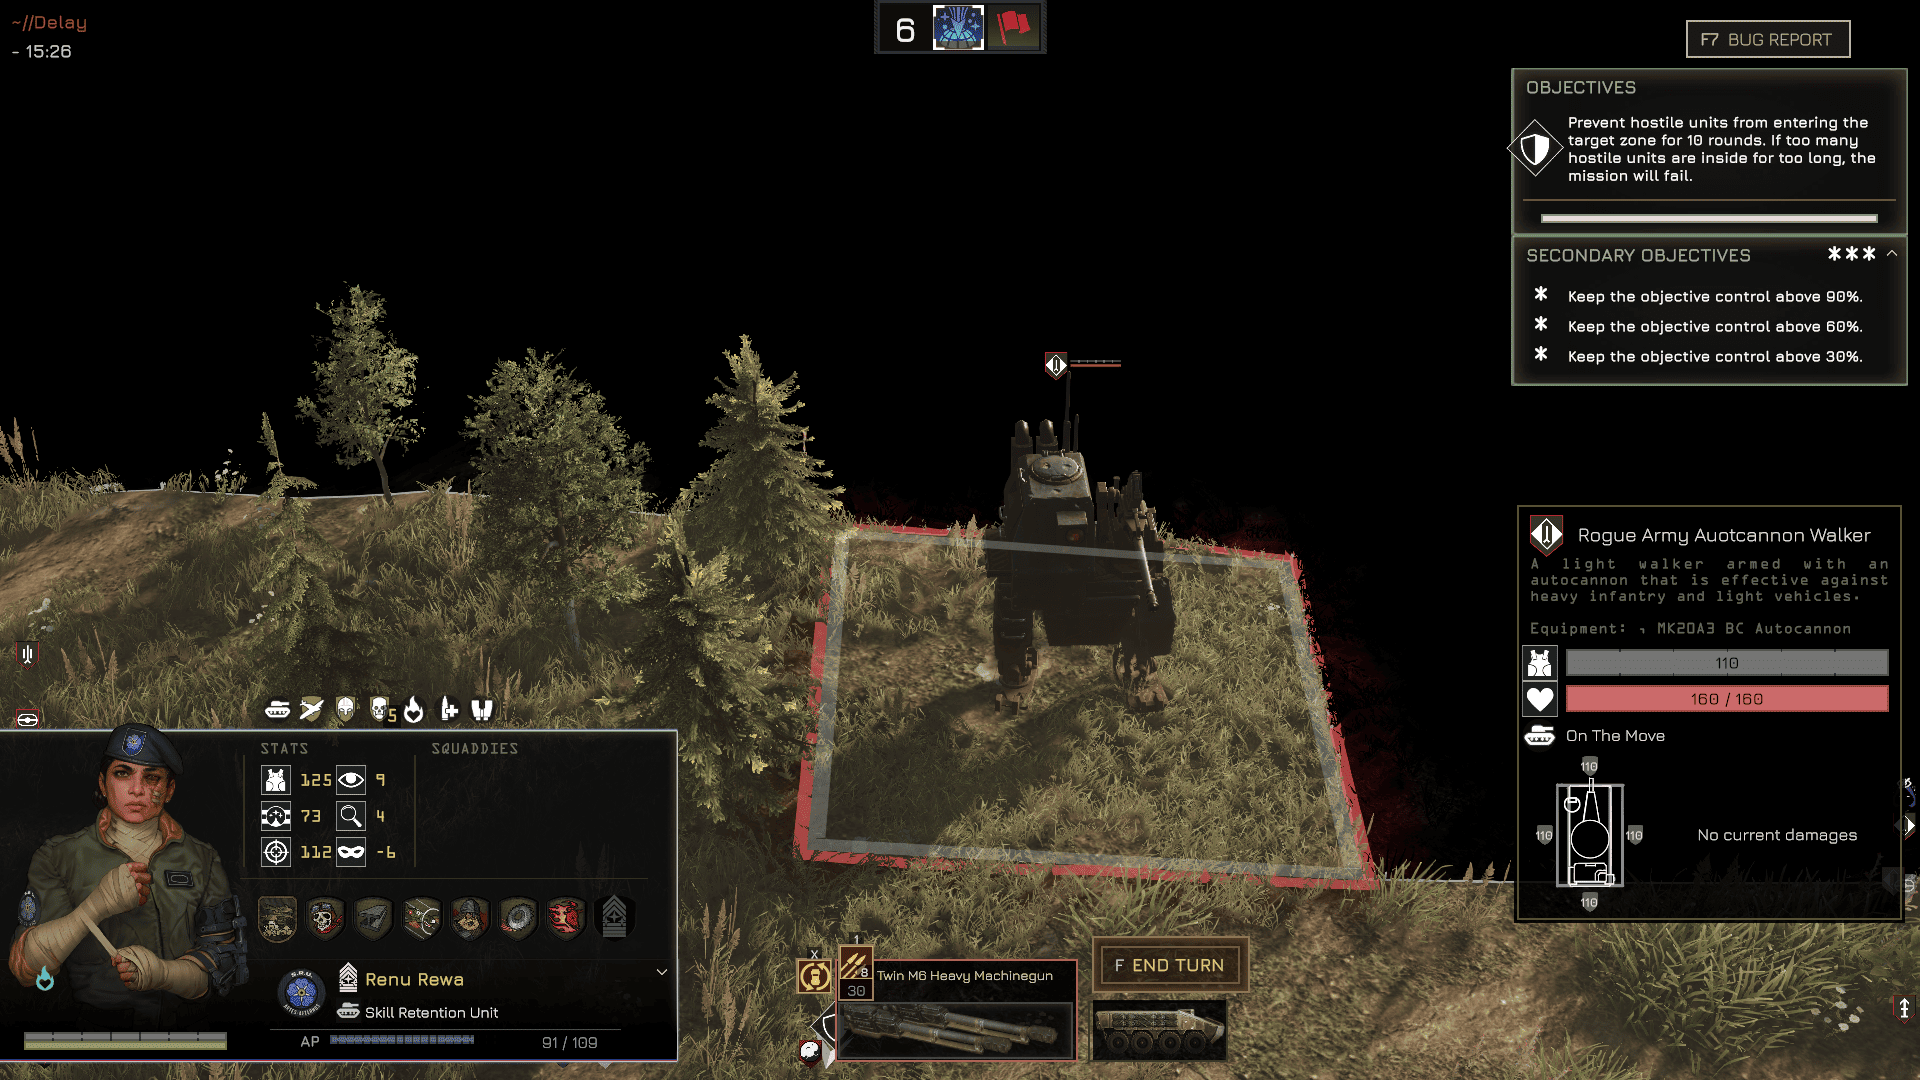
RA Autocannon Walker
Overview:
A mechanized armored unit with the MK20A3 Autocannon, capable of shredding infantry and damaging vehicles. High durability makes it immune to light and most medium weapons.
Stats:
- HP: 160
- Armor: 110 (heavy weapons only)
- Weapons: MK20A3 Autocannon (known variant)
Counter: Use AT rifles (e.g., Crocodile), RPGs, autocannons, or laser weapons.
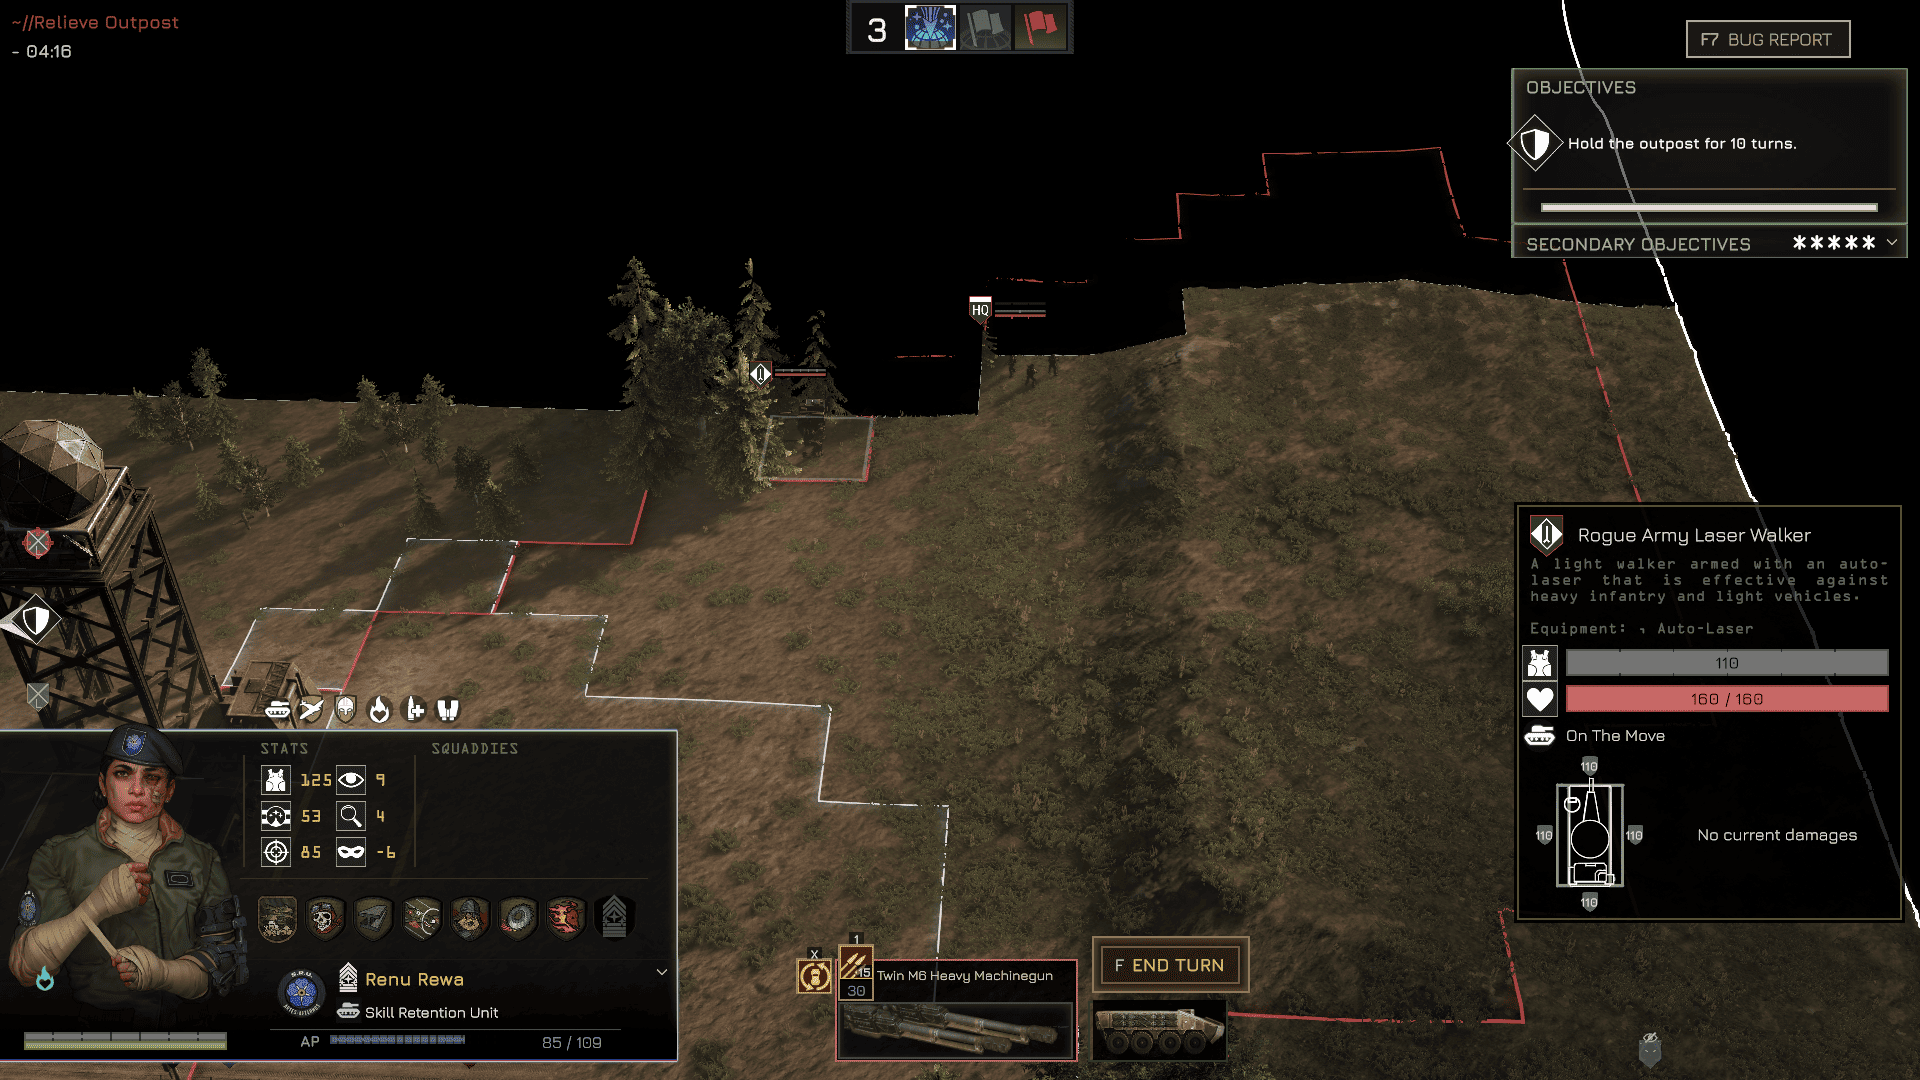
RA Laser Walker
Overview:
Heavily armored walker armed with an Auto-Laser gun. Each salvo fires four high-accuracy shots, and each shot can one-shot heavy infantry. If caught in the open, this walker can wipe your squad in seconds.
Stats:
- HP: 160
- Armor: 110 (heavy weapons only)
- Weapons: Auto-Laser (4-shot burst)
Counter: Same as Autocannon Walker — heavy anti-armor tools. Avoid line of sight until you’re ready to engage with overwhelming force.
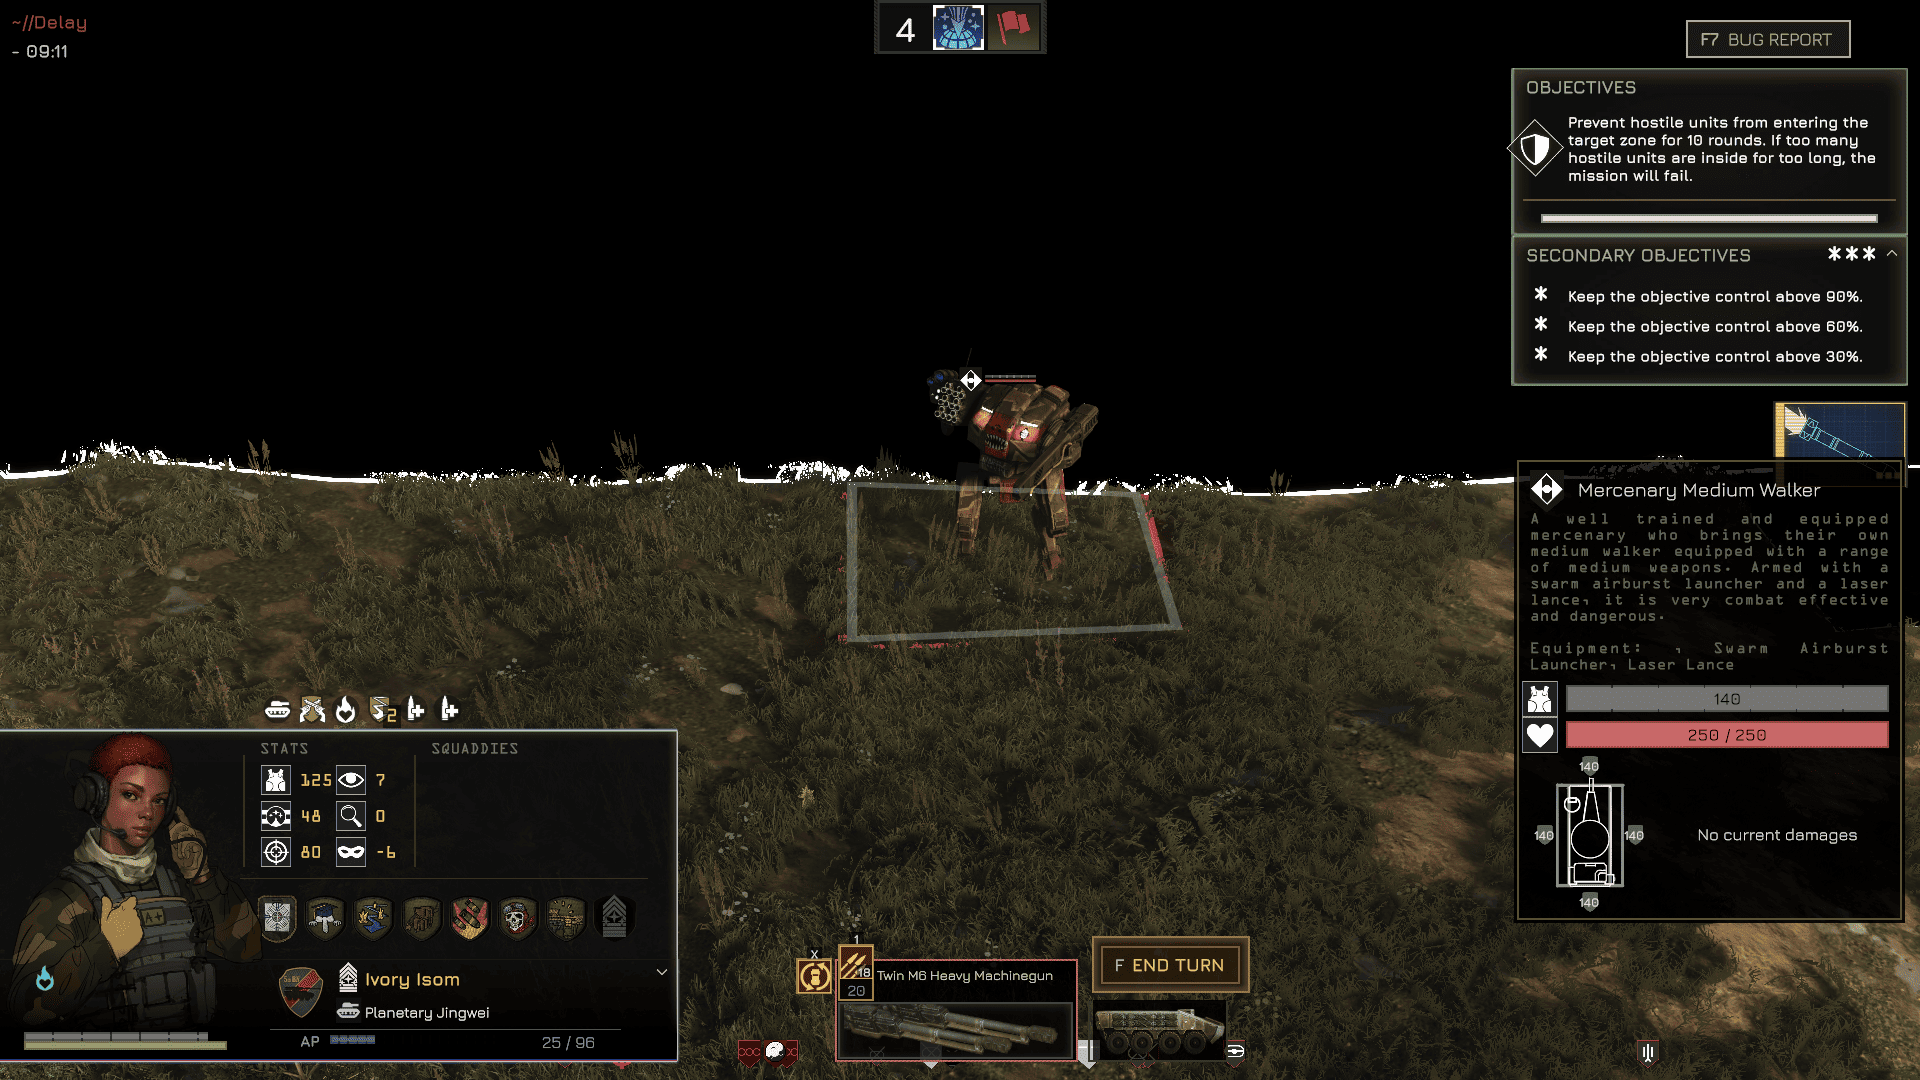
RA Mercenary Medium Walker
Overview:
A hybrid-combat walker with an Air-Burst Launcher and a Laser Lance. Dangerous to both infantry and vehicles. Despite the Air-Burst Launcher’s lack of armor penetration, it has been observed targeting vehicles — likely due to AI behavior.
Stats:
- HP: 250
- Armor: 140 (heavy weapons only)
- Weapons: Air-Burst Launcher, Laser Lance
Counter: Heavy anti-armor options. Don’t engage with lightly armored units — this walker handles both roles with equal lethality.
RA Jaeger
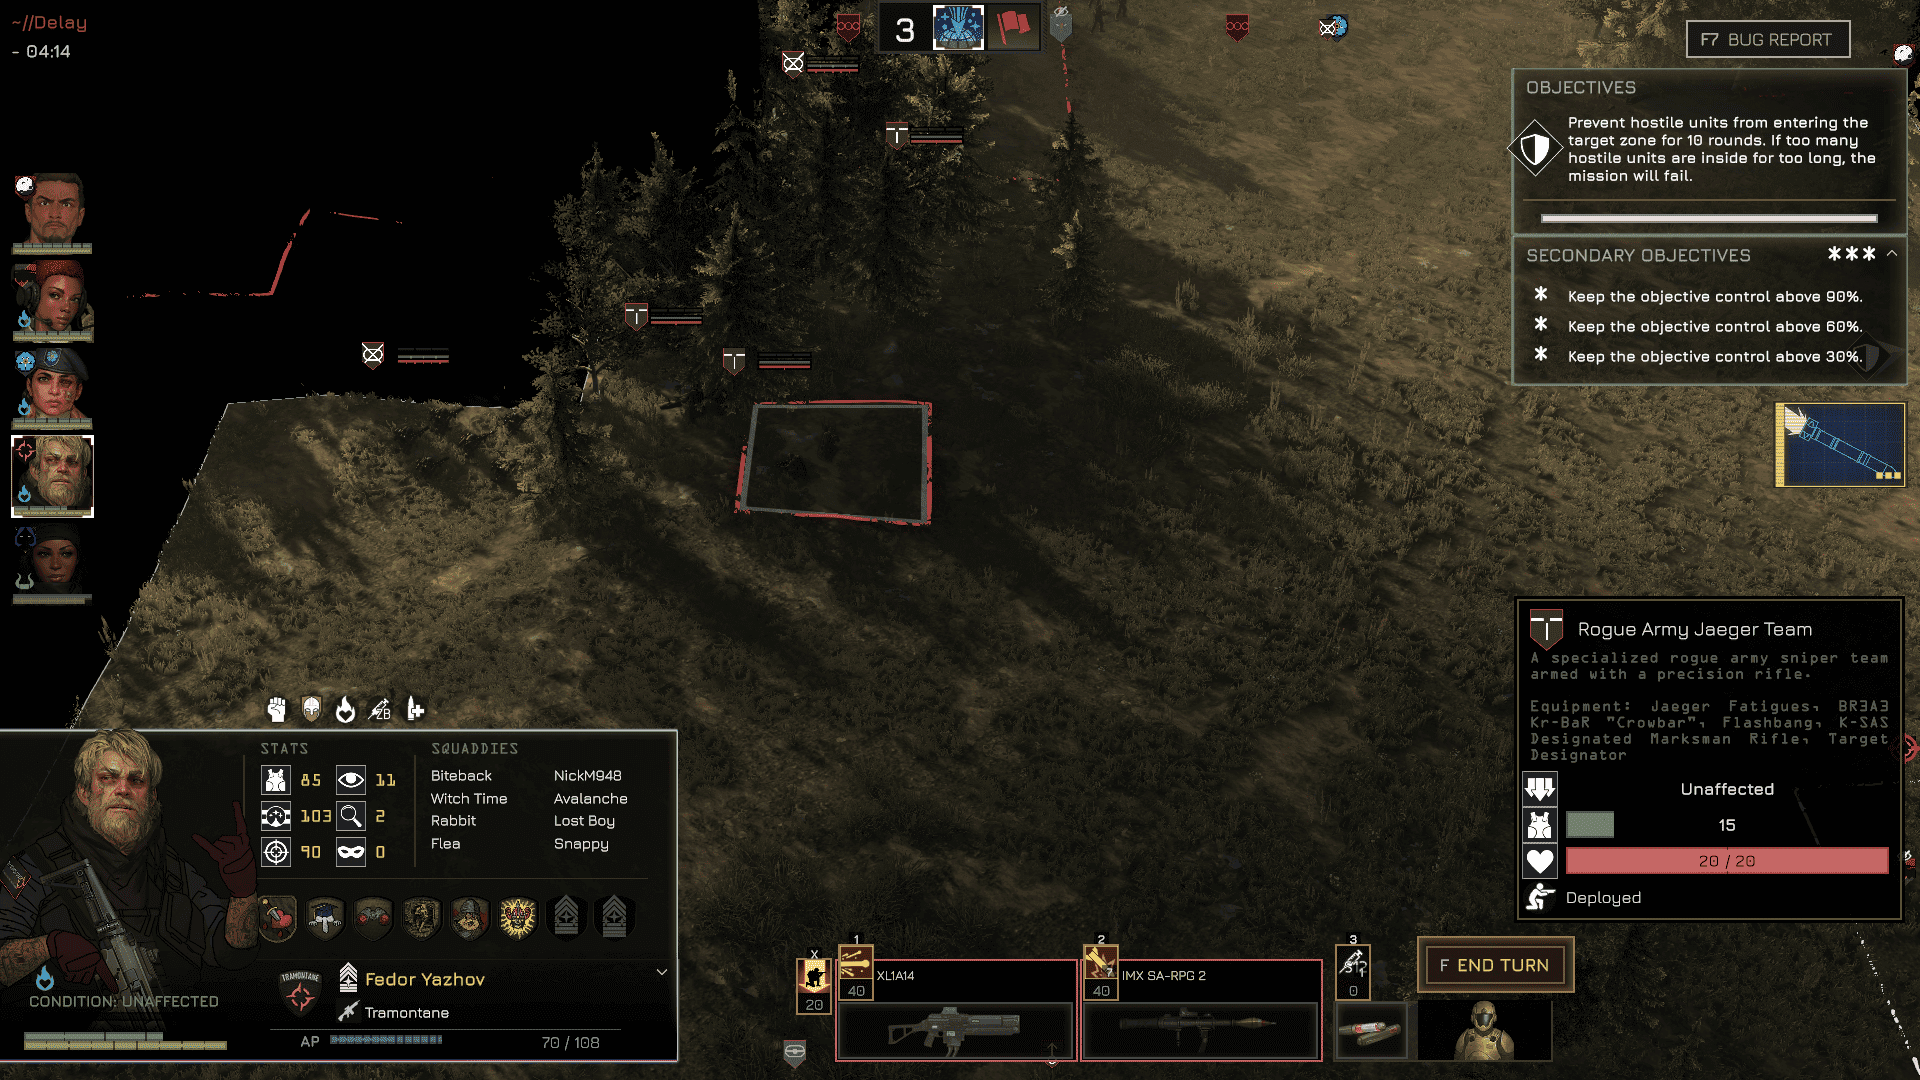
Overview:
A sniper duo with +2 Concealment armor, making them harder to detect. Armed with the K-SAS sniper rifle, they can inflict heavy losses on armored infantry when attacking from stealth. They also carry a Target Designator, though its use in combat is limited.
Stats:
- HP per soldier: 10
- Armor: 15 (any weapon penetrates)
- Equipment: K-SAS Sniper Rifle, +2 Concealment Armor, Target Designator
Counter: Use high-vision scouts or detection tools to reveal them early. Eliminate before they strike.
RA Storm Troopers
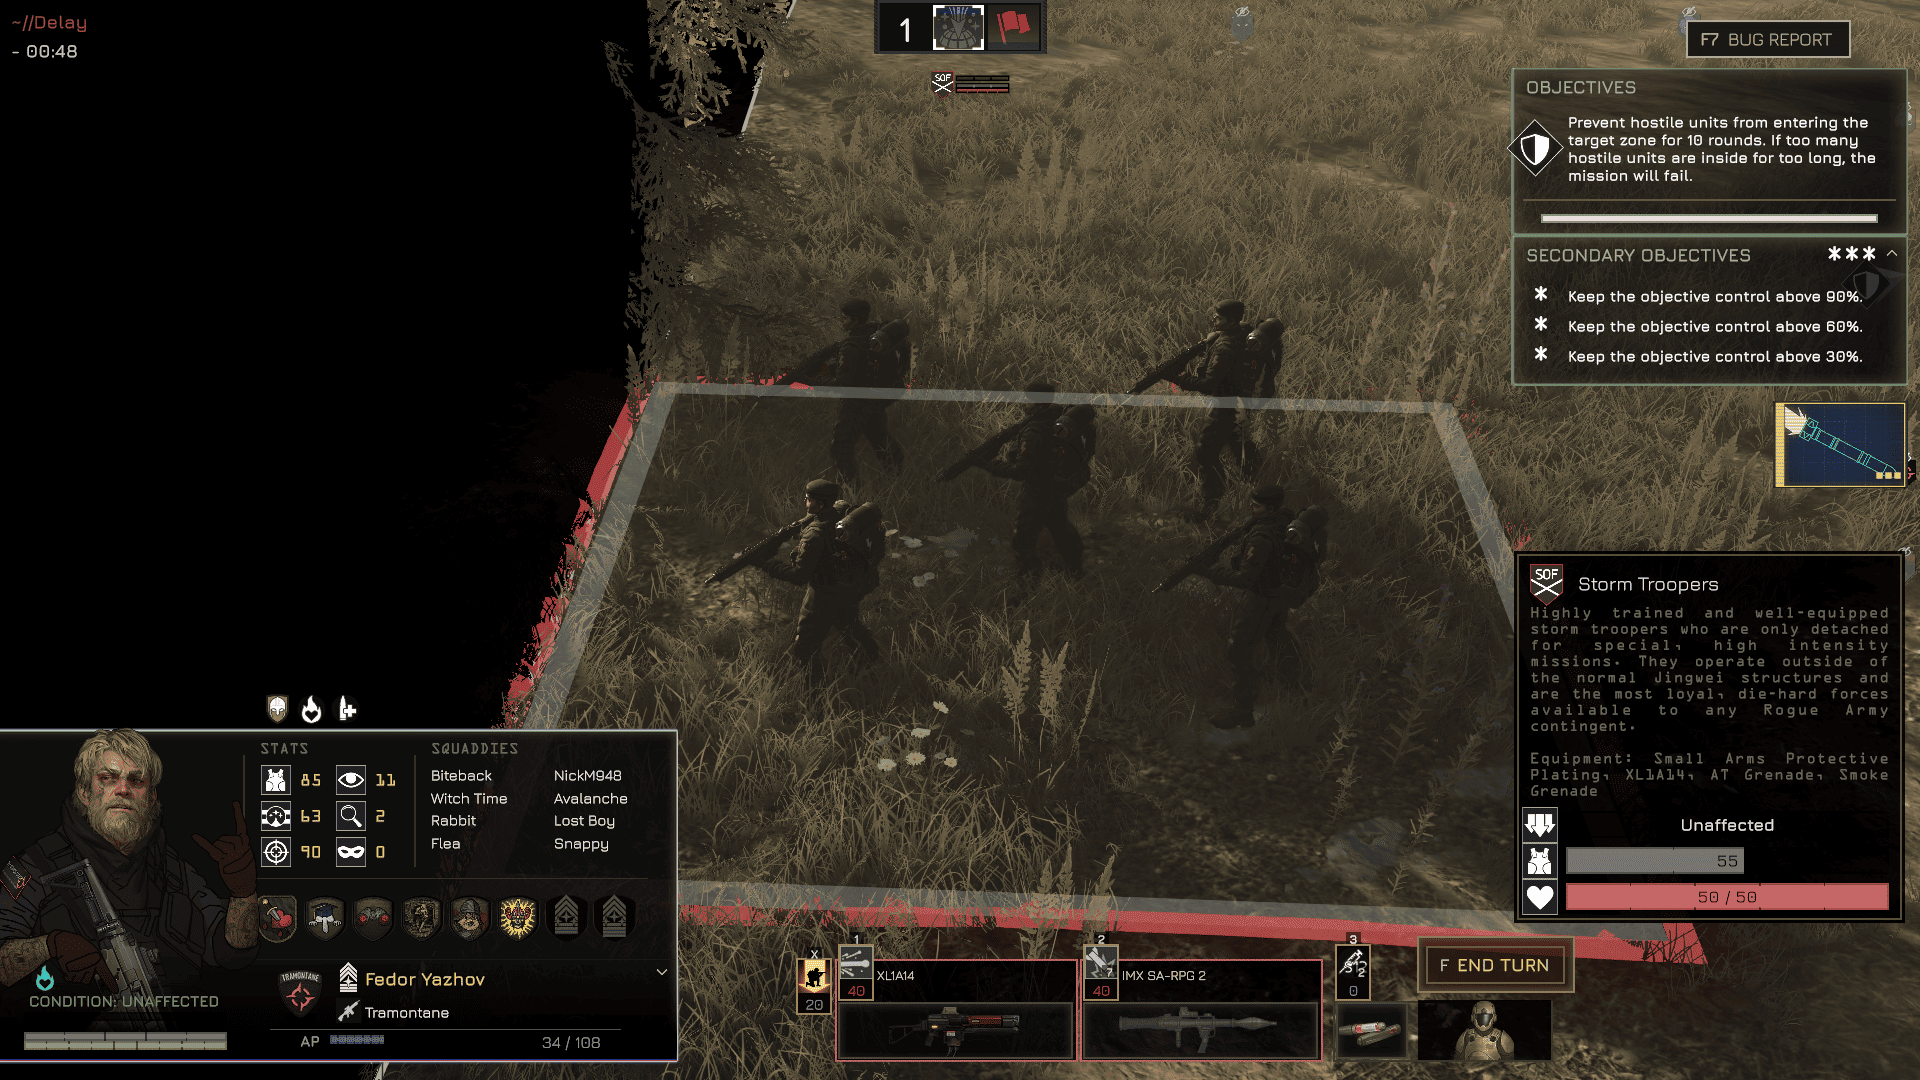
Overview:
Special operations infantry with laser rifles that pierce armored infantry easily. Despite the elite designation, they’re lightly armored. Like RA Infantry, they actively use smoke grenades to disengage or reposition.
Stats:
- HP per soldier: 10
- Armor: 55 (medium and standard weapons penetrate)
- Equipment: Laser Rifle, Smoke Grenade
Counter: Don’t underestimate them based on durability. Their weapon output makes them a priority when facing armored infantry.
RA Heavy Tank
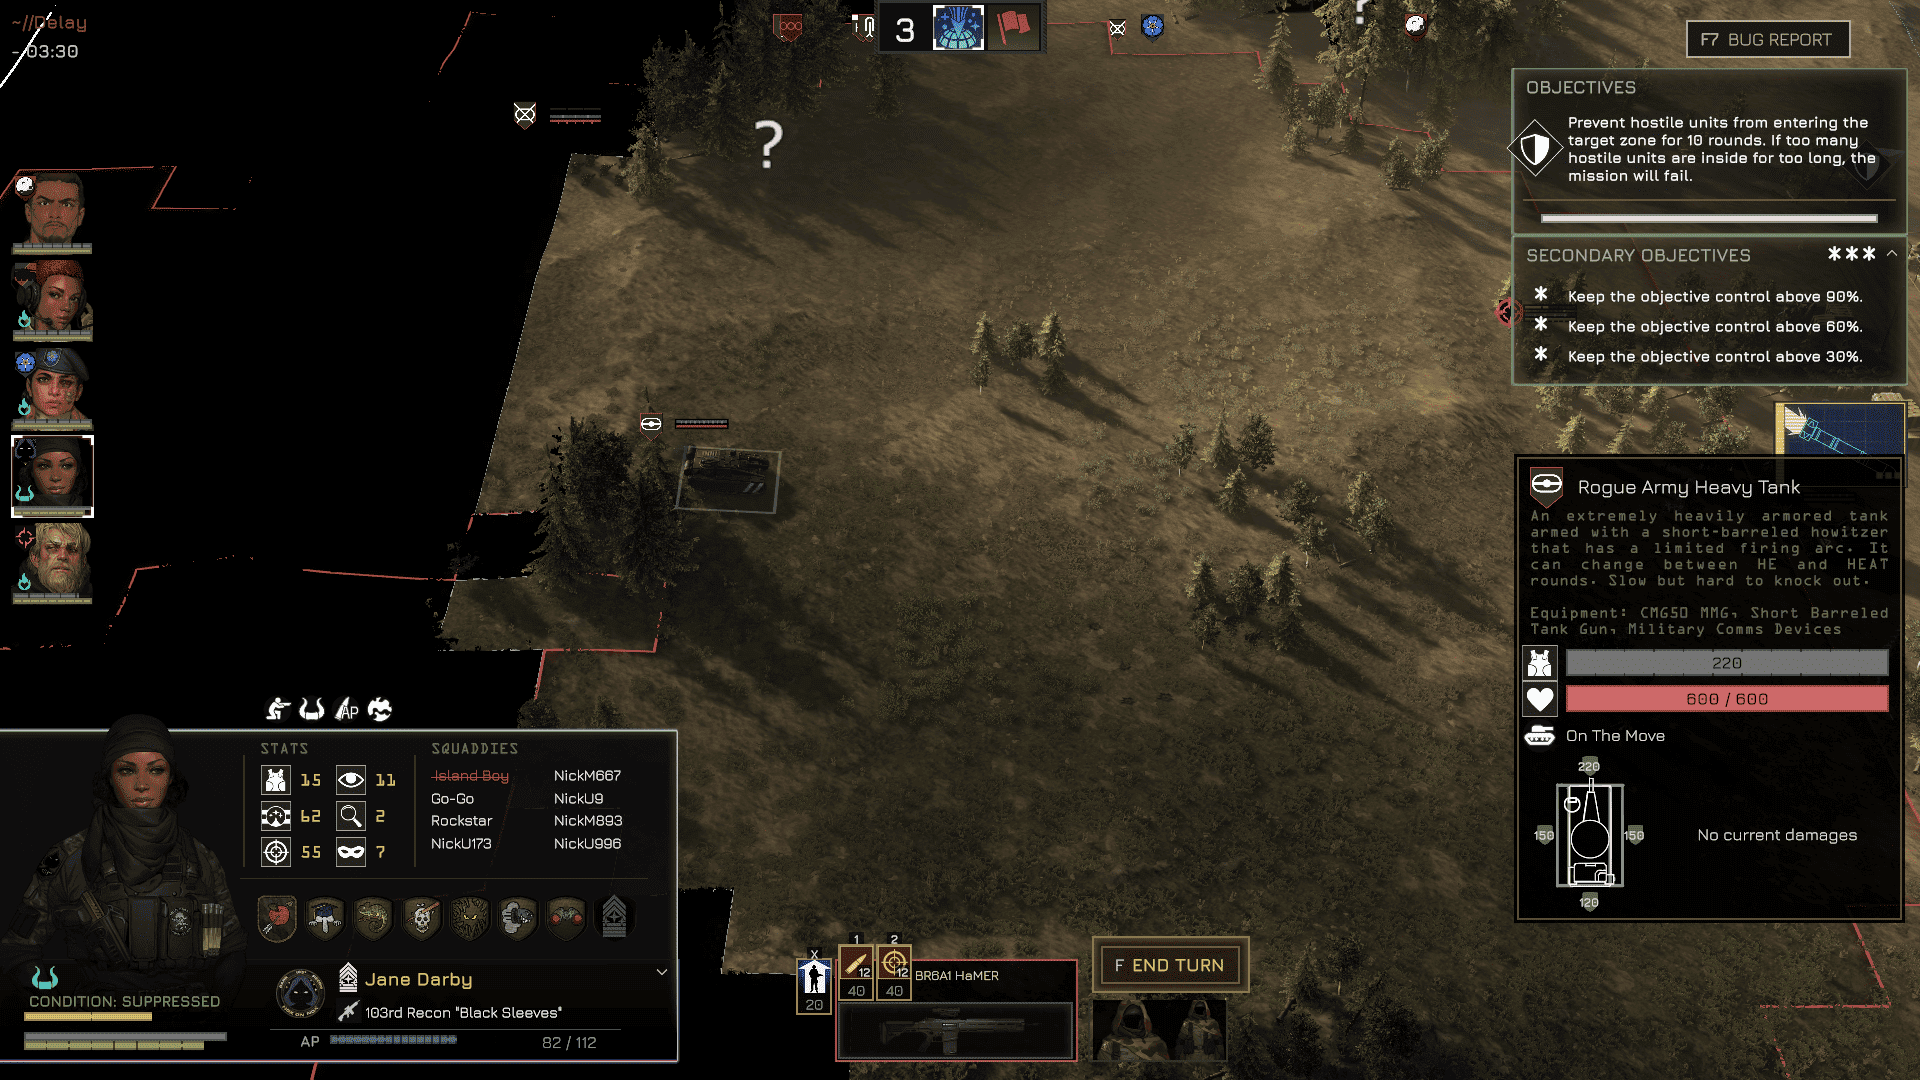
Overview:
Heavily armored frontline unit with a short-barrel tank gun and CMG50 MMG. It can absorb two RPG-2 hits from the front without HP loss. However, it’s vulnerable to side/rear attacks and can be demoralized by eliminating nearby squads.
Stats:
- HP: 600
- Armor: 220 (heavy weapons only)
- Weapons: Short-Barrel Tank Gun, CMG50 MMG
Counter: RPG-2, laser weapons, VMAT missiles, long-barreled tank guns. Flank and disrupt nearby squads to lower morale.
RA Infantry Carrier
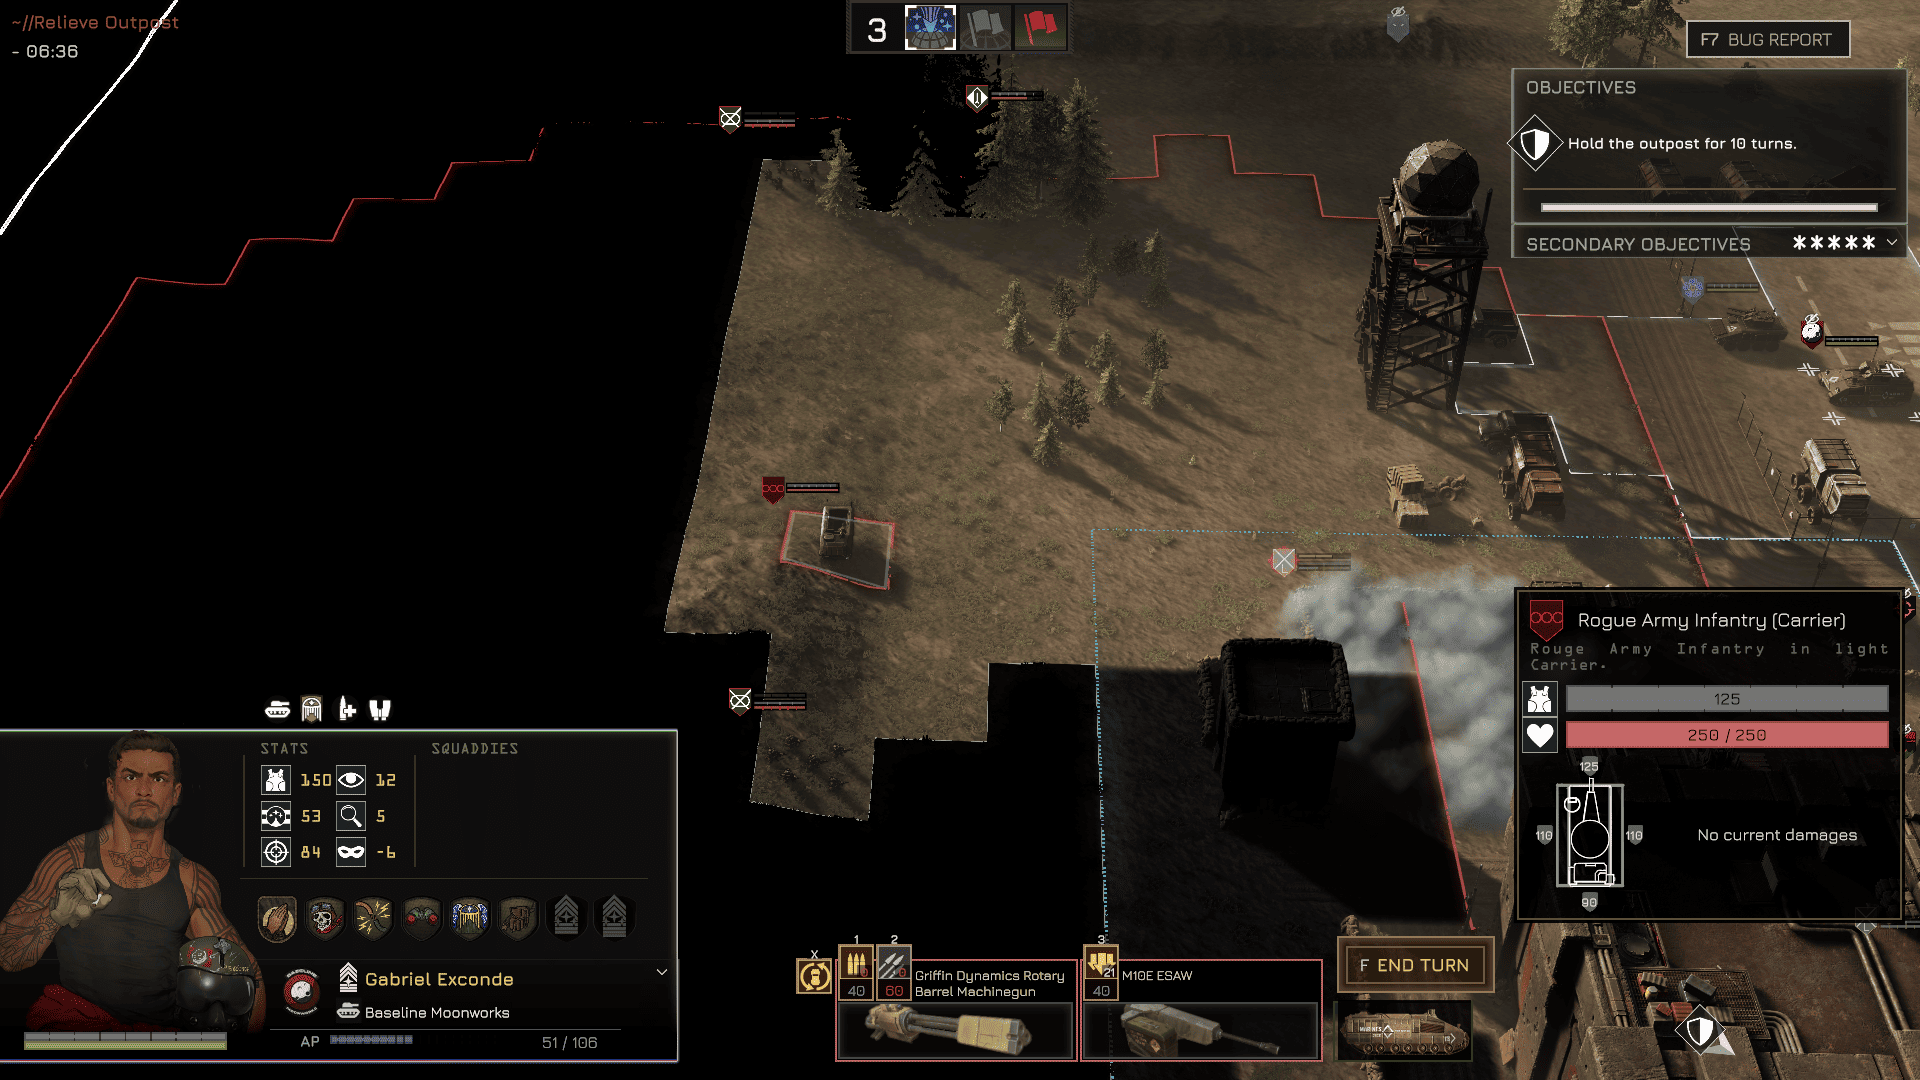
Overview:
Lightly armored transport delivering RA Heavy Infantry into battle. Armed with a CMG50 MMG. Passengers are not fully shielded — you can damage or kill infantry inside with indirect fire or high-damage AoE before they disembark.
Stats:
- HP: 250
- Armor: 125 (heavy weapons)
- Weapons: CMG50 MMG
Counter: Hit the vehicle before it unloads. RPGs, AT rifles, autocannons, or laser weapons are effective.
RA MG Team

Overview:
Three-man support squad with the CMG50 medium machine gun. Lightly armored and easily killed, but their sustained fire can suppress and damage heavily armored infantry quickly.
Stats:
- HP per soldier: 10
- Armor: 40 (medium and standard weapons)
- Weapons: CMG50 MMG
Counter: Eliminate early to relieve suppression. Even basic rifles like the K-PAC work.
RA Autocannon Team
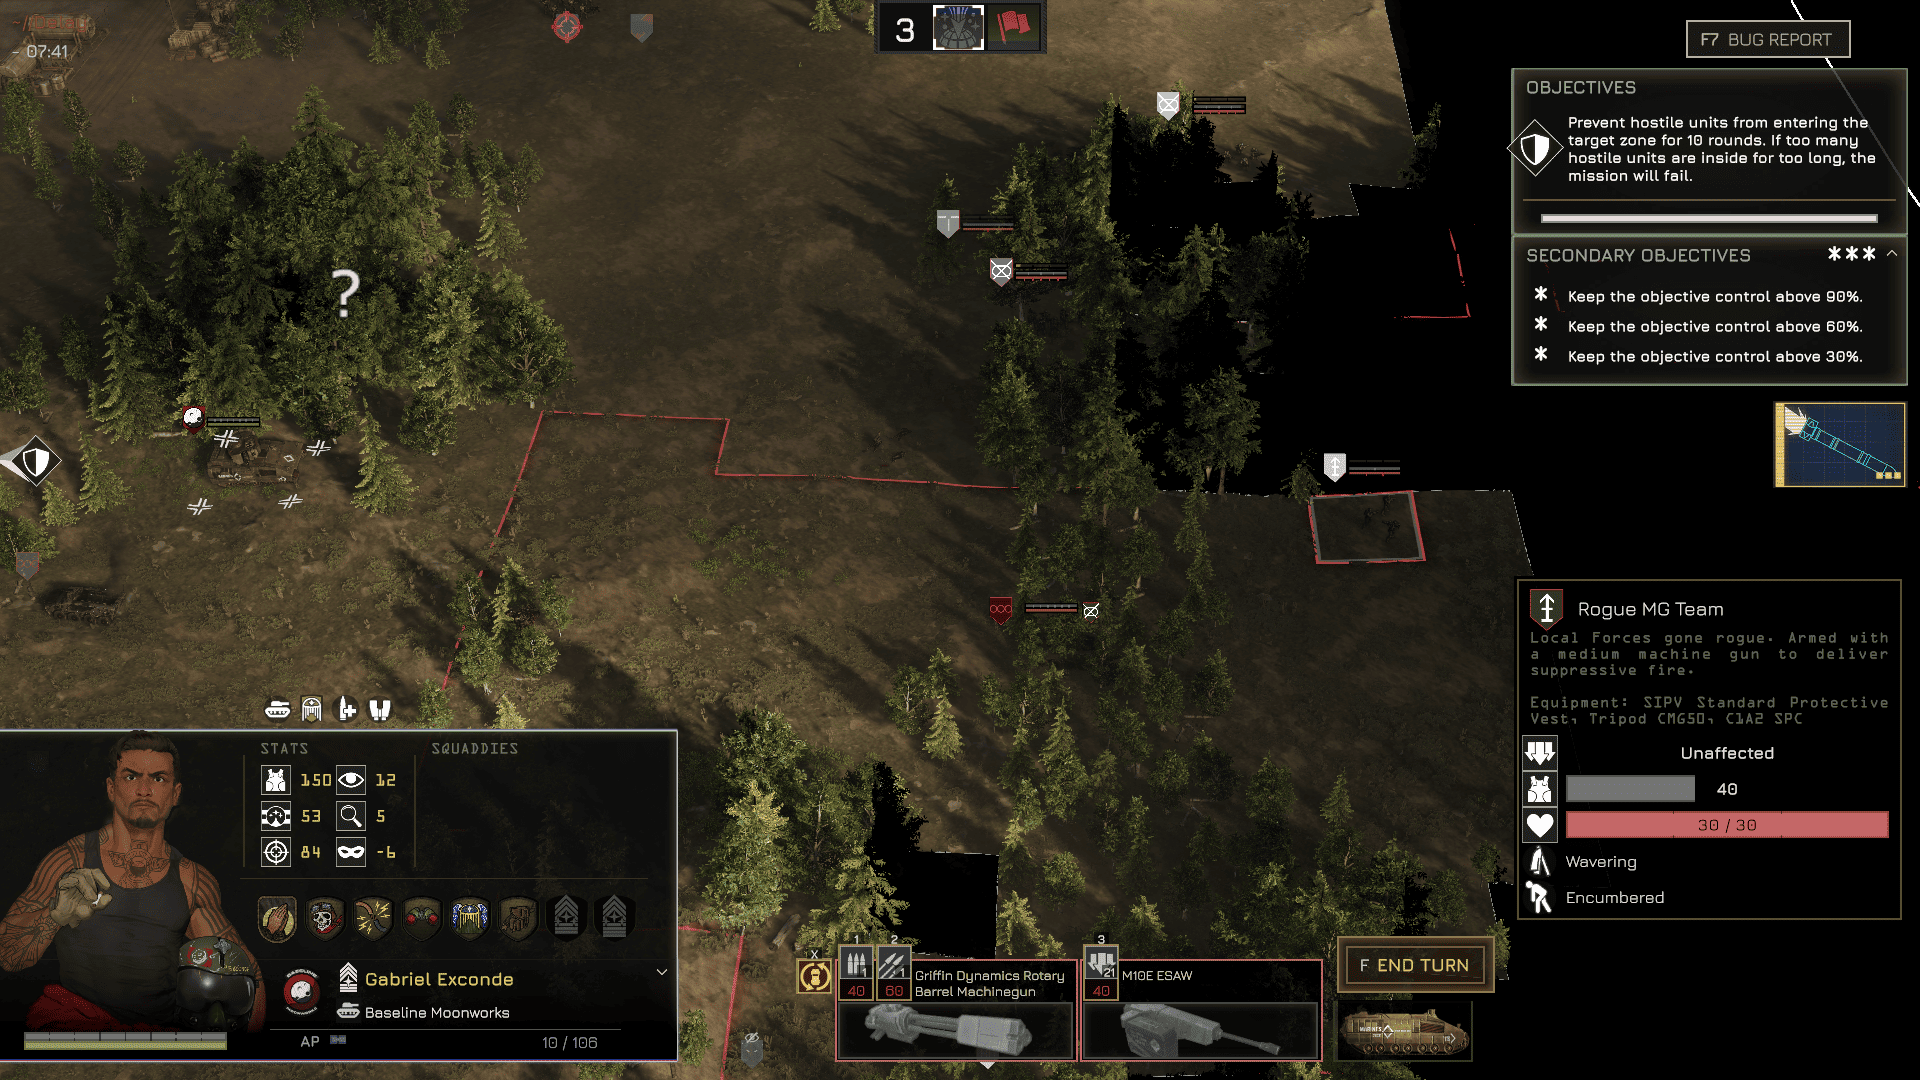
Overview:
Three-man heavy support squad with the MK20A3 Autocannon. Extremely dangerous to both infantry and vehicles. A single volley can cripple or destroy exposed vehicles or clustered infantry.
Stats:
- HP per soldier: 10
- Armor: 40 (medium and standard weapons)
- Weapons: MK20A3 Autocannon
Counter: Top priority. Fragile but devastating. Eliminate immediately.
RA Mortar Teams
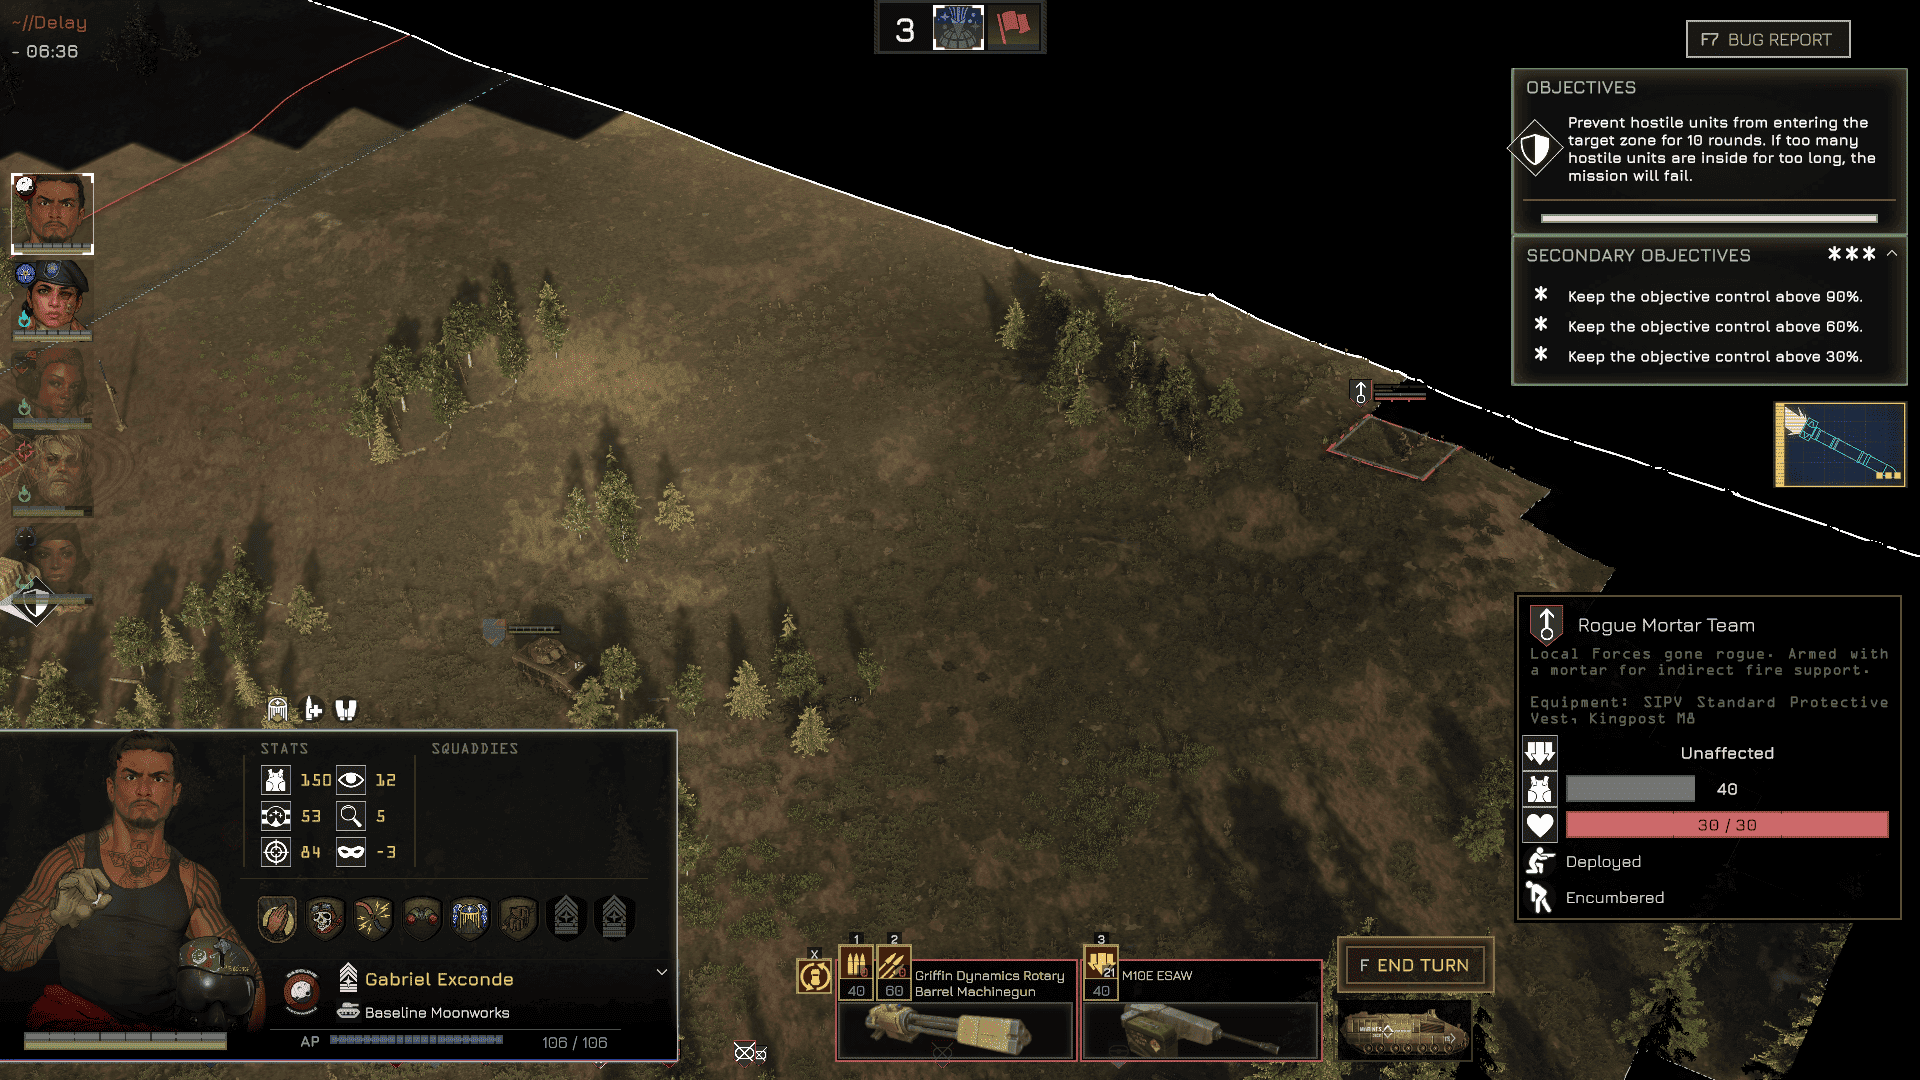
Overview:
Three-man indirect fire squad armed with the Kingpost M8 medium mortar. They deliver long-range AoE suppression and damage, hitting multiple units at once. Usually positioned behind frontlines.
Stats:
- HP per soldier: 10
- Armor: 40 (medium and standard weapons)
- Weapons: Kingpost M8 Mortar
Counter: Priority for stealth squads or long-range fire. Can suppress multiple squads at once and delay assaults.
RA ATGM Teams
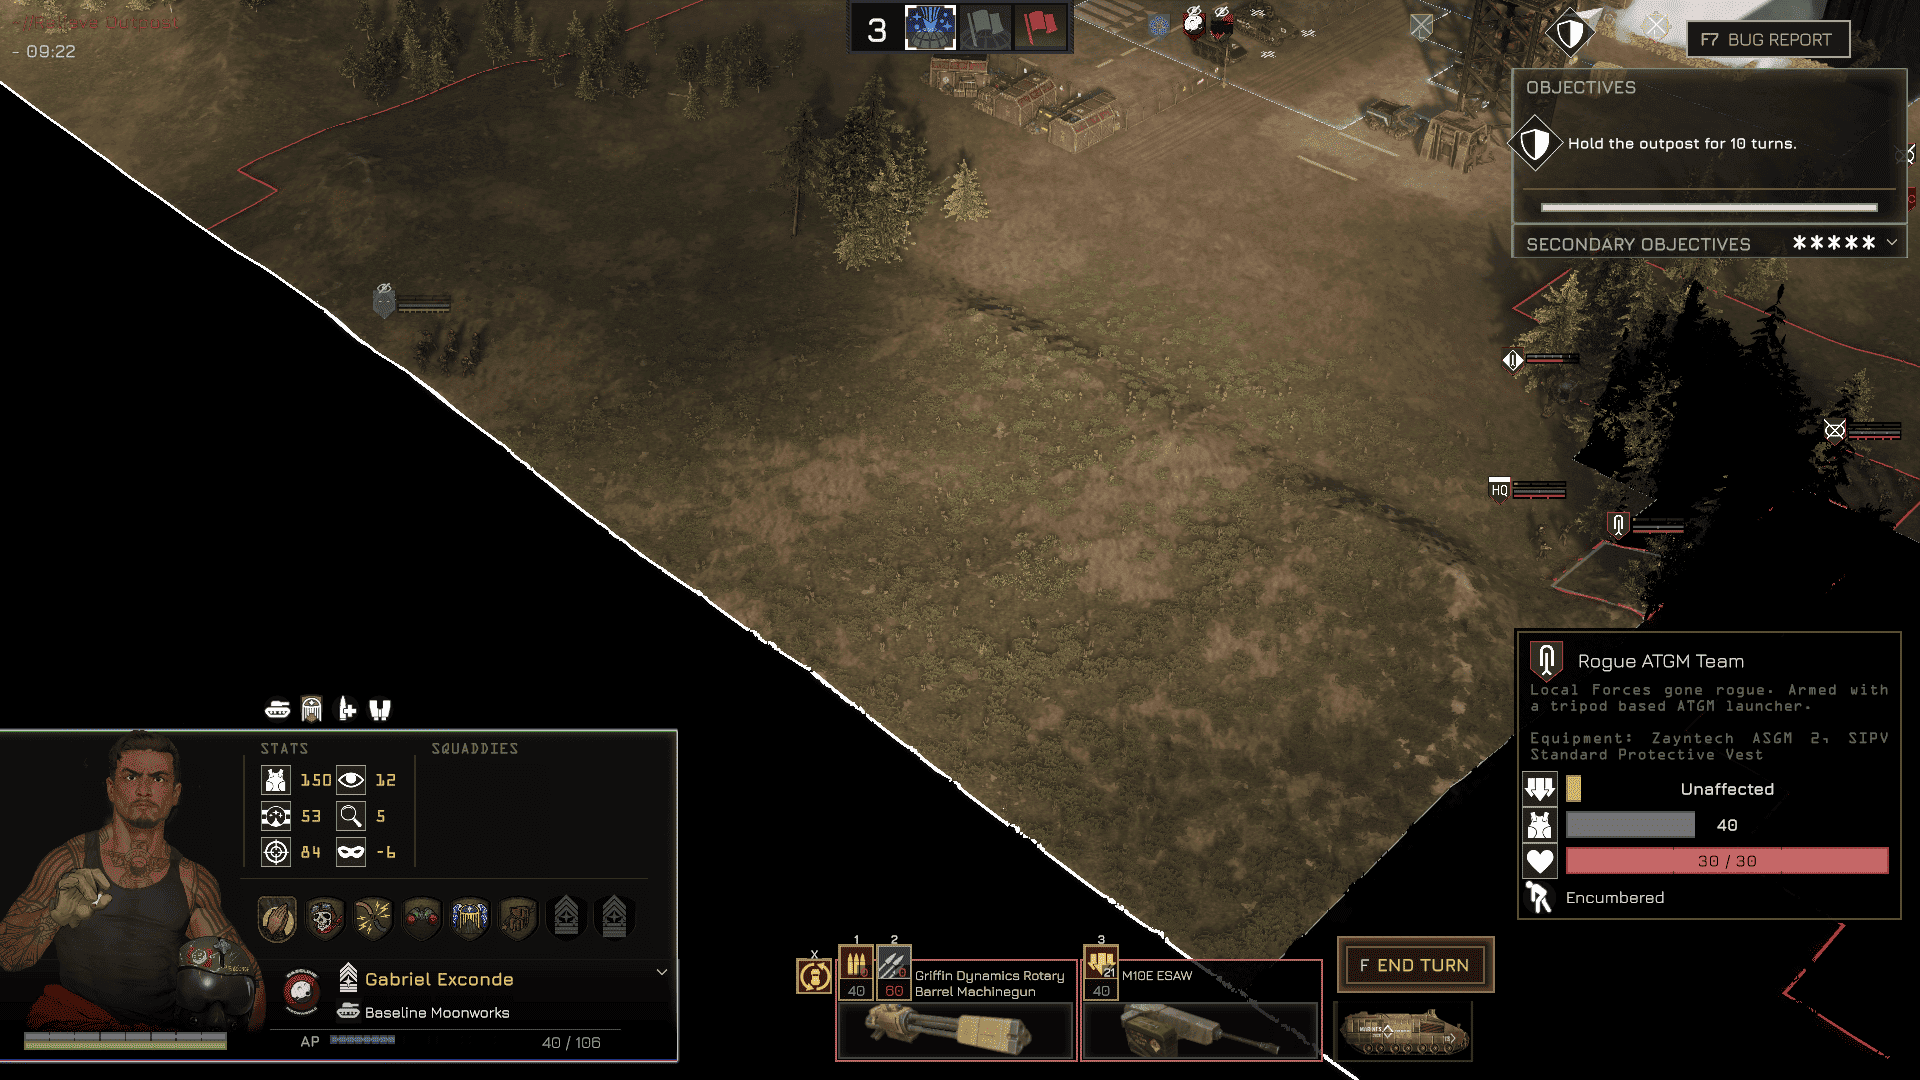
Overview:
Three-man anti-vehicle squad armed with the Zayntech ASGM 2. Among the most dangerous threats to TCR vehicles, capable of devastating long-range shots. Especially lethal when paired with an RA Officer’s mark, allowing indirect fire on unseen targets.
Stats:
- HP per soldier: 10
- Armor: 40 (medium and standard weapons)
- Weapons: Zayntech ASGM 2
Counter: Eliminate before moving up vehicles. Use stealth, flanking, or long-range fire.
RA Artillery
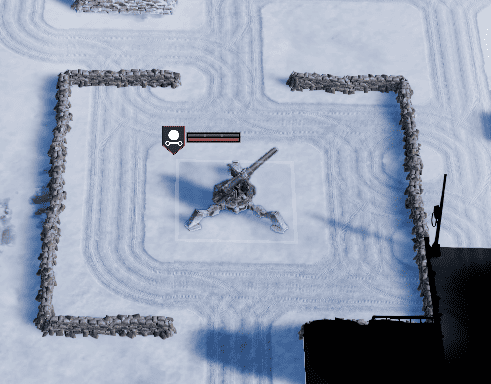
Overview:
Stationary long-range support weapon encountered during HQ elimination and Breakthrough missions. Fires once every two turns with indefinite range. Inaccurate, but even near misses cause suppression and morale damage.
Stats:
- HP: 150
- Armor: 60 (medium weapons or standard rifles can damage)
- Weapons: Long-range artillery shell
Counter: Priority objective when present. Use stealth squads, mobile infantry, or long-range precision fire.
The Aliens (Bugs) Overview
The alien faction introduces a completely different tactical challenge. While they lack ranged support in most cases, their melee units hit hard, and their Bombardiers can devastate from a distance.
What you’ll face:
- Swarms of low-armor melee bugs
- Flying ranged units (Dragonflies, Harpies)
- Heavily armored Warriors
- Bombardiers with indirect fire
- The Hive Queen (final stage boss)
Tactical Recommendations
Maintain distance. Keep 5–6 tiles between you and the enemy. Avoid active CQB.
Bugs have morale. Just like RA and pirates, they lose morale when allies are eliminated. Chain kills cause retreats.
Priority targets:
- Bombardiers (extremely dangerous)
- Warriors (keep distance)
- Lightly armored ranged units (Stingers, Dragonflies, Harpies)
Position armored units at the front to absorb damage from ranged bugs.
Recommended equipment:
- Medium and heavy machineguns
- Long-range rifles like the Crowbar
- M6 CMG on Light Troop Carriers, IFVs, and M-ATVs
Alien Units
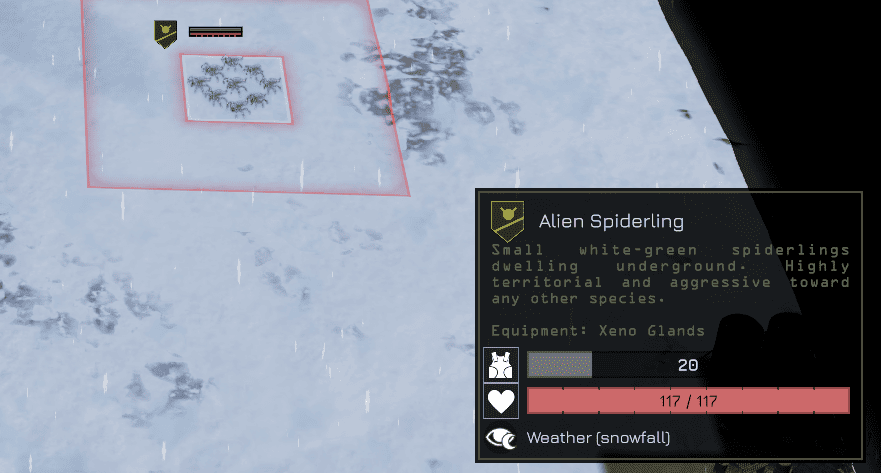
Alien Spiderling
Overview:
The weakest alien unit. Groups of 6–9 that jump at targets and self-destruct after attacking. Ineffective against medium/heavy armor but dangerous in numbers.
Stats:
- HP per unit: 13
- Armor: 20 (any weapon penetrates)
- Movement: ~5 tiles per turn
- Attack range: Adjacent tiles only
- AP: 100 per turn
Counter: Basic weaponry like the C1A2 SPC carbine works. Expect ~2 volleys from a 7–8 man squad at 3–5 tiles.
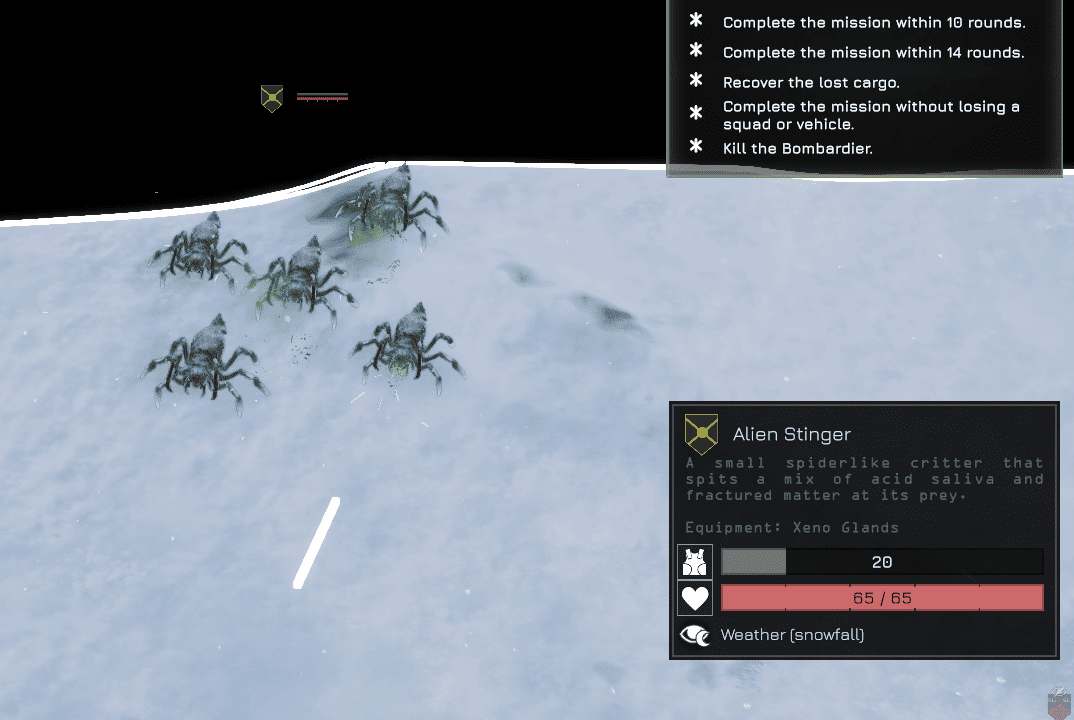
Alien Stinger
Overview:
Ranged variant of the Spiderling. Groups of 5 that fire low-penetration projectiles up to 7 tiles. Can attack twice per turn.
Stats:
- HP per unit: 13
- Armor: 20 (any weapon penetrates)
- Movement: ~5 tiles per turn
- Attack range: Up to 7 tiles
- AP: 100 per turn
Counter: Any weapon. Ineffective against medium/heavy armor.
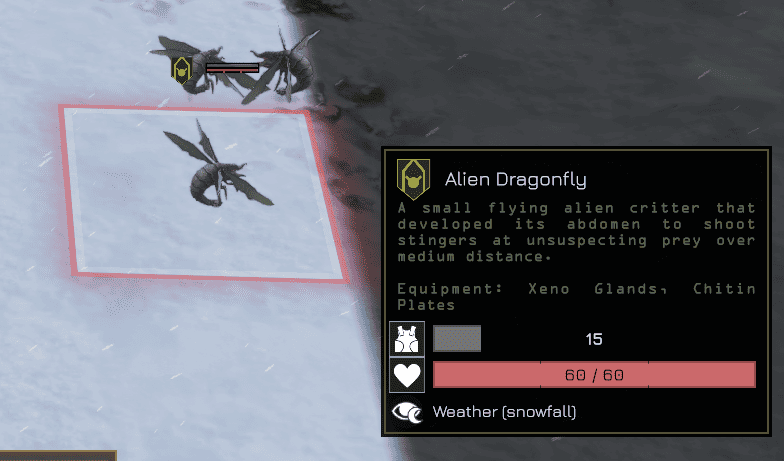
Alien Dragonfly
Overview:
Flying ranged bugs, more durable than Spiderlings. Groups of 3 that can attack twice per turn up to 7 tiles away.
Stats:
- HP per unit: 20
- Armor: 15 (any weapon penetrates)
- Movement: ~5 tiles per turn (flying)
- Attack range: Up to 7 tiles
- AP: 100 per turn
Counter: Standard weapons. Ineffective against armored infantry.
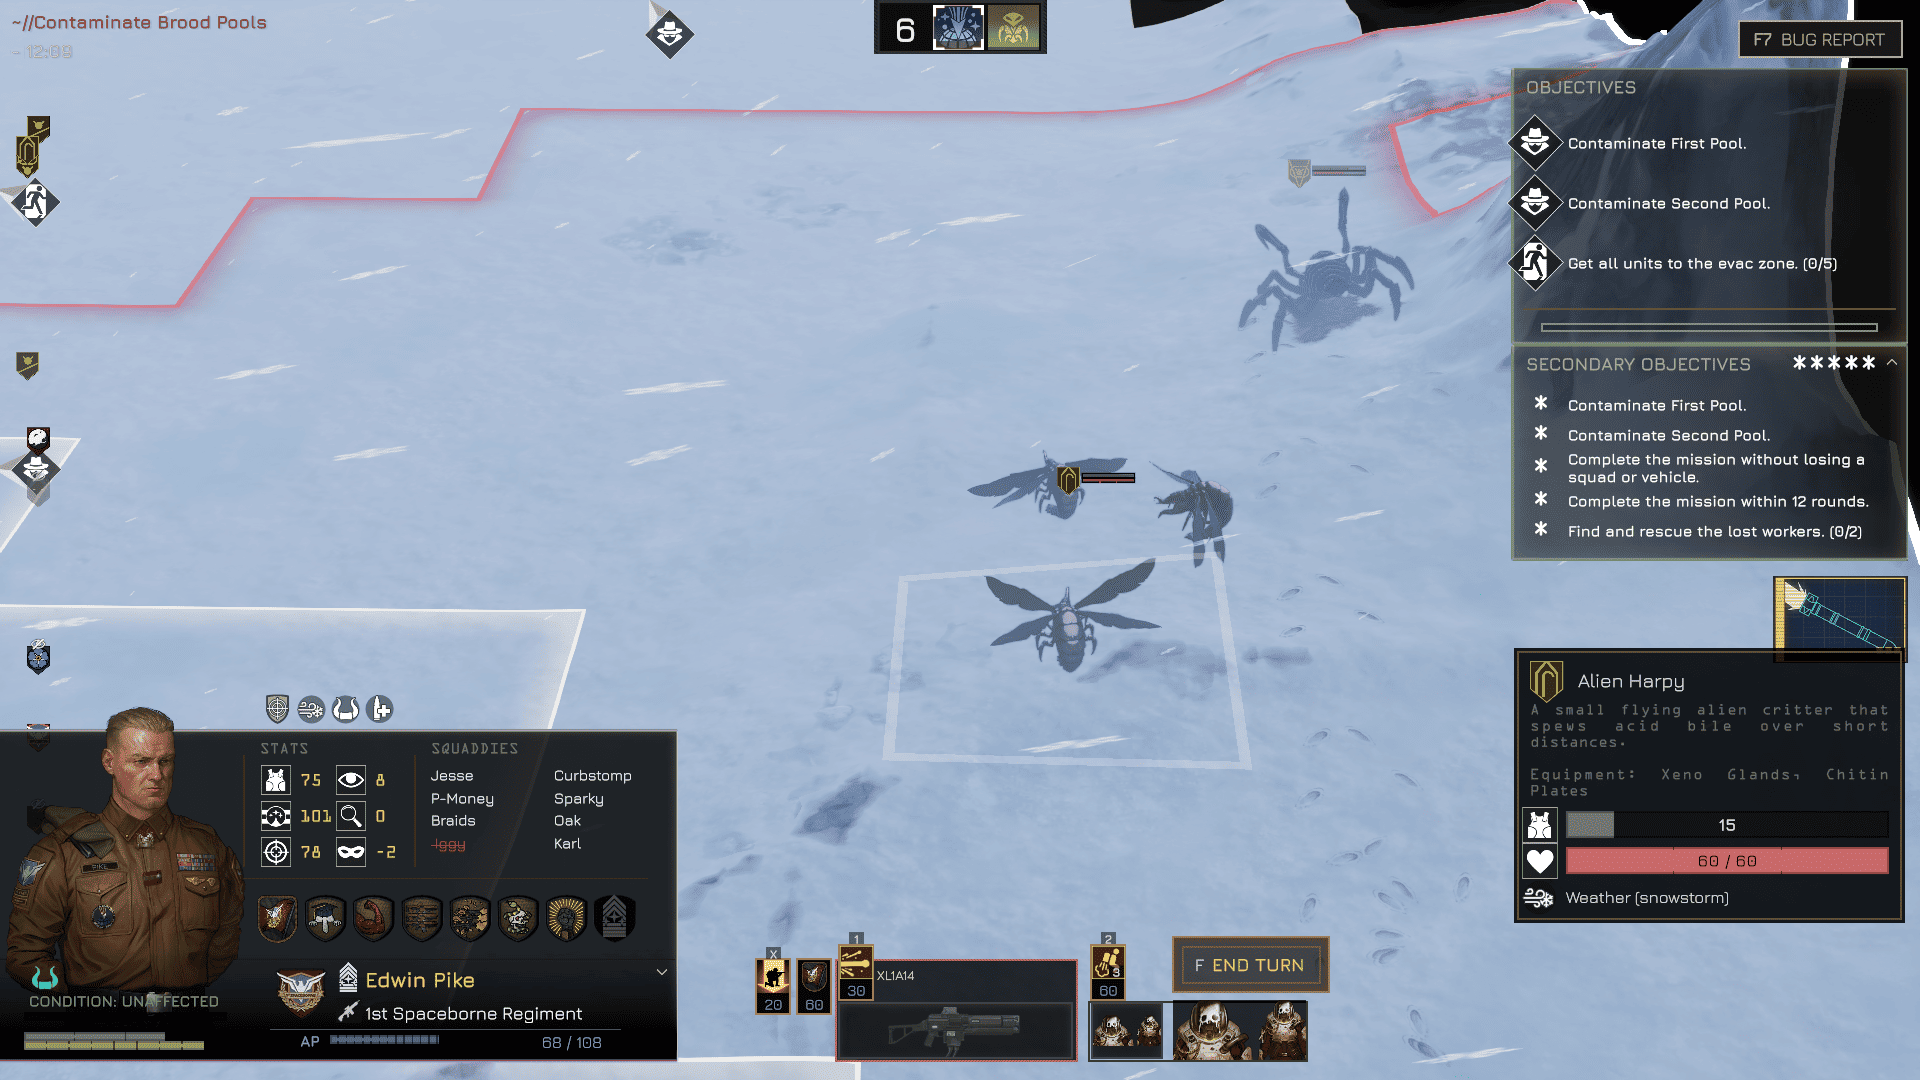
Alien Harpy
Overview:
Flying unit with a short-range flamethrower-like acid attack. Leaves acid puddles under targets. Groups of 3.
Stats:
- HP per unit: 20
- Armor: 15 (any weapon penetrates)
- Movement: ~5 tiles per turn (flying)
- Attack range: Short-range cone
- AP: 100 per turn
Counter: Keep distance. Ineffective against armored infantry.
Alien Young Warrior
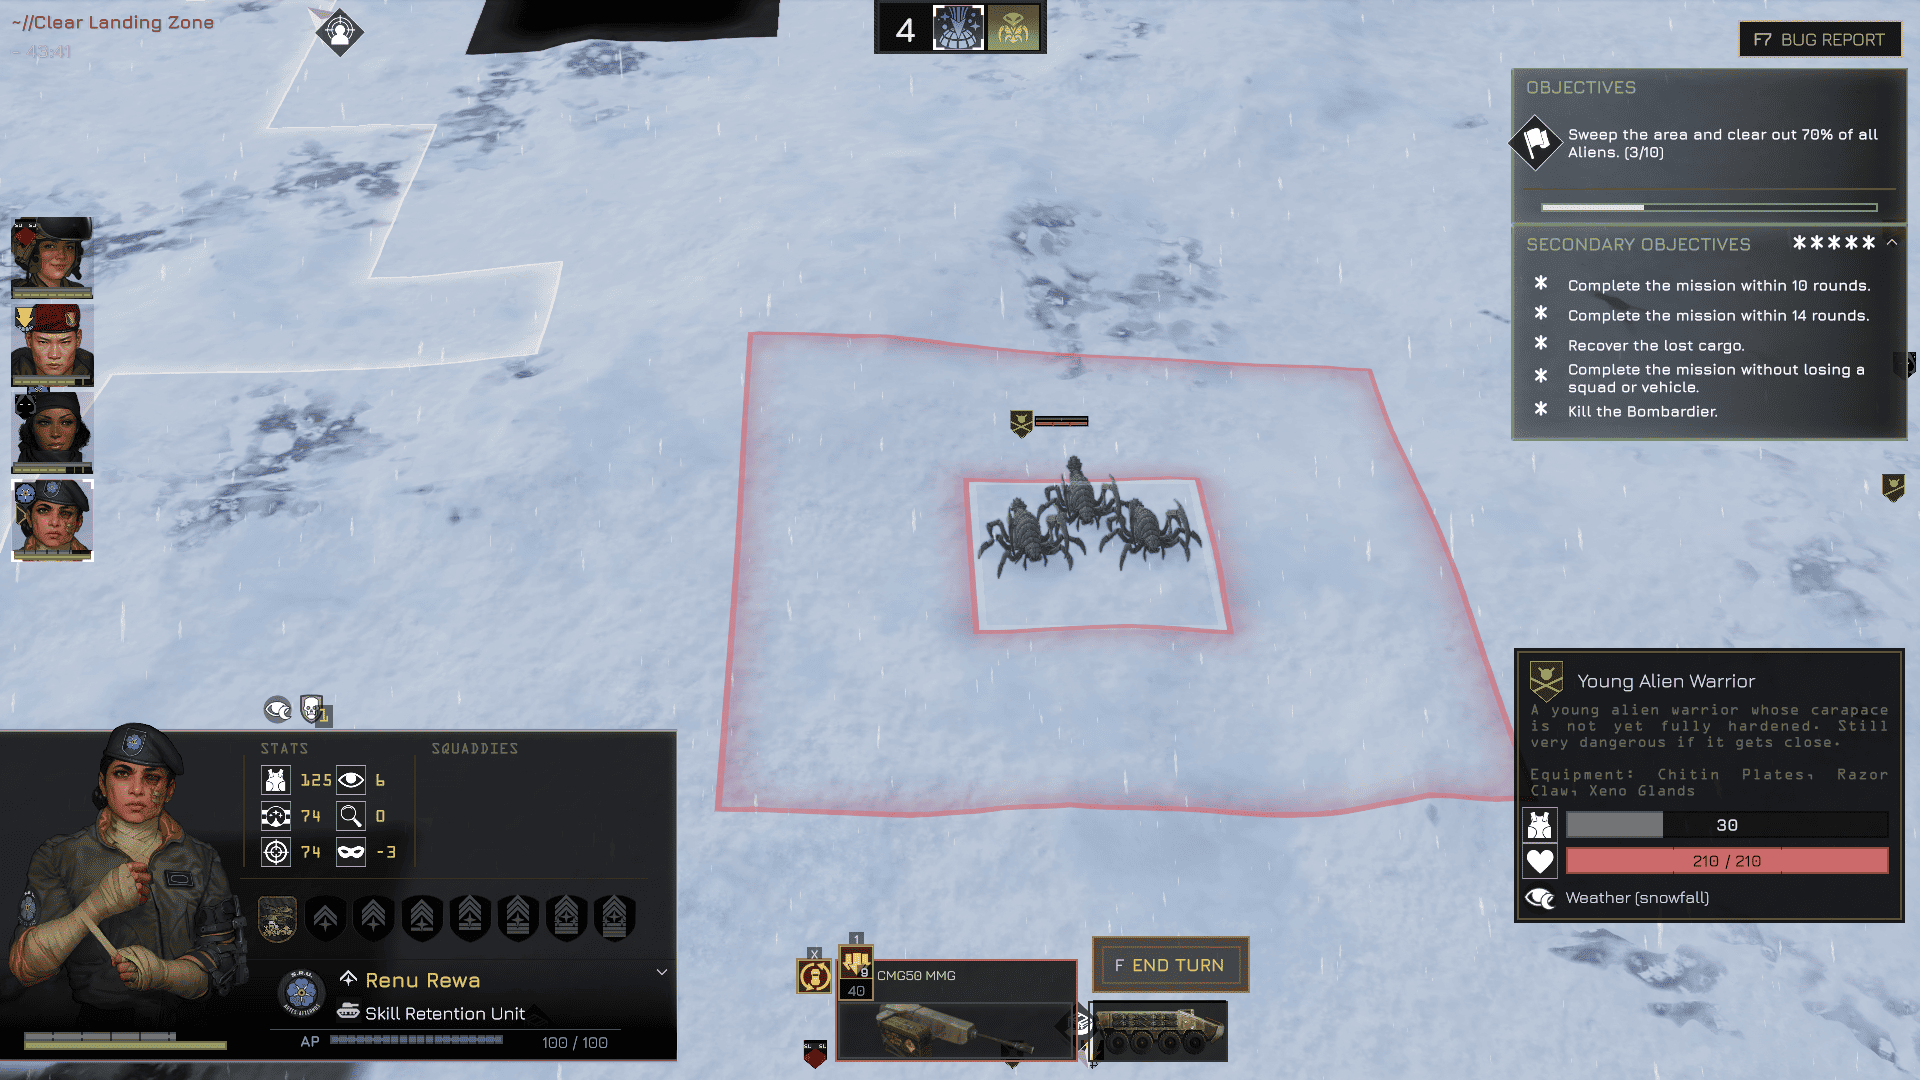
Overview:
Tougher ground-based melee unit with armor that resists light weaponry. Groups of 2–3. Can attack twice per turn with high-penetration melee strikes.
Stats:
- HP per unit: 70
- Armor: 30 (resists light weapons; vulnerable to medium+)
- Movement: ~5 tiles per turn
- Attack range: Adjacent tiles only
- AP: 100 per turn
Counter: Medium weapons like machineguns, DMRs, snipers, or vehicle-mounted guns. Standard rifles can kill it, but require 4–5 volleys from a 7–8 man squad at 3–5 tiles.
Alien Warrior
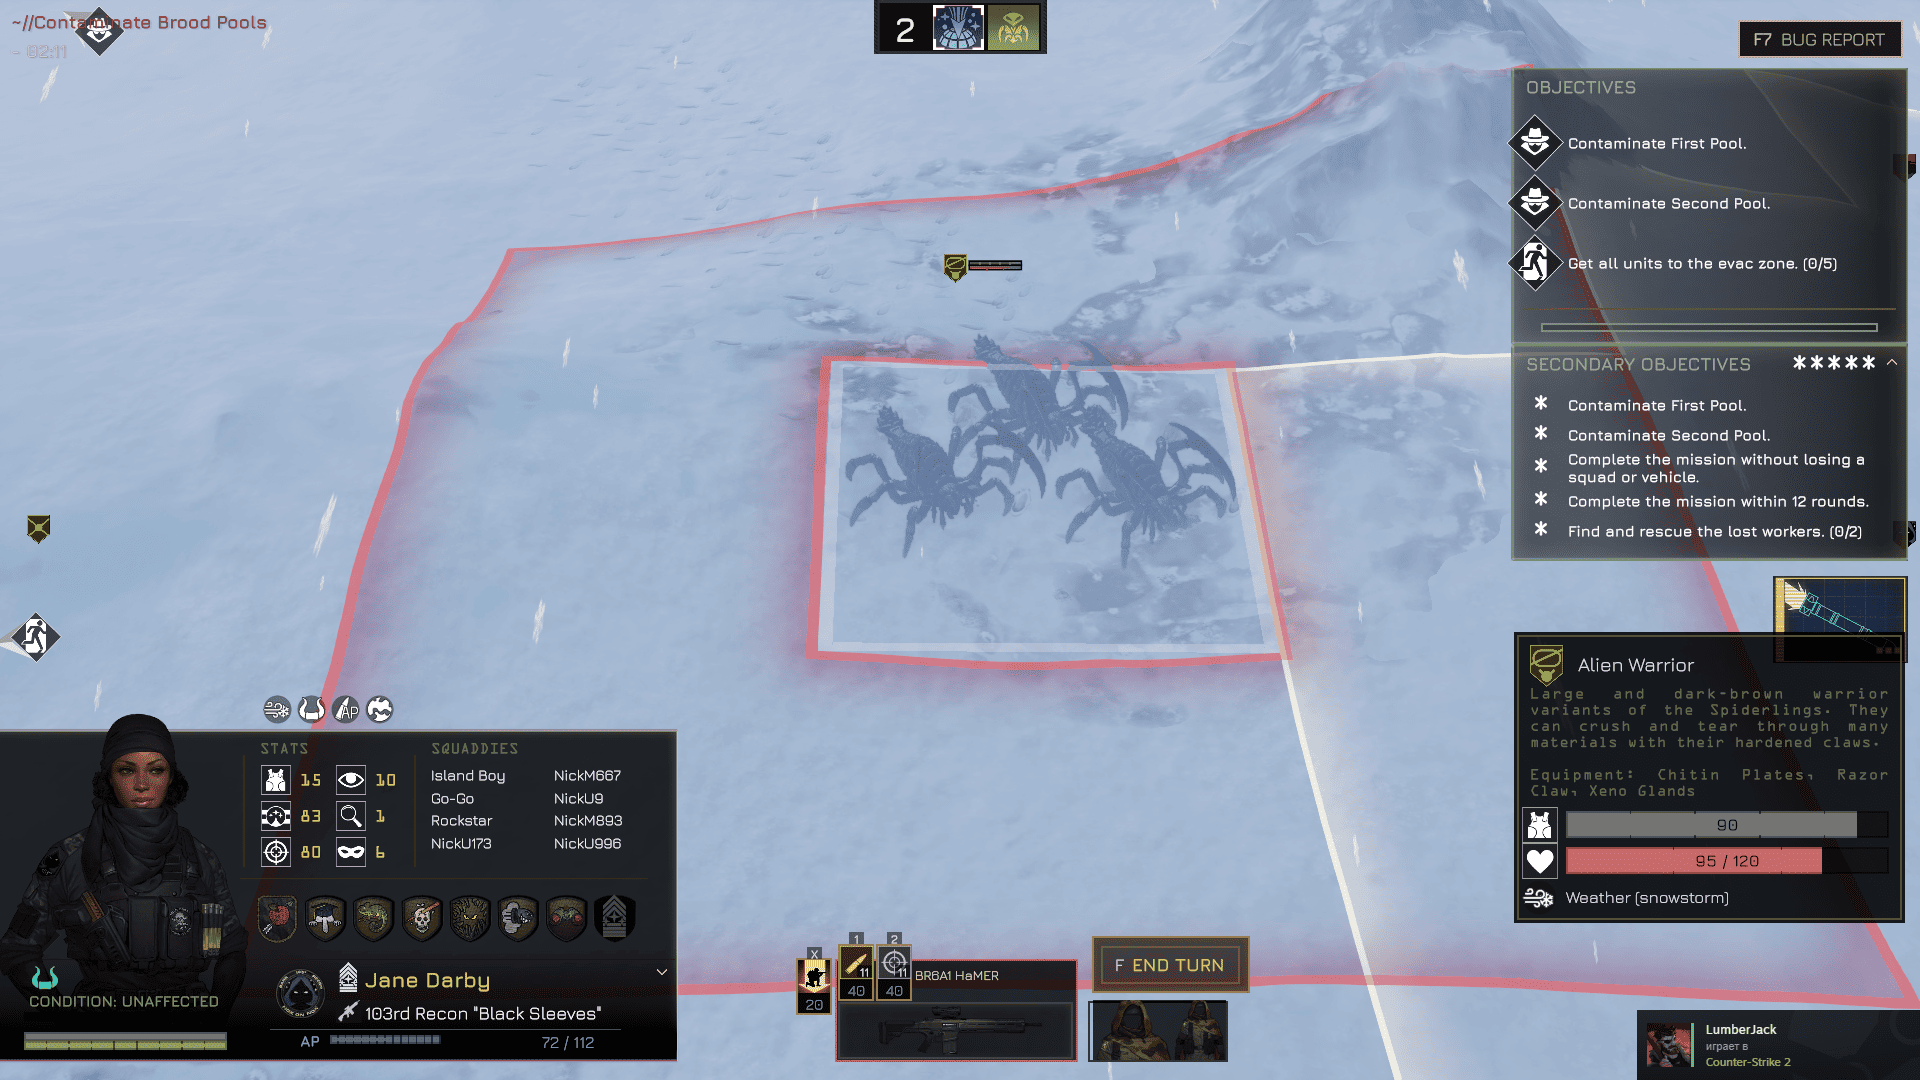
Overview:
Heavily armored ground melee unit. Extremely dangerous to even well-equipped squads. Groups of 2–3. Can attack twice per turn with very high-penetration melee.
Stats:
- HP per unit: 40
- Armor: 90 (resists most weapons; vulnerable to RPGs, M6 CMG, anti-materiel rifles)
- Movement: ~5 tiles per turn
- Attack range: Adjacent tiles only
- AP: 100 per turn
Counter: Keep 4–5 tile distance. Focus weaker targets first if possible. Use vehicle-mounted machineguns or anti-materiel rifles (e.g., Crocodile).
Alien Bombardier
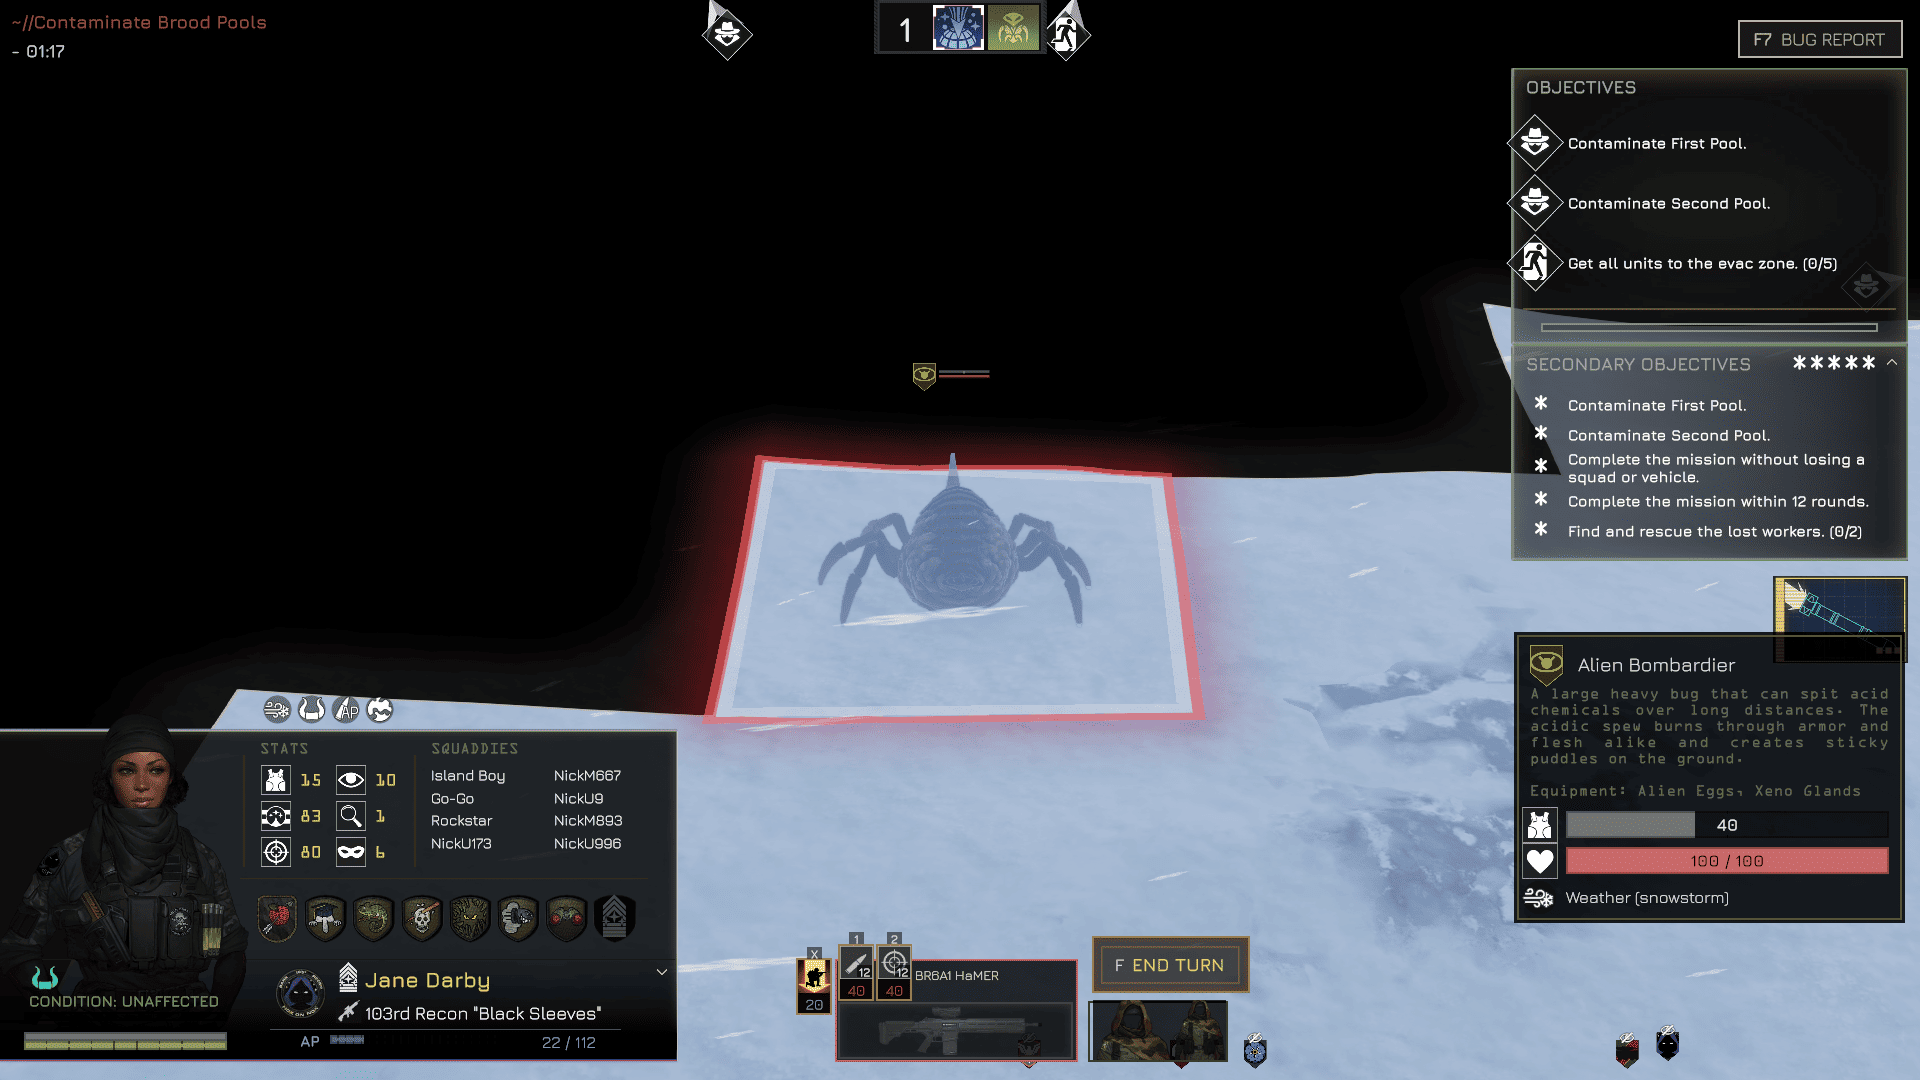
Overview:
The most dangerous alien unit. Solo. Can fire twice per turn with indirect, high-penetration artillery-like attacks. Does not require line of sight.
Stats:
- HP per unit: 100
- Armor: 40 (RPGs, M6 CMG, anti-materiel rifles, Crowbar, Hamer, laser rifles, or sometimes standard rifles)
- Movement: ~5 tiles per turn
- Attack range: Up to 8 tiles (indirect)
- AP: 100 per turn
Counter: Prioritize immediately. Can be killed with the C1A2 SPC carbine, but takes 2–3 volleys from a 7–8 man squad at 3–5 tiles. Use anti-armor weapons or coordinate concentrated fire.
Alien Blaster Bug
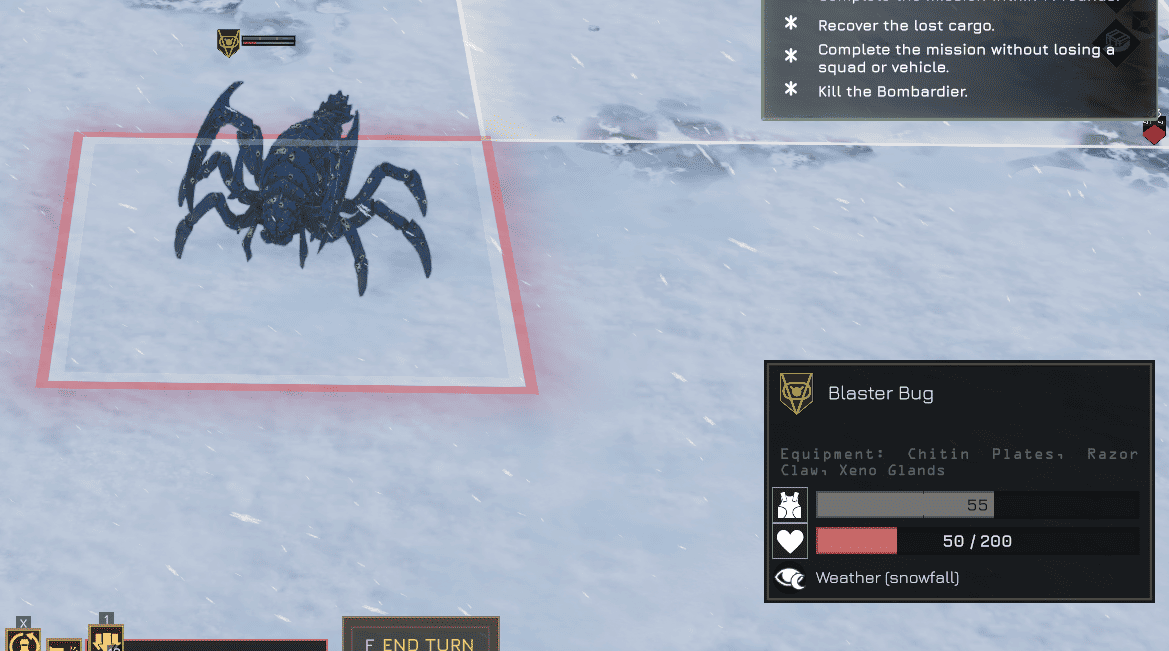
Overview:
Versatile and deadly solo unit capable of both melee and long-range attacks — often in the same turn. Can perform melee and ranged attacks in one action cycle. Low accuracy on ranged (hits only 1 squaddie).
Stats:
- HP per unit: 200
- Armor: 55 (RPGs, M6 CMG, anti-materiel rifles, Crowbar, Hamer, laser rifles, or sometimes standard rifles)
- Movement: ~5 tiles per turn
- Attack range: Up to 7 tiles (ranged) / adjacent (melee)
- AP: 100 per turn
Counter: Highly durable. Prioritize with anti-armor weapons. Can be taken down with the C1A2 SPC carbine, but requires 6–8 volleys from a 7–8 man squad at 3–5 tiles. Beware its unique behavior: move + melee + ranged in a single turn.
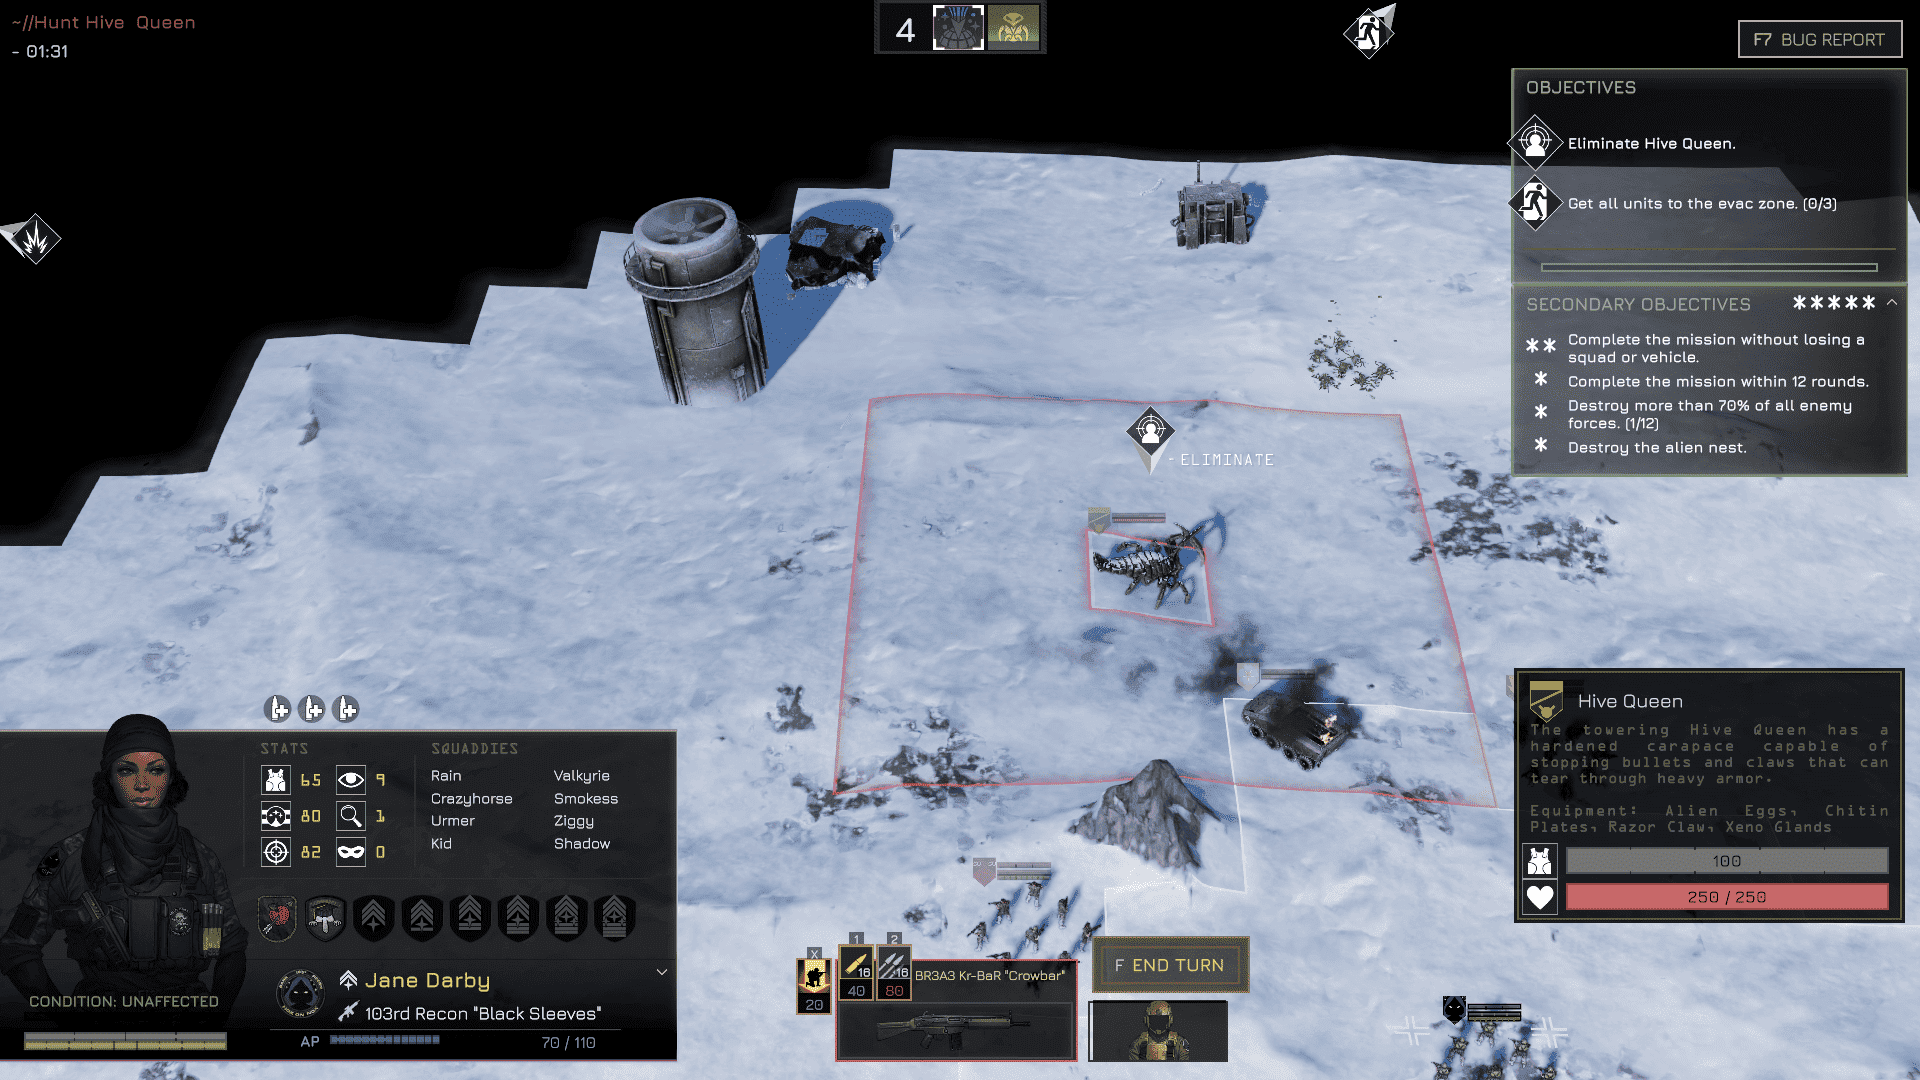
Alien Queen (Hive Queen)
Overview:
Final stage boss unit. Solo. Appears as a primary target during the last operation stage. Can attack twice per turn with high-penetration melee (up to 2 tiles reach) and mid-range attacks.
Stats:
- HP per unit: 200
- Armor: 100 (RPGs, M6 CMG, anti-materiel rifles, Crowbar, Hamer, laser rifles)
- Movement: ~5 tiles per turn
- Attack range: Melee: 2 tiles / Ranged: mid-range
- AP: 100 per turn
Counter: Treat as a boss unit. Use AT launchers and high-penetration weapons. Despite high threat level, she’s relatively easy to eliminate with proper firepower.
Final Thoughts
Menace throws a lot at you, but understanding enemy behaviors, armor values, and weapon effectiveness is half the battle. Whether you’re facing the coordinated firepower of the Rogue Army or the relentless swarms of alien bugs, smart positioning, target priority, and the right loadout will get you through.
Use this guide as a reference during your operations. Mark priority threats, exploit weaknesses, and remember: morale matters for enemies too. Break their lines, and they’ll break.
Good luck out there, Commander.

