The recent major expansion of Destiny 2 has just been released, The Witch Queen, and with every new content that’s added, better gear comes along too. This gear is usually locked behind elaborate questlines and is rewarded for completion. Here we will be discussing the exotic Parasite grenade launcher of The Witch Queen expansion.
A long-drawn-out quest has to be accomplished to get access to this wicked-looking grenade launcher. So follow along our guide to be amongst the few people sporting this deadly machine.
The Parasite – The Witch Queen
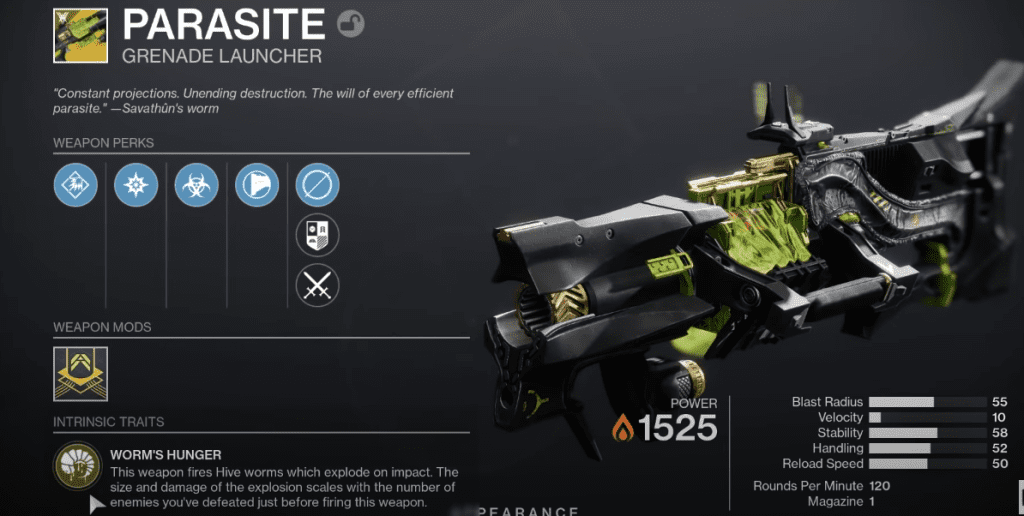
The Parasite is an exotic grenade launcher, added in The Witch Queen expansion, and is the reward for completing the “Of Queens and Worms” quest. This weapon is great at mowing down scores of enemies surrounding you, especially considering the traits it has. The unique features of this weapon are:
- Worm’s Hunger: This weapon fires Hive worms that explode on impact. The size and damage of the explosion scale with the number of enemies you’ve defeated just before firing this weapon.
- Worm Byproduct: Taking damage from your own worm projectile detonation empowers your weapons for a short time.
Related: How to Complete Memories of Ruin in Destiny 2 The Witch Queen
Of Queens and Worms – Quest
It is recommended that you approach this mission after you have completed The Witch Queen campaign, as it will reward you with gear that will help you out with this quest. The quest will be available once you have unlocked the Enclave location on Mars, it can be activated by talking to Ikora Rey and getting the “Of Queens and Worms” quest step 1. There are a total of 17 steps that you need to do to complete this quest.
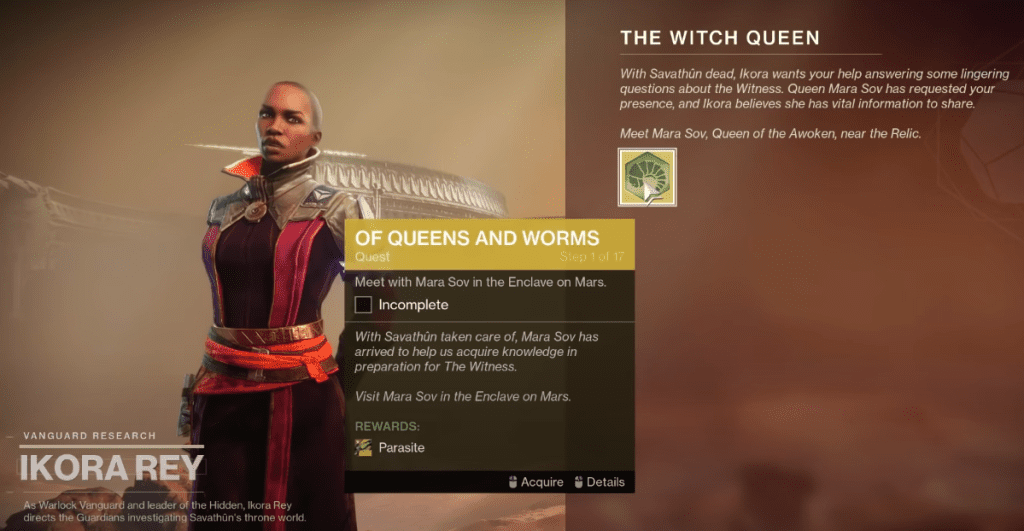
Step 1: Visit Mara Sov on Mars
A straightforward step, just head to her indicated location to continue! Meet with Mara Sov in the Enclave on Mars.
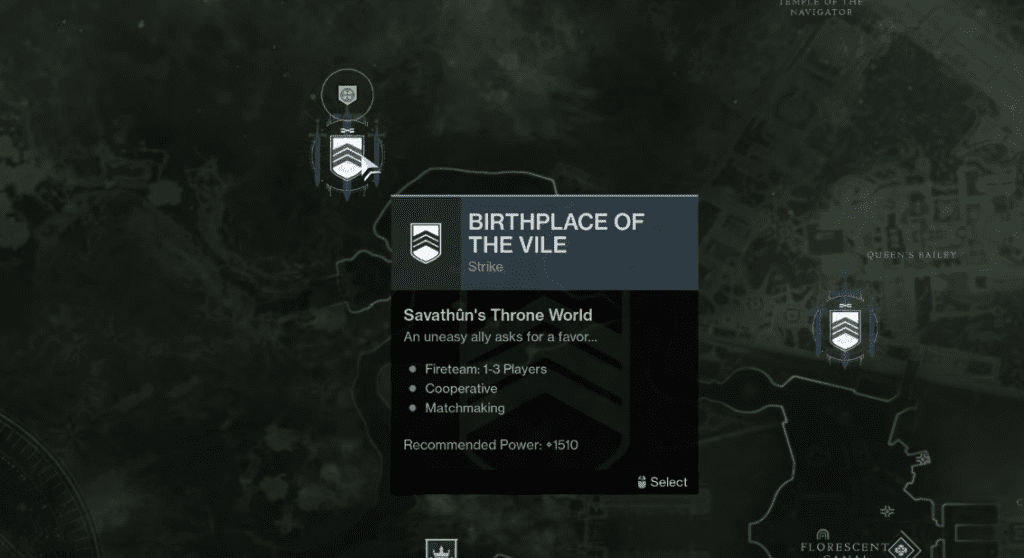
Step 2: Complete Birthplace of the Vile Strike
The second step demands that you complete the newly added Strike “The birthplace of the Vile”. So keep in mind the power level and start when you meet it.
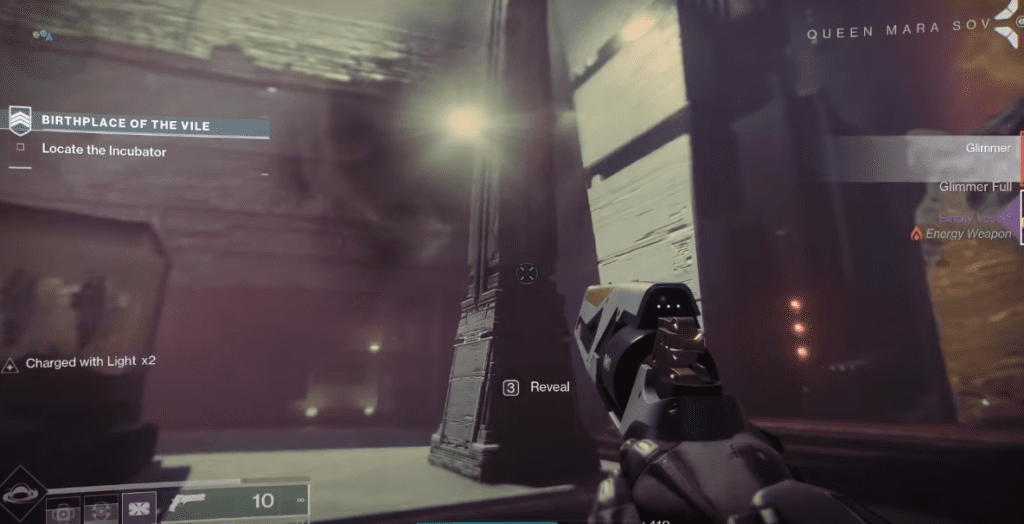
After completing the strike you will be prompted to locate the incubator, which is just next to the end loot chest. Interact with the ground to reveal the incubator.
Step 3: Visit Fynch on Mars
Head back to Fynch to discuss what has happened so far.
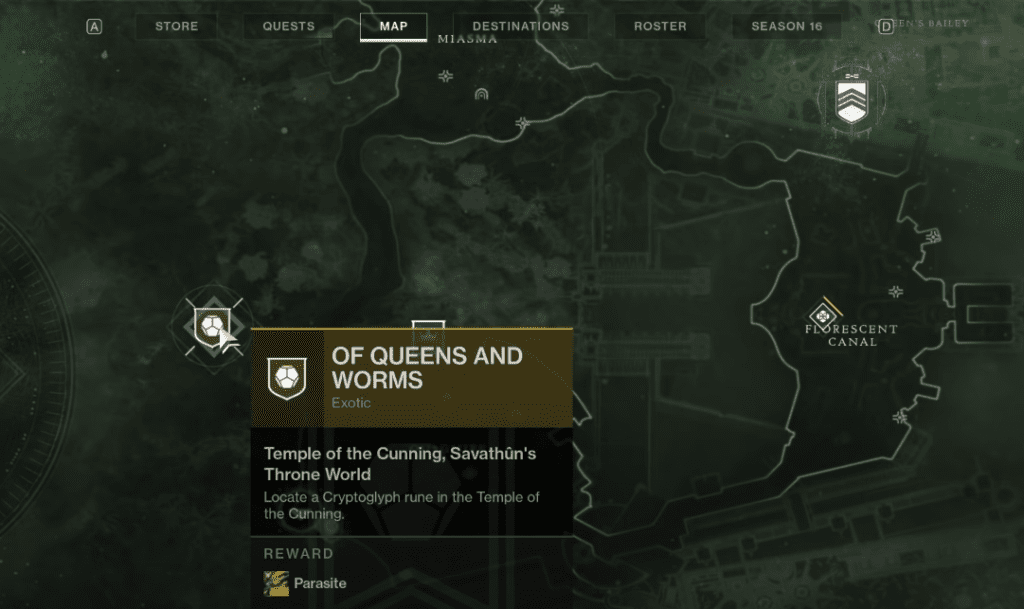
Step 4: Locate a Cryptoglyph Rune
Find a Cryptoglyph Rune in the Temple of the Cunning. Just keep following the waypoint on your screen rather than the map to reach the precise location this step wants you to go to.
Step 5: Defeat Scorn in the Throne World
Go to the swampy location like the Quagmire to run into the most scorn and just defeat 100 of them to finish this step.
Step 6: Uncover the Sepulcher Lost Sector
Find the entrance to the Sepulcher Lost Sector in the Florescent Canal.
Step 7: Complete the Sepulcher Lost Sector
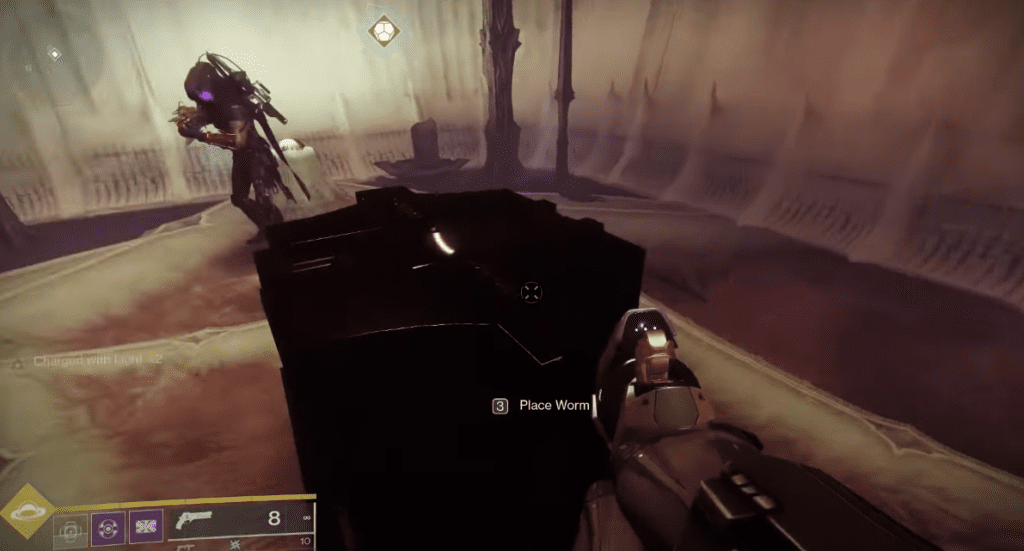
Locate a larvae incubator at the end of the Sepulcher Lost Sector in the Florescent Canal.
Step 8: Complete Patrols
Gather leads by completing three patrols in the Florescent Canal. Just pick up the easiest kill enemy bounties and this will be done in no time.
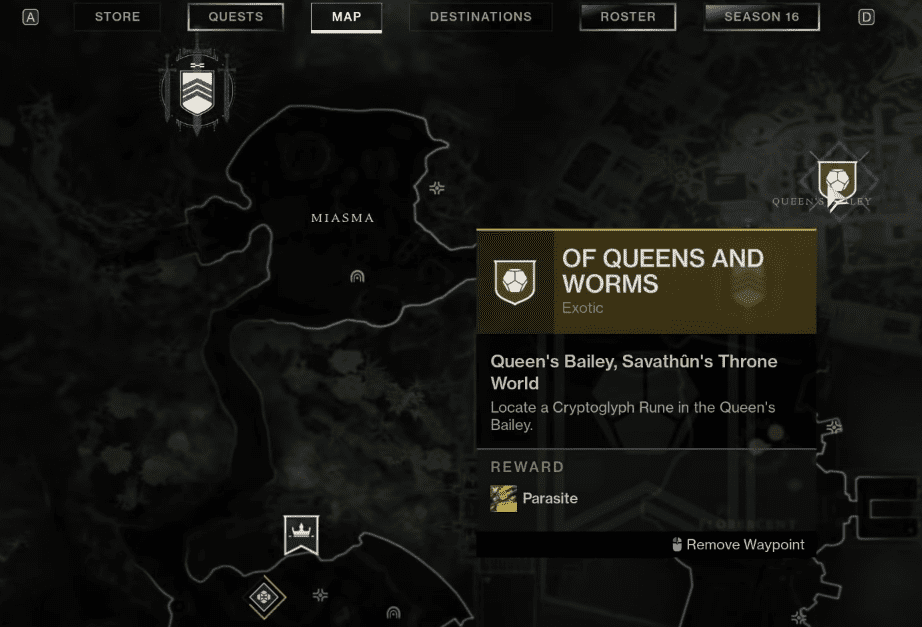
Step 9: Find A Cryptoglyph Rune in Queen’s Bailey
Locate a Cryptoglyph Rune in the Queen’s Bailey.
Step 10: Uncover the Metamorphosis Lost Sector
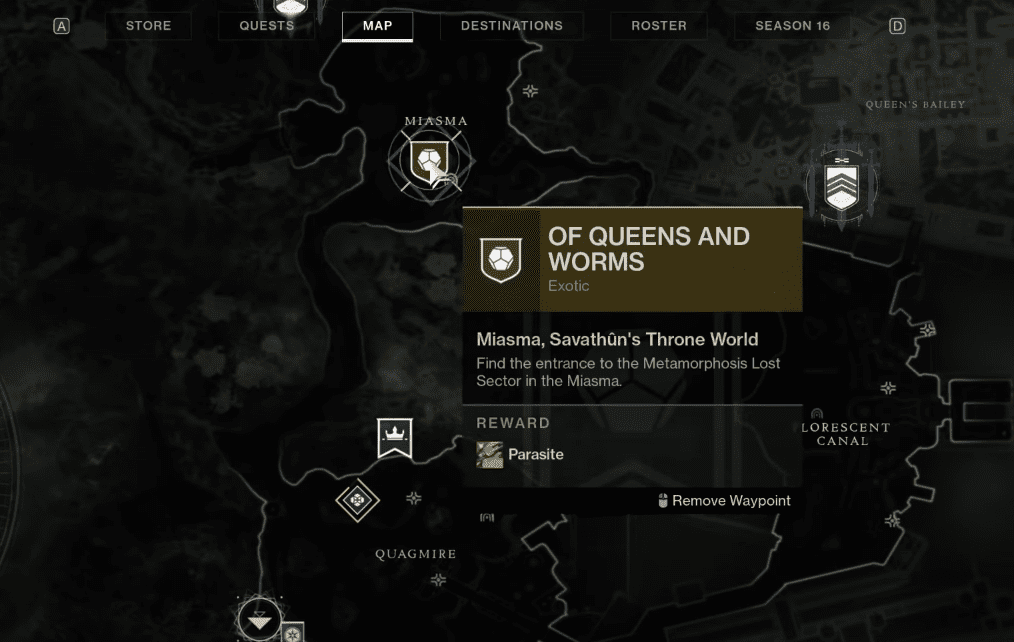
Find the entrance to the Metamorphosis Lost Sector in the Miasma.
Step 11: Complete the Metamorphosis Lost Sector
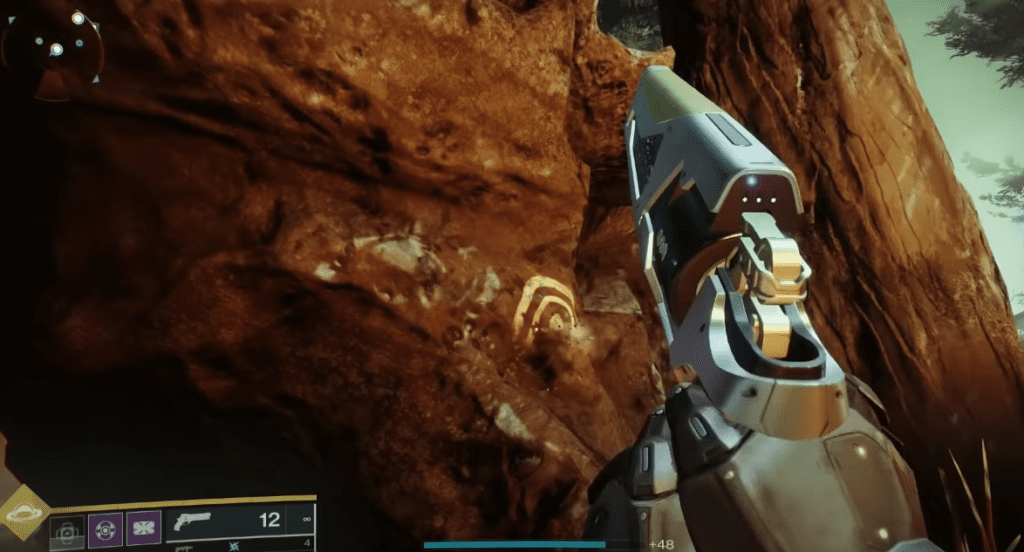
Locate a larvae incubator at the end of the Metamorphosis Lost Sector in Miasma. The lost sector is the cave shown below:
Step 12: Find A Cryptoglyph Rune in Alluring Curtain
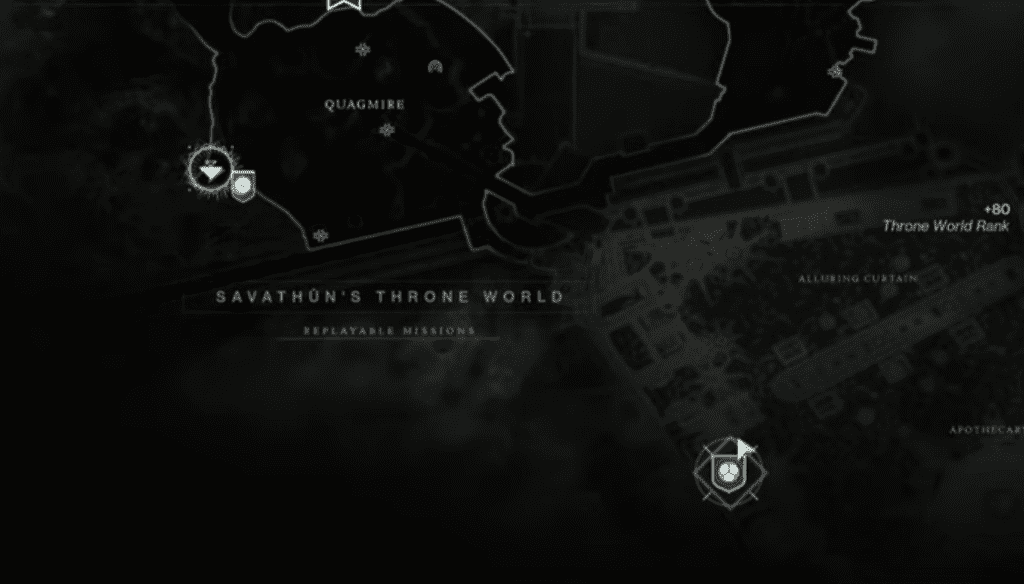
Locate a Cryptoglyph rune in the Alluring Curtain. It is located further down on the map so just have to scroll to view it.
Step 13: Find A Deepsight Cache
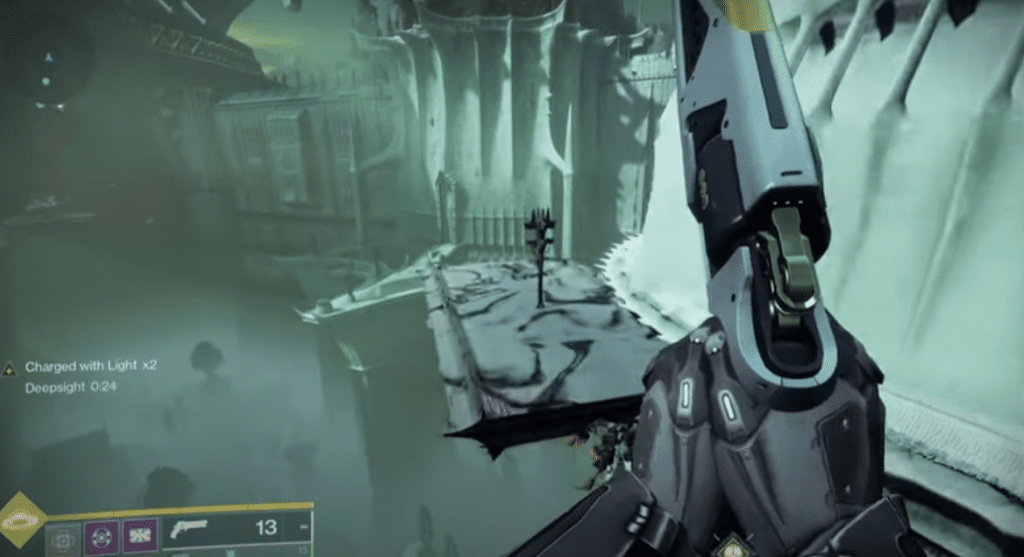
Find the nearby Deepsight cache in the Alluring Curtain. You need to shoot at these totems on the hovering platforms that appear after you have revealed them.
Step 14: Uncover the Extraction Lost Sector
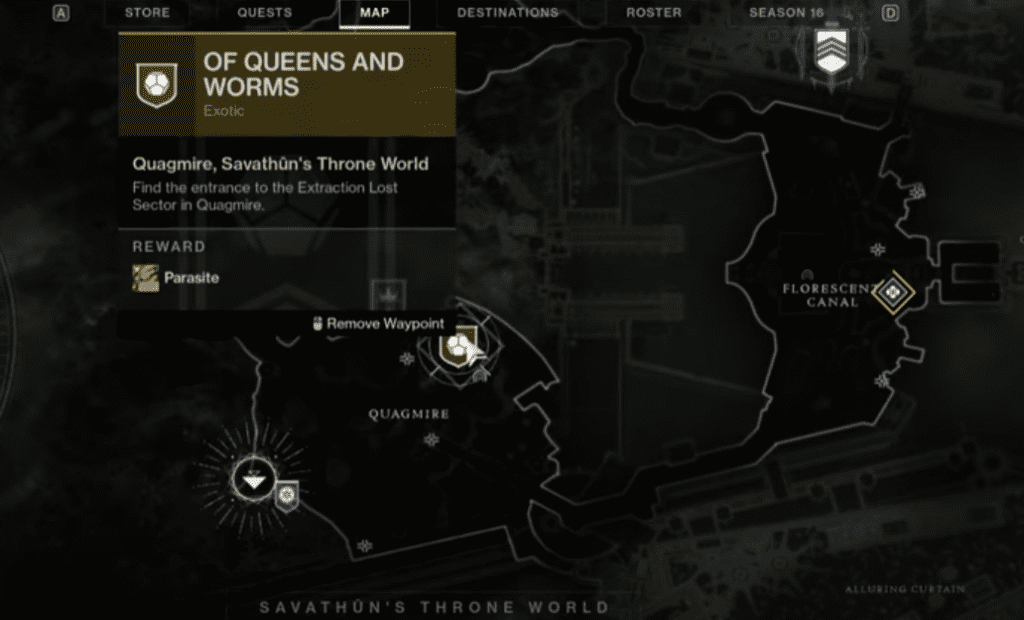
Find the entrance to the Extraction Lost Sector in Quagmire.
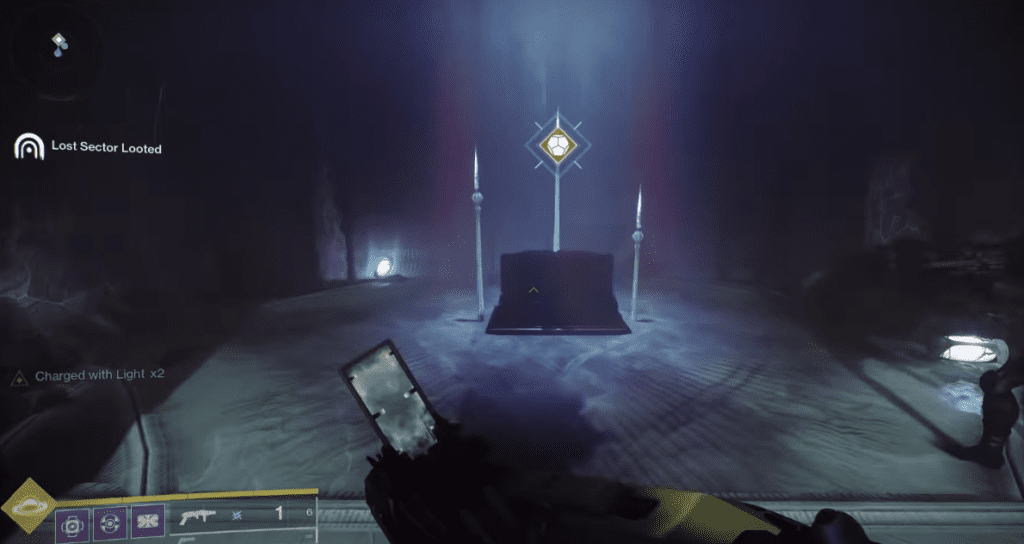
Step 15: Complete the Extraction Lost Sector
Locate a larvae incubator at the end of the Extraction Lost Sector in the Quagmire.
Step 16: Head Back to Fynch
Visit Fynch and see if he can help Savathûn’s worm.
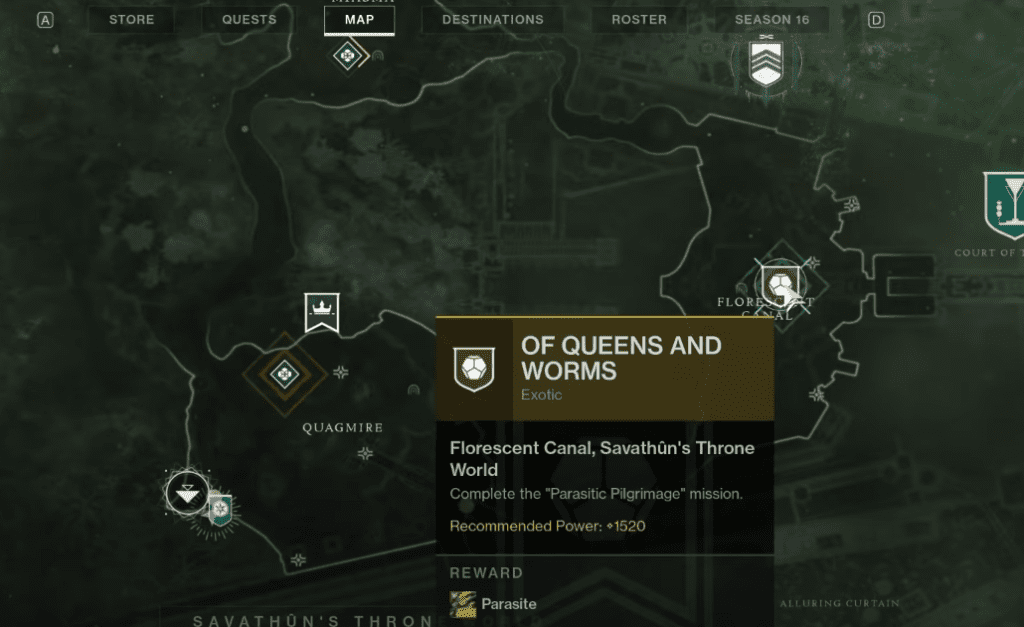
Step 17: Complete Parasitic Pilgrimage
Complete the “Parasitic Pilgrimage” mission. With a power level of 1520 required level up and only then begin because this is a toughie. In this quest, you will have to carry the worm from one location to another collecting 16 Hive energy scattered throughout the mission. If you don’t the worm will detonate.
Keep in mind your hands will be locked carrying the worm so it’s necessary that you have teammates to provide firepower support. There are other steps that follow so just go along and you will be rewarded with the Parasite.
Hopefully, this guide would have helped you out in attaining this malignant piece of weaponry. For more Destiny news and guides visit our website.

