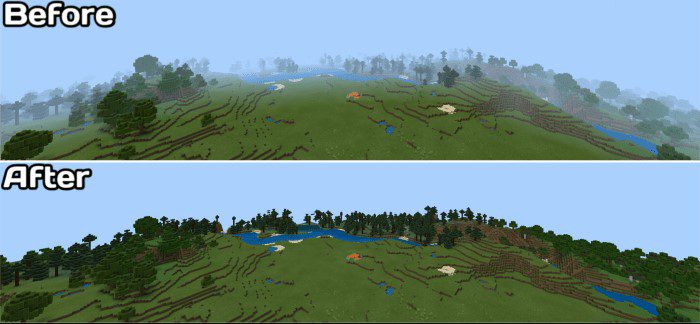
Players noticed that the fog effect was quite pronounced in the latest Caves & Cliffs update. This reduces your vision and allows slower hardware to render the world for the player correctly. You can find this effect in many games, namely Silent Hill 2 and Morrowind. Some players enjoyed this effect to improve the atmosphere, while others disliked it. That is why this guide will show you how to turn off the fog in Minecraft.
Mojang might remove this effect if most players do not like it. However, as of right now, it is here to stay. If you dislike the effect and want to remove it, look no further. With that being said, let’s dive right in and take a look at how to turn off the fog in Minecraft.
Minecraft: How to Turn Off Fog
This effect cannot be removed by changing any setting in the game. That is why you have to alter the game’s files to make it disappear – or less pronounced. There are a couple of ways to remove the fog, but we will first start with the easiest one.
Alter the Server Properties
The first thing that you should do is to change the server properties.
- Go to the Aternos webpage
- Choose the server that you are playing on
- Select Files
- Press on server.properties
- Look for view-distance
- Increase its value according to your preference
After altering these settings, you will notice that the fog effect is gone, and the world renders like it used to.
Use OptiFine to Increase Render Distance

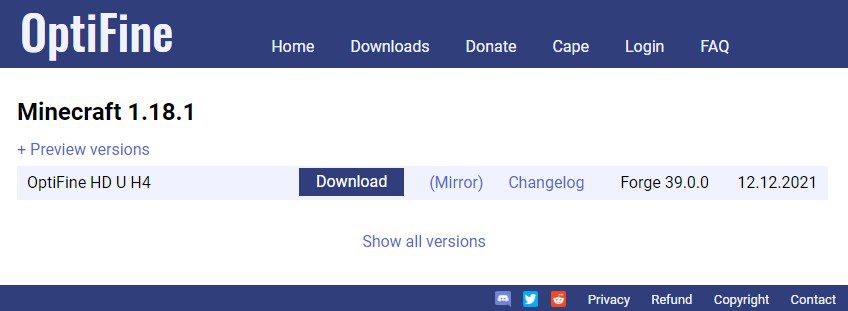
Alternatively, you can use the OptiFine mod. This mod offers various settings by which you can change the render distance in the game. You can set the distance accordingly, and the fog will disappear.
- Download Optifine
- Start the Installer Program and run it
- Launch Minecraft and choose OptiFine from the menu
- Hit Play
- Right click the Minecraft Launcher and choose the Optifine profile setting
Install Resource Packs

Finally, you can install various resource packs to remove the fog as well. If you do not want to use Optifine and cannot change the server settings, this is a great alternative. The pack in question is one that was made specifically for this purpose. It is called Remove Fog 1.18 and it does exactly that. First of all, you must:
- Download the resource pack
- Open the folder to which you downloaded the file
- Copy the .zip file
- Open Minecraft
- In Minecraft, click on Options, then Resource Packs
- Choose Open resource pack folder
- Paste the file into the resource folder in Minecraft
- Go back to Minecraft, the resource pack should now be listed
However, if you have the Java version, you must:
- Download the resource pack you want
- Copy the file you downloaded
- Press Win + R. A window titled Run should appear
- In the textbox inside the Run window, type %appdata% and click Ok
- In the folder that just appeared, open the .minecraft folder
- In the .minecraft folder, open the resourcepacks folder
- Paste the resource pack in this folder
- Open Minecraft, select Options, then Resource Packs, select your resource pack and select done
Once you have installed the pack, you will have to change some settings to remove the fog.
- Open remove fog 1.18 and above.zip
- Go to assets> minecraft > shaders > include > fog.glsl
- At row 8, you will find:
- float fogValue
- Change the values accordingly. 0.0 is no fog
You even have the option to adjust visibility in the Nether, underwater, in lava, and adjust the blindness effect.
All of these methods should work and are easy to do. Other than that, there is no alternate way to remove the fog. We will just have to wait and see if Mojang keeps this effect in the game or not. Let us know in the comments below if you managed to remove the fog or not.


managed to edit the glsl file using notepad, but i couldn’t save it in the right file path. is there another program i have to use to edit the glsl file?