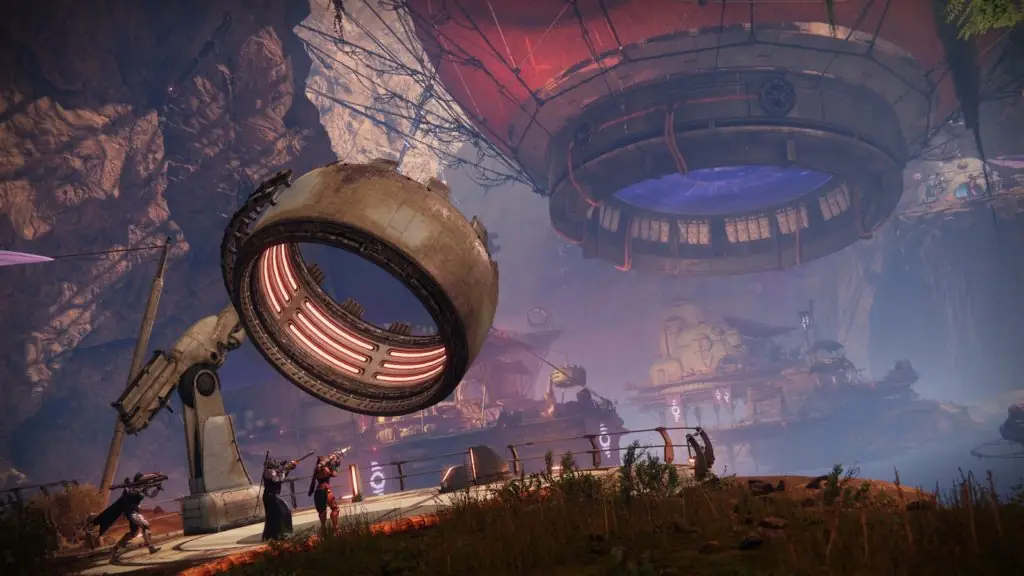
Destiny 2 recently had its 30th Anniversary Update, which came along with a lot of new content such as weapons, and new Dungeons. One of these new dungeons is the Grasp of Avarice and this guide will help you complete the dungeon while providing you with tips and tricks on how to complete every section of the dungeon.
The Grasp Of Avarice might seem like a frustrating dungeon for some as it can get a little redundant at times, however, the rewards of clearing out the Dungeon are completely worth it, especially as the Dungeon is part of the quest that gives you access to the Gjallarhorn. So bear with us, and let us get started on the guide on how to complete the Grasp of Avarice Dungeon in Destiny 2.
Destiny 2: The Grasp of Avarice
Before you get started with the quest of taking down the Grasp of Avarice, make sure you have a solid amount of time and energy on your hands because similar to other Destiny 2 dungeons, this one is a long one as well. Now without any further ado, let’s just get right into it.
First Area: The Loot Cave
In the first area of the dungeon, the iconic loot cave makes its way back to Destiny 2 as you would need to activate the cave in order to have the dungeon underway. However, unlike the old loot caves, there is a new mechanism involved.
- Now the first step is to load up the new dungeon, The Grasp of Avarice.
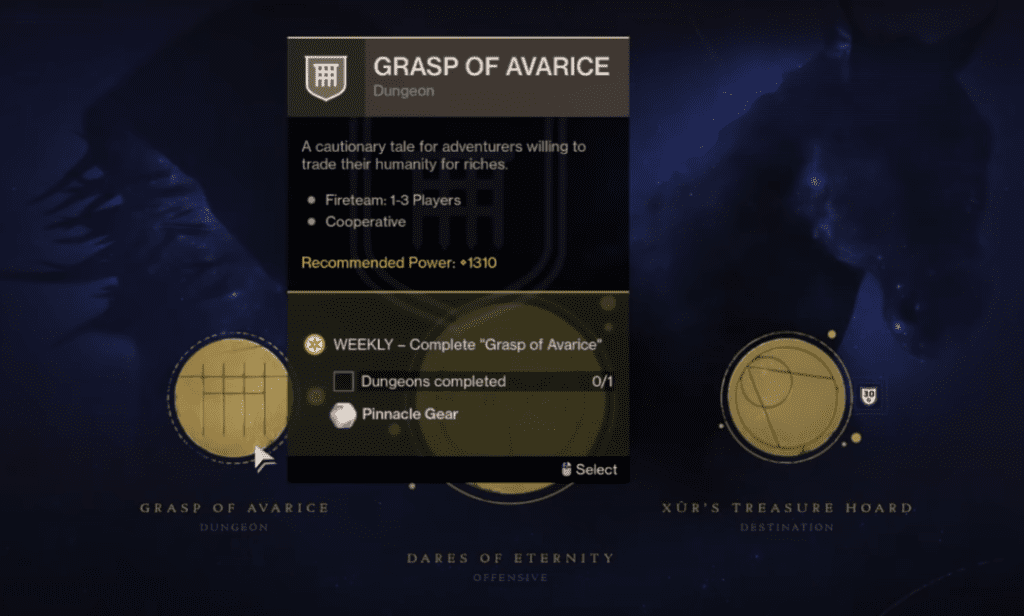
- Once you load up the dungeon, the first area will be the old loot cave, but with a twist to it. Go ahead and trigger the cave.
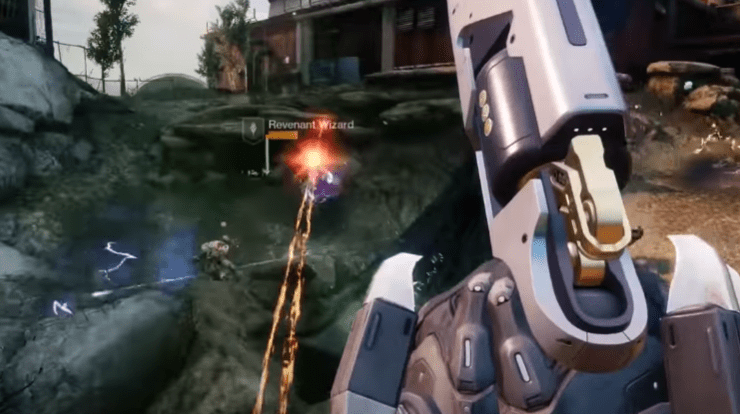
- The cave will be riddled with Fallens, and once you kill the fallens you they will drop Exotic Engrams. However, make sure you take note of these as these will be a recurring mechanism throughout the dungeon.
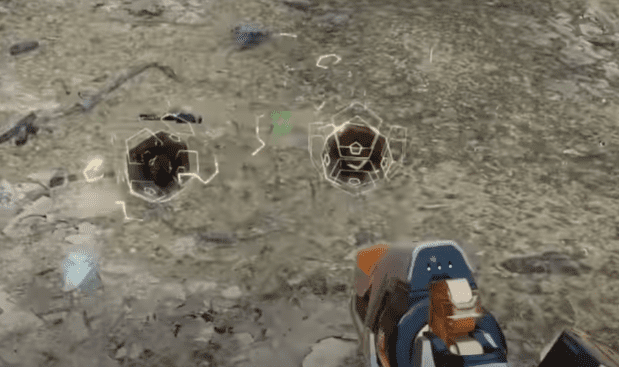
- These Engrams are nothing good but a debuff, “Burdened By Riches”. This debuff goes up in stacks as you keep collecting more and have a timer of 30 seconds. When you pick up another Engram, the timer gets reset, however, if you let the timer to run out, regardless of the stacks, your guardian will die.
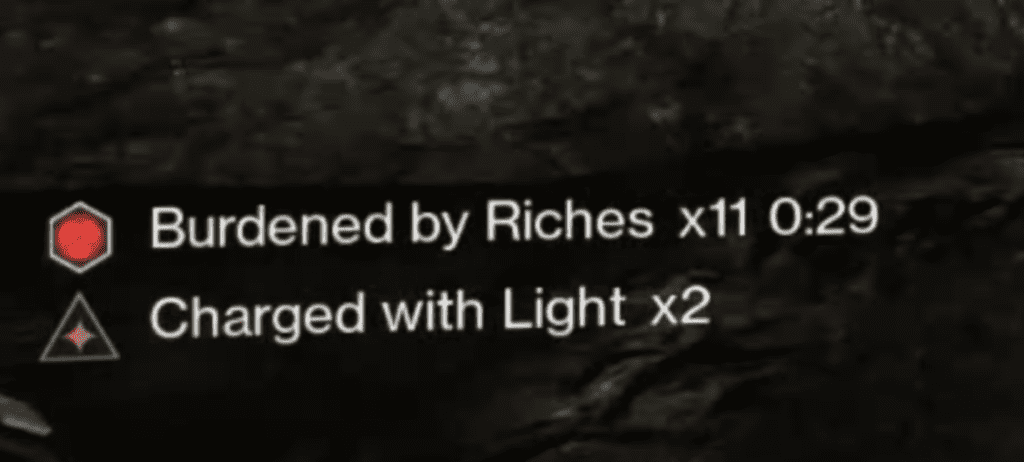
- However, inside the cave is a crystal to which you can feed these Engrams and it will take away the debuff by standing next to it. And that is the key to progressing from this stage.
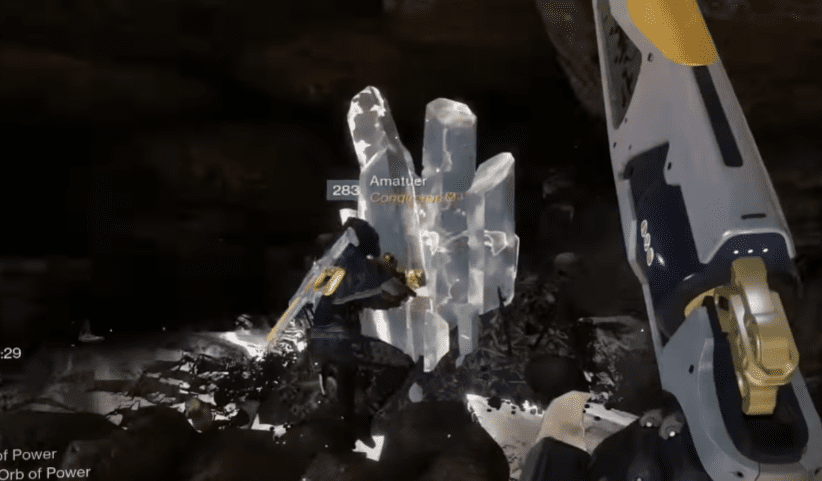
- You will have to feed the crystal a specific number of Engrams before it gets activated and the next passage is opened up. However, take note that the mobs won’t spawn if you inside the cave so after clearing it, move out and let the next mob spawn.
- After you have activated the crystal a new path below you will open up, letting you get inside the actual dungeon, the Grasp of Avarice.
Second Area: Rusted Gangplank Puzzle
After you make your way through the tunnel that just opened up, you will come face to face with the most frustrating part of this dungeon, the puzzle. This is the longest and the most tiring part of the puzzle, however, it isn’t very difficult to complete to just stick with the guide and you should be able to get through this.
- After you make your way through the cave, you will reach a chamber with all signs pointed towards a big round door, however, the door is locked.
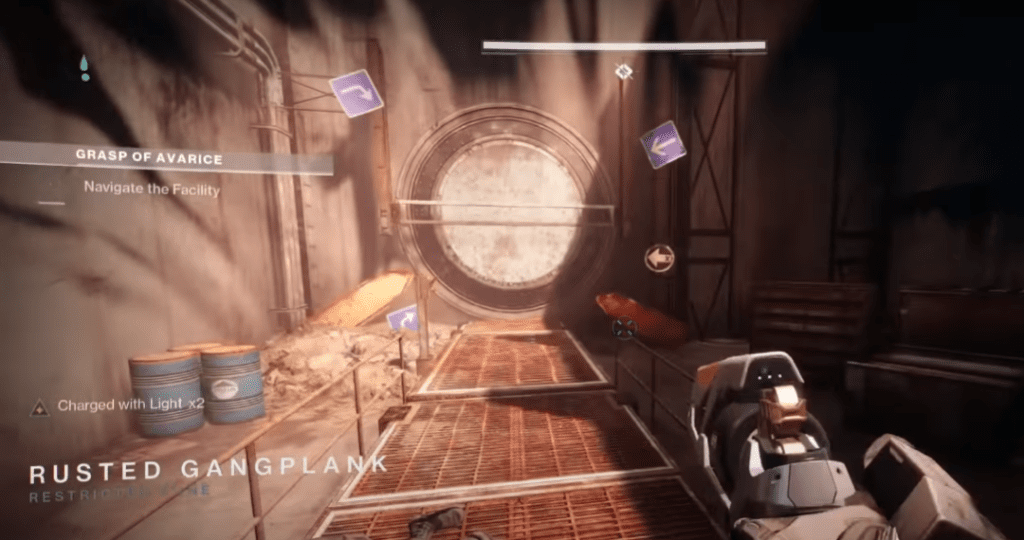
- There are two more doors on the rightside of the round entrance and both of them have an activation lever next to them. These lever will open up the doors however don’t be too impatient and don’t rush in when you open the doors.
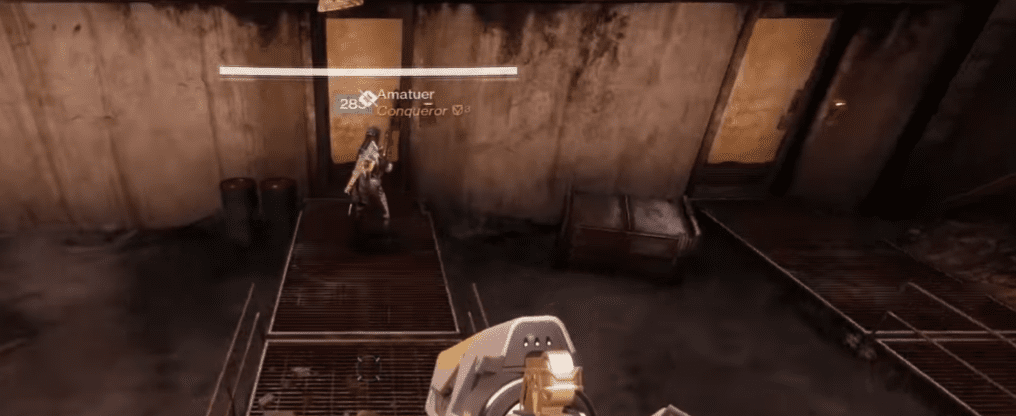
- Head to the door on the left, and push on the lever. As soon as you walk in, you will see a pressure plate on the ground. Jump over the plate as stepping on it will instantly kill you with a triggered trap.
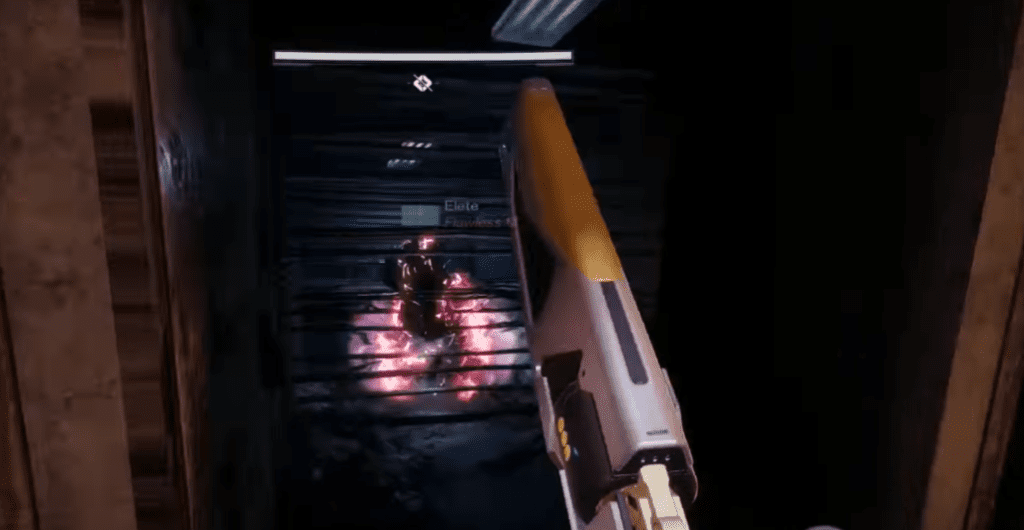
- Once you have jumped over the trap, you will be presented with another activation lever that will open op the path.
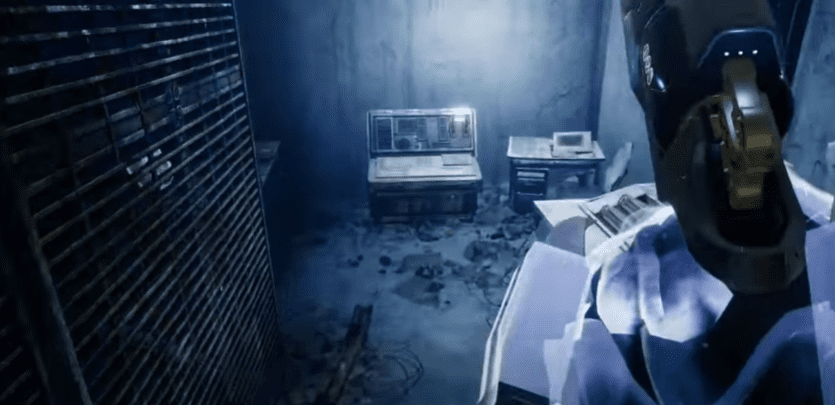
- Once activated, it will lock out the other room and open up the round entrance for you to proceed through.
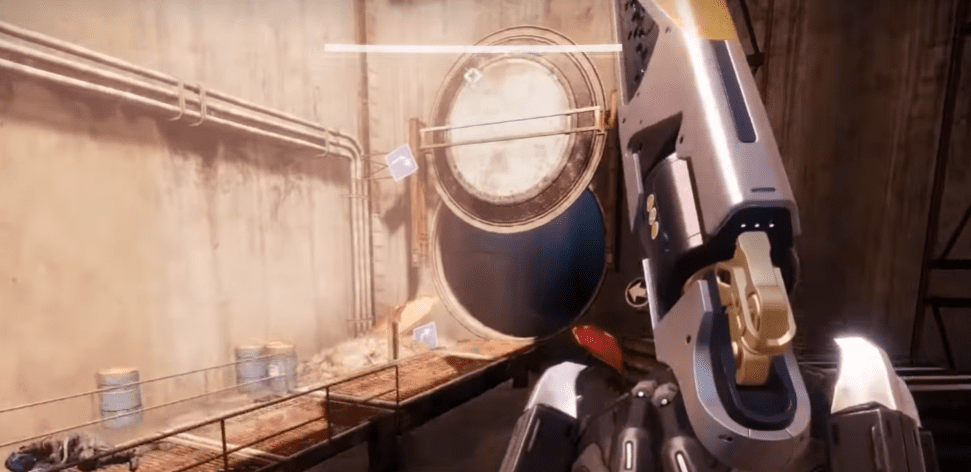
- Once you come out of the tunnel in this entrace, you will have to make a jump on a platform on top of a caged wall.
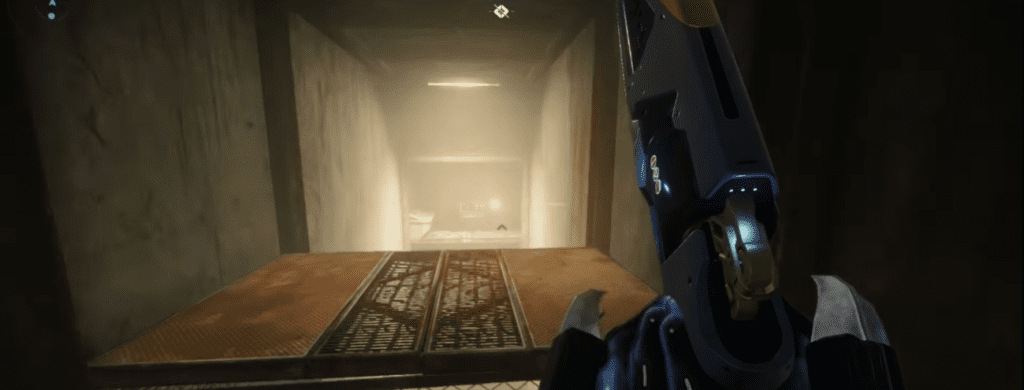
- However, that platform is a trap door and the room you need to get to is right below the platform.
- In this room, you will have another activation lever along with the map of the the chamber you just came from.
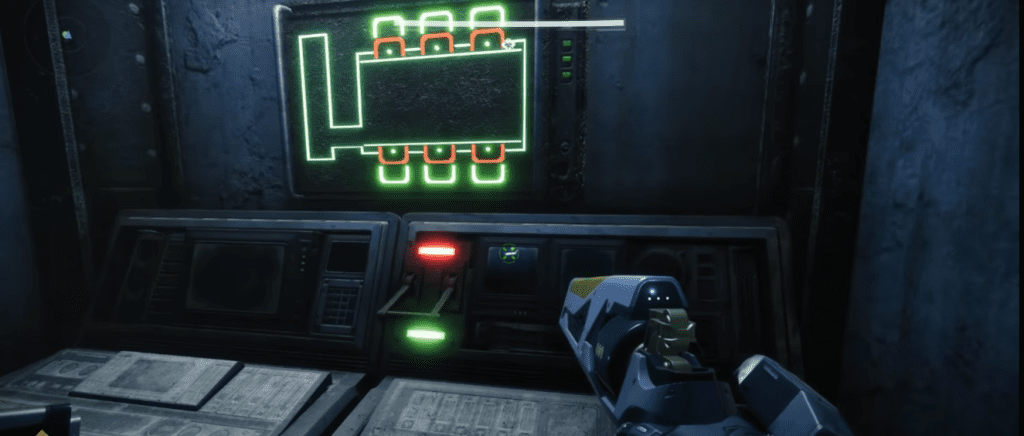
- Once you have activated this lever, go forward in the previous area and you will find another lever. Beware, as you turn this lever on, a trap will trigger killing the one who activates it, however, it is necessary to have this activated, so turn your friend into a meatsheild. Because sometimes, you gotta do what you gotta do!
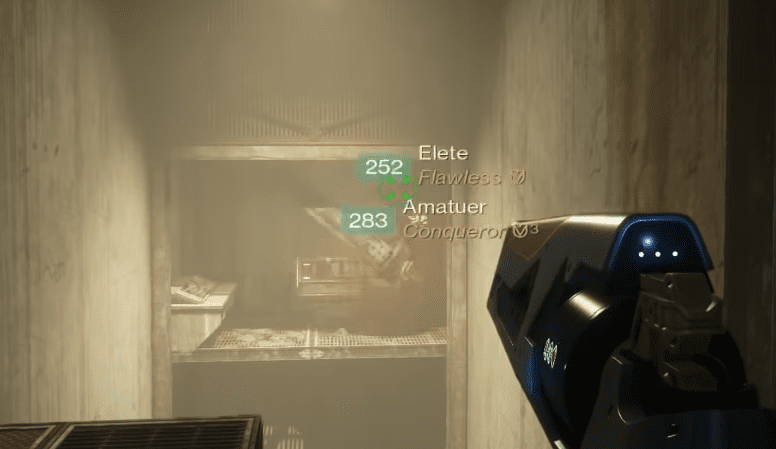
- After you have done that and have waited for your friends to respawn, head back to the area with the circular entrance.
- Once you head back, you will see that two new entrances have opened up on the top part of the area and you would have to jump up and make your way to them.
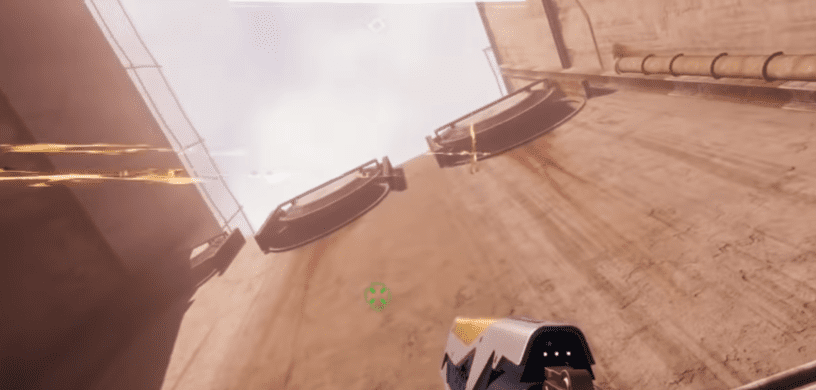
- There are 6 tunnels that have opened up, however, most of them will instantly kill you through pressure plate traps.
- The correct path is the 1st tunnel on the right wall and the pressure plate inside it opens up a new path on the roof of the tunnel.
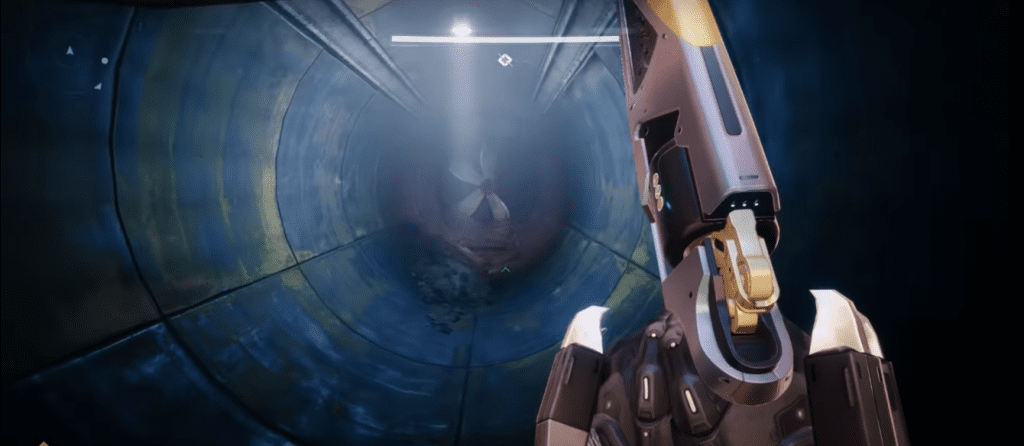
- Once you have unlocked the passage, you can jump up and move forward while jumping on platforms and navigating your way through the Gangplanks without triggering pressure plate traps.
- Once you enter the next area, you will find a new activation lever with another map, however, this one is important as it provides you with the layout of the area you are just about to enter. When you activate the lever, make sure to take note of the open areas and move forward.
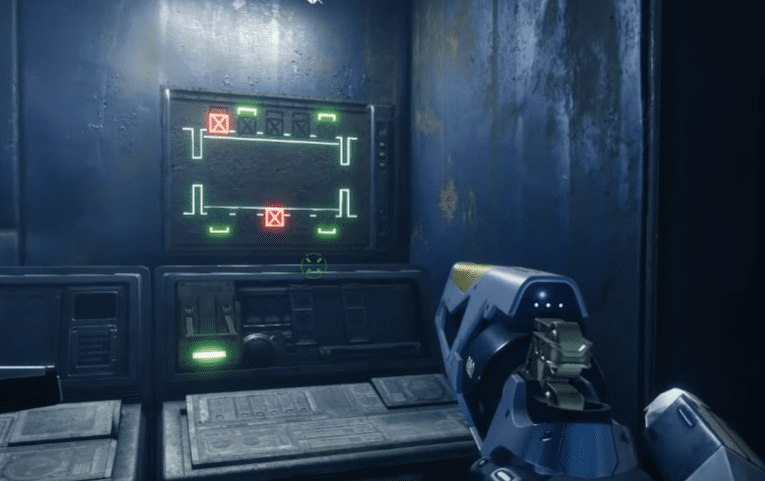
- When you reach the arena, you will see that, similar to the map provided, there are open doors. Head over to the closest one and you will find another activation lever in there and a small mob of Fallens.
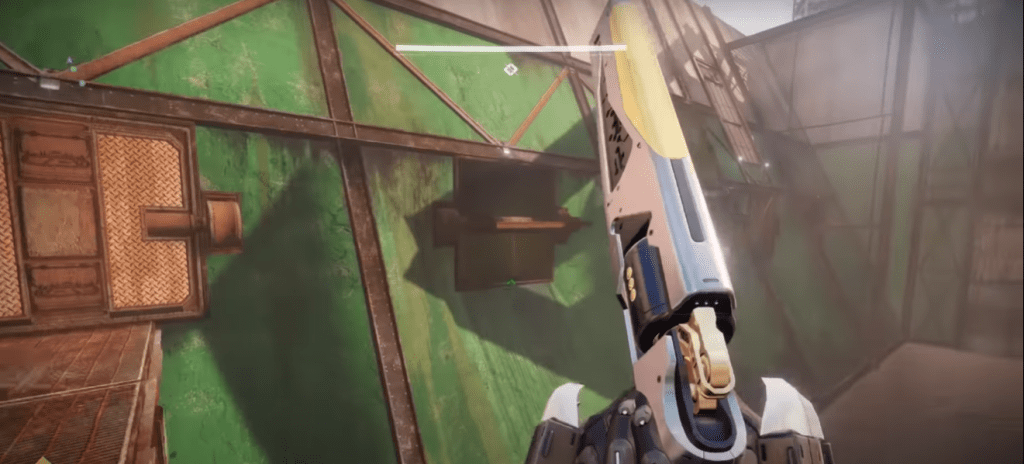
- After doing that, head back and jump towards the newly open door. You will need to keep doing this untill you get to the end of the arena.
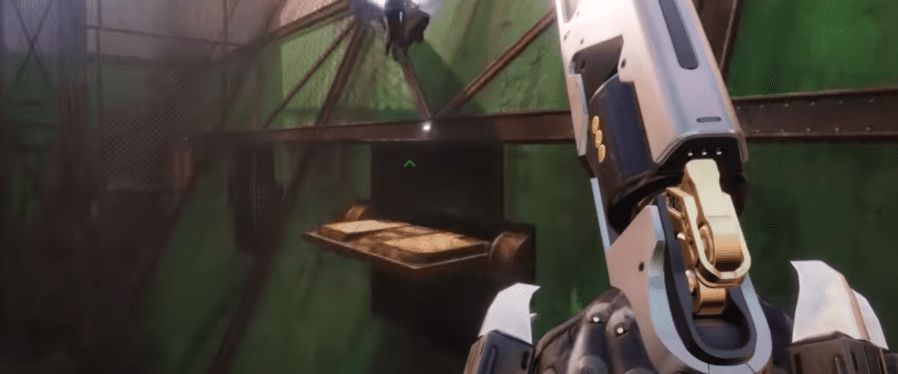
- Once you get to the front most door, you would need to activate the lever inside of it again, and a new door will open that will allow you to head up in a new area with a new panel.
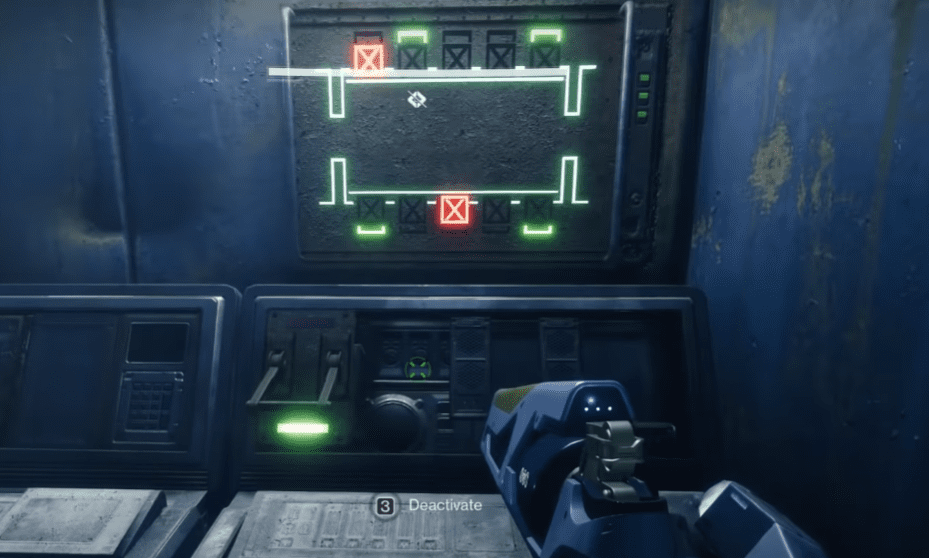
- This panel controls the entrance and exit of the arena, so you would need to activate it as well.
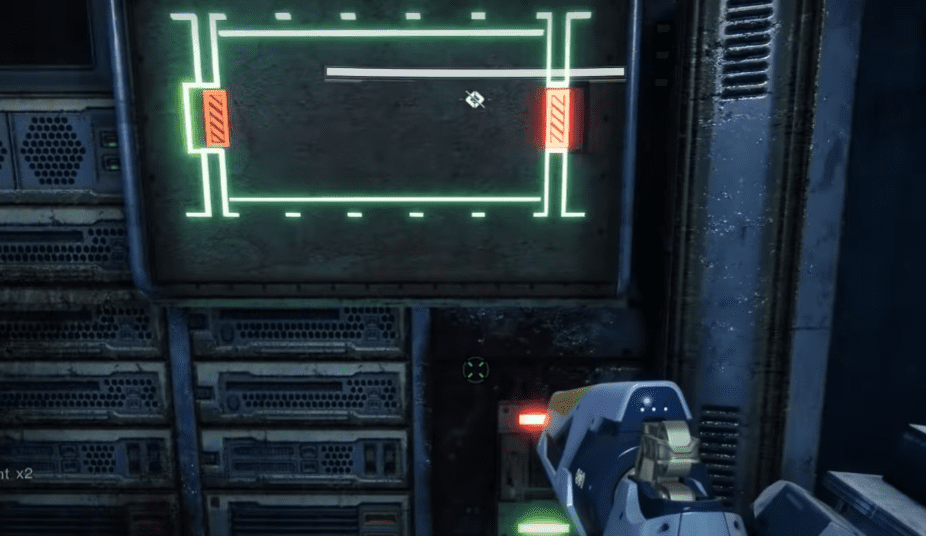
- Once done, comes the frustrating part. Now you have to repeat the last few steps but only in reverse, with exception of the final lever. This is needed to be done in order to get back to the initial position you started the arena puzzle from.
- However, this time around there would be a Shrieker in the middle of the arena that you need to destroy while making your way back.
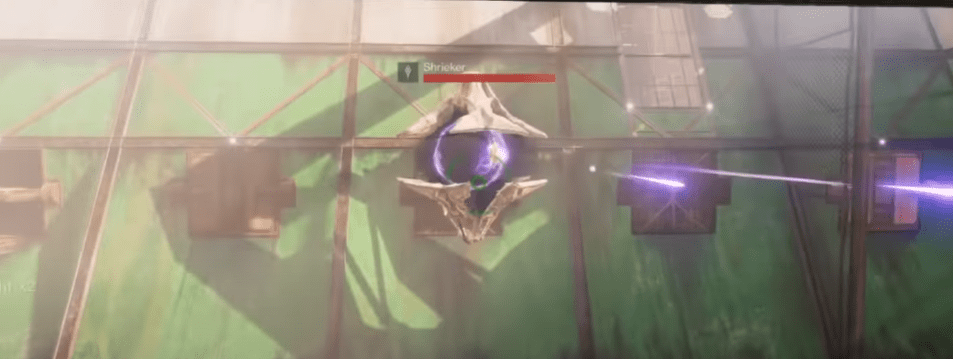
- Once you reach the beginning of the arena, you can enter the newly opened entrance and find another panel after clearing out a small mob. This panel opens up the other entrance to the arena, or the EXIT!
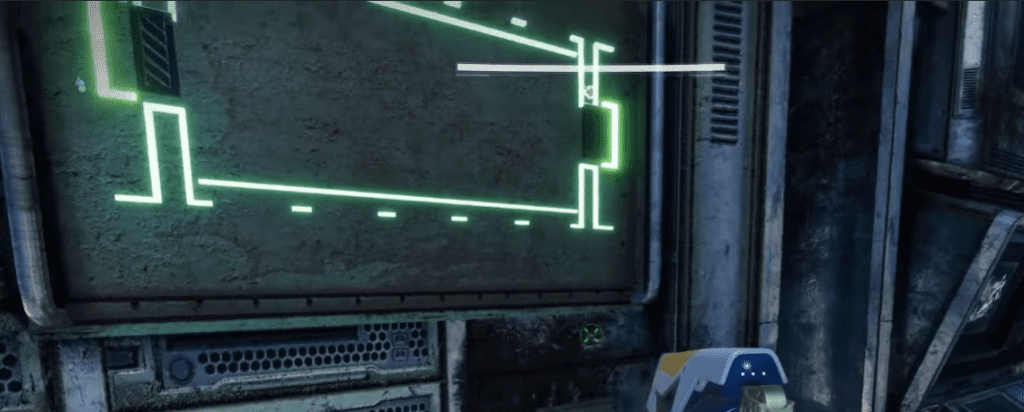
- And this time around, you don’t need to do the puzzle to get back to it, as the available open platforms are easy enough for you to jump across and get to the exit.
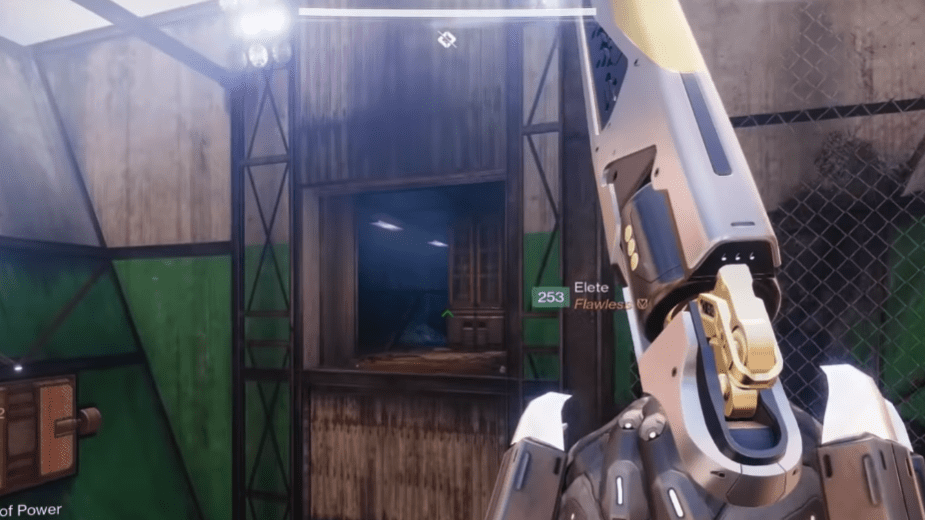
- We aren’t done with the section yet as in the next area, there are two doors. However, the left one will instantly kill your guardian and the right one is the correct one.
- Once you go through the right gate, you will enter a new puzzle area. (We know, it’s ok, you can do this!)
- In this new area, you will something something that has never made an appearance in the game, however, be sure to make note of this as it will be constantly reappearing throughout the dungeon. This is a Fallen Generator that requires to be powered through a Scorch Cannon.
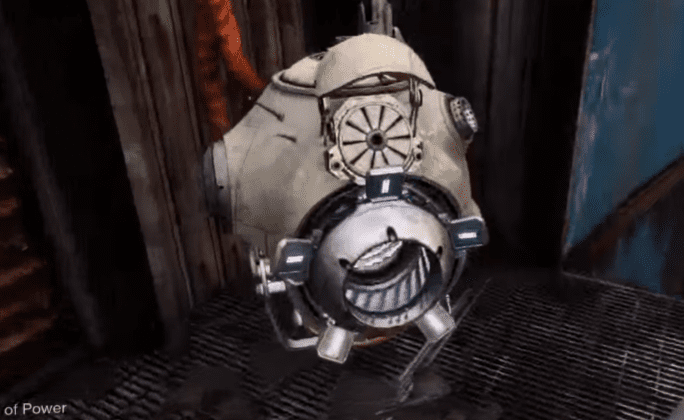
- To find a Scorch Cannon you will have to go through another layout map puzzle where you pull on lever to open up areas and move forward.
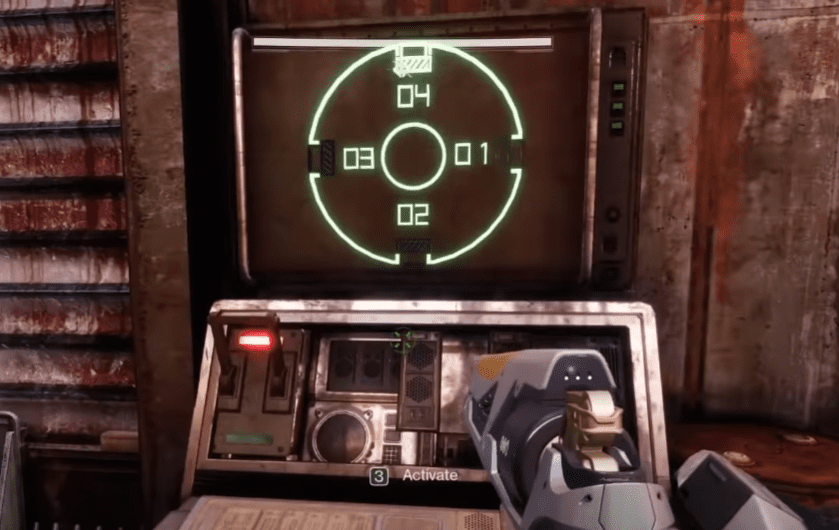
- Now the process of this puzzle is really straightforward. Open up a door, proceed through it, clear out the mob, find the panel, and open up the next door. This is a lot easier to do as the doors are labeled.
- Once you have cleared this part and are in the last room, you will have to kill a Yellow Bar Fallen to get the Scorch Cannon.
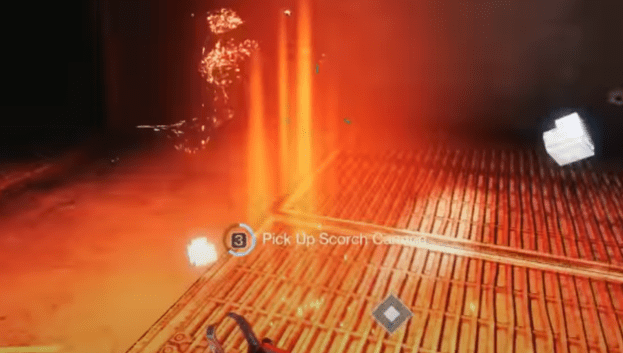
- Once you’ve gotten the cannon, head back to the generator and fire at it. Hold the shot to charge up as the shot from Scorch Cannons have 3 levels of charge, you would want to fire a max power shot for it to open the door.
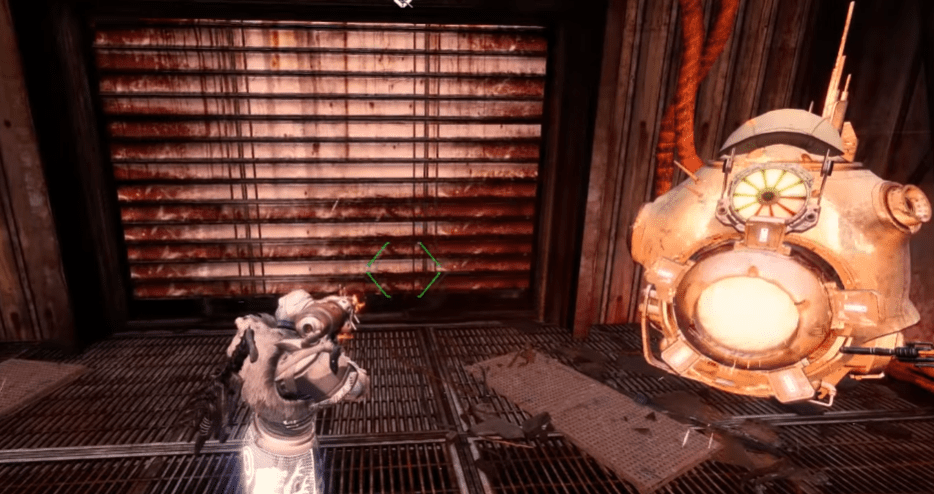
- Once the door opens, don’t rush in as there will be a rolling trap that could kill your entire party.
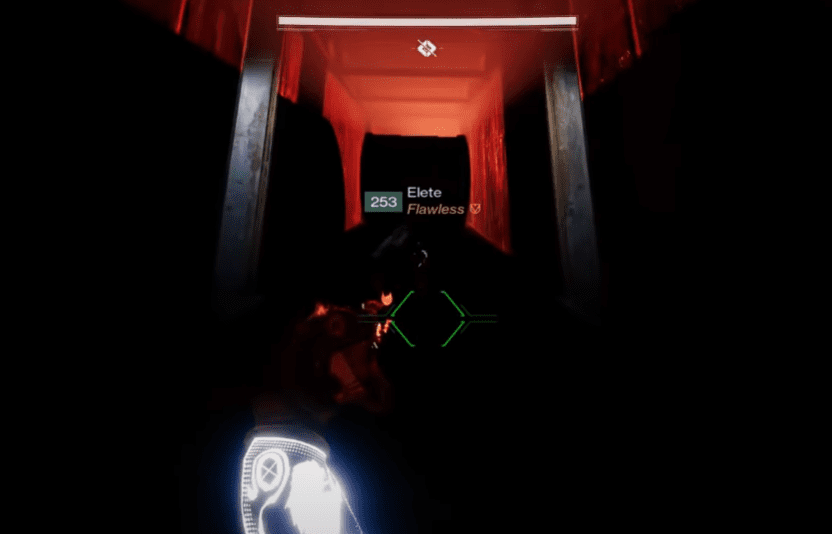
- After the trap has passed, move forward and enter the next area through the vents, and you will reach the first boss.
Third Area: Phry’zhia The Insatiable (1st Boss)
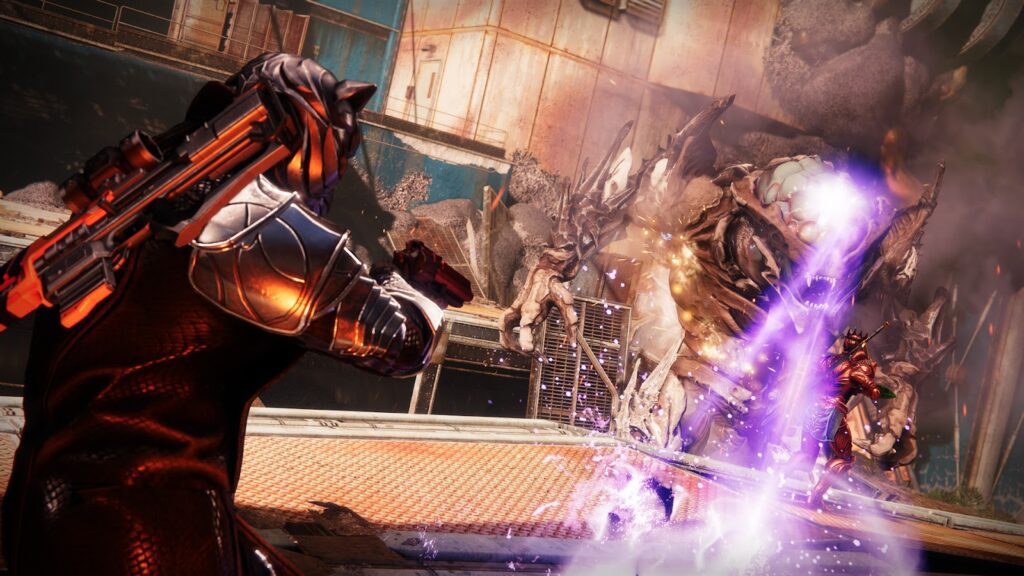
Once you enter this area you will see the ogre-like boss fighting with some of the fallen in the arena. This boss is completely invulnerable and you cannot damage him without going through the proper steps:
- Once you enter the arena, you will find the Yellow Bar Fallens and collect the Scorch Cannon off of them.
- Once you have taken the Scorch Cannon, locate the generators on both sides of the arena and fire at them with max power.
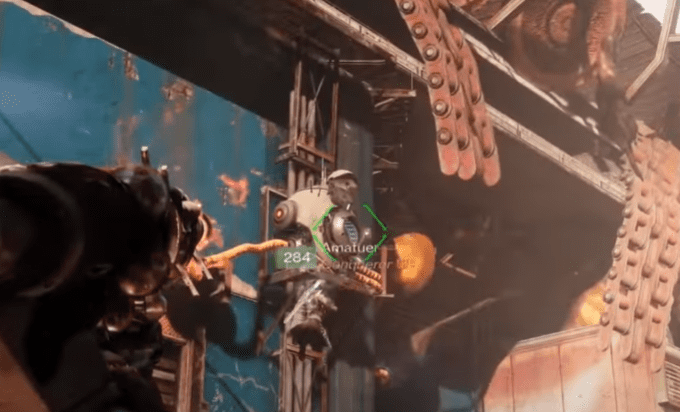
- This will open up the door next to them which has Hive inside of them. However, killing these hives will drop the Engrams with the Burdened By Riches debuff.
- Take these Engrams and locate the crystal at the middle of the arena and feed it to them.
- Now go to the other side of the arena and do the smae thing again. Keep alternating between the two generators until you have deposited enough Engrams for the crystal to activate.
- After the crystal has been activated it will start pulling the boss towards it making him vulnerable for a duration.
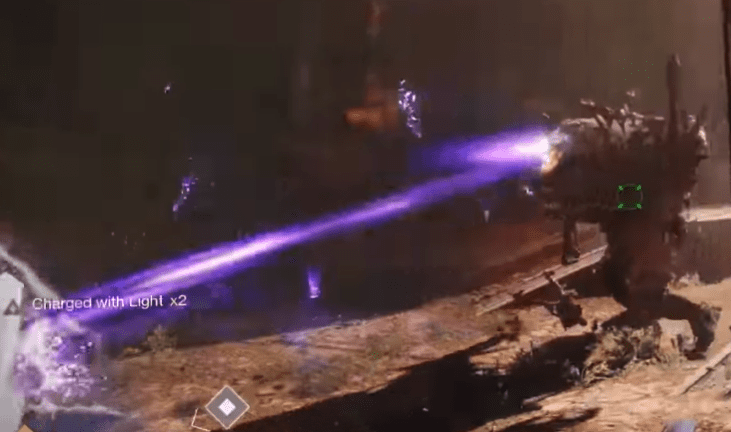
- After this all you need to do is unload as much damage as you can into the boss before the vulnerability time runs out. If you are able to kill him in the first phase, itt would be the most efficient, however, if you are not able to do so, you would have to do this all over again.
- Once you kill the boss and collect the loot, move on to the next section.
Fourth Area: The Sparrow Section
Now the next section is pretty dangerous, however, it is just as fun. If you are someone who used to enjoy sparrow racing, then this area is for you. But, this time you are racing against the clock.
- As soon as you enter the next area, your sparrow will be deployed and you will be on a race track with a few mine laid on the path that you have to dismantle.
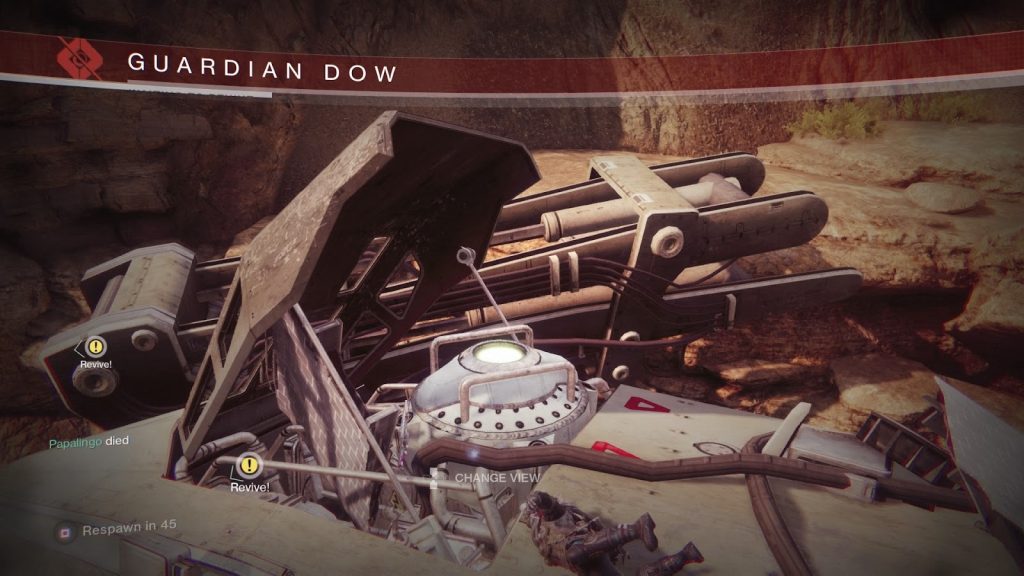
- Each mine spawns after the first one has been dismantled, however, there is only a timer of 12 seconds to dismantle after the spawn. And if the mine goes off, it wipes out your entire team.
- Although it sounds very dangerous and difficult, and probably is as well, if you have a team of three players, the difficulty is reduced significantly. This is due to the presense of devices that increase the timer on the mines by interacting with them.
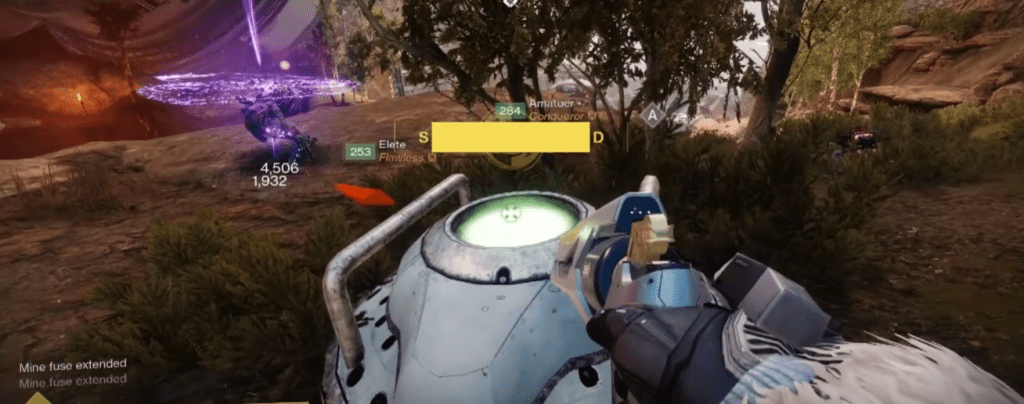
- Just send two players to look for these devices while you rush towards the mines to dismantle them.
- Once you have dismantled all the mines, you will be able to reach the next zone safely which is the Fallen Sheild Encounter.
Fifth Area: The Fallen Sheild
Another puzzle in your path to greatness, however, this one is a lot easier to get past than a few you went through earlier. In this area, you will see a large shield in the middle on the map surrounded by platforms with Man-Cannons on them. These cannons are however turned off. This is what you need to do:
- As soon as you land on the first platform, turn the cannon to the right most alignment.
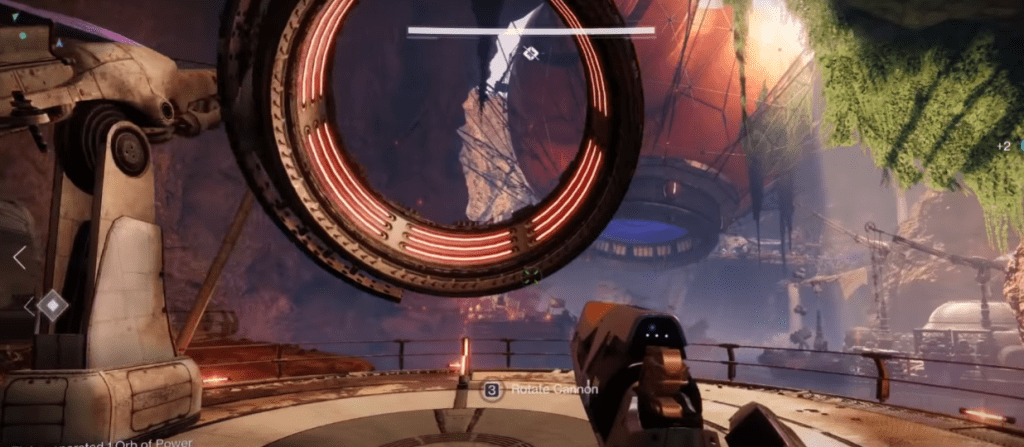
- Once you have rotated the cannon find another Yellow Bar Fallen and get a Scorch Cannon off on him.
- Locate the generator connected to the cannon and fire it up with the help of the Scorch Cannon.
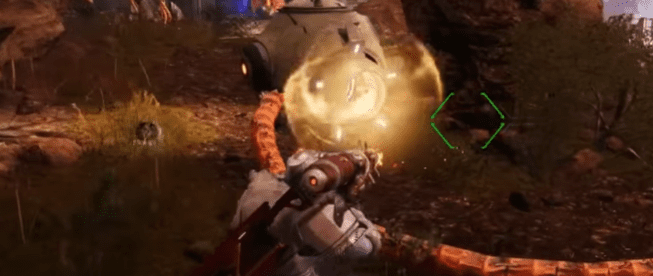
- Once that’s done, go through the Man-Cannon onto the next platform. You will have to keep repeating this process in a clockwise direction untill you reach the last platform which has a hostile Servitar and a mob of enemies spawned on it.
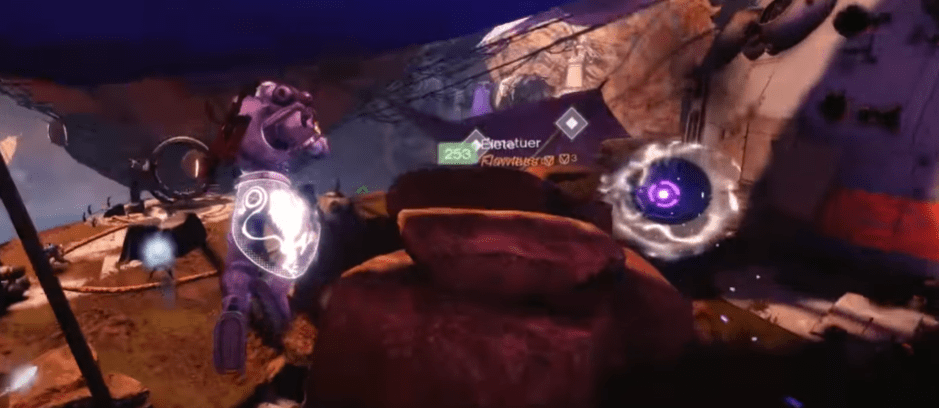
- The Servitar has an immune shield and is invulnerable, however when you kill the spawned mobs, you will see that they drop the Exotic Engrams that you have been feeding to crystals, and there in a crystal inside the building on the platform.
- By now you probably know what to do, kill the mobs, and feed the Engrams till the crystal is powered and takes down the shield of the Servitar.
- Once you have killed the Servitar, it will turn into the quest object.
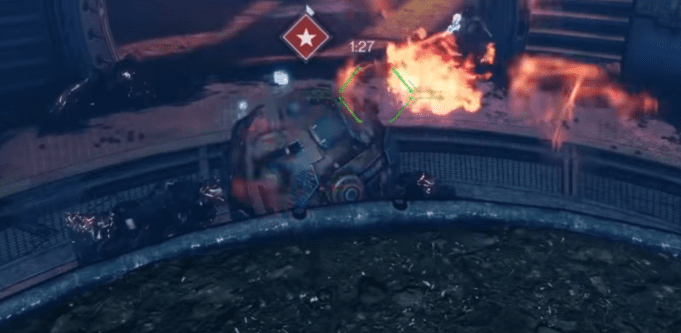
- Now you have to shoot and push it towards the Man-Cannon, and hurl it towards the center building. However, you have to be quick as the Servitar has a timer on it before it blows up.
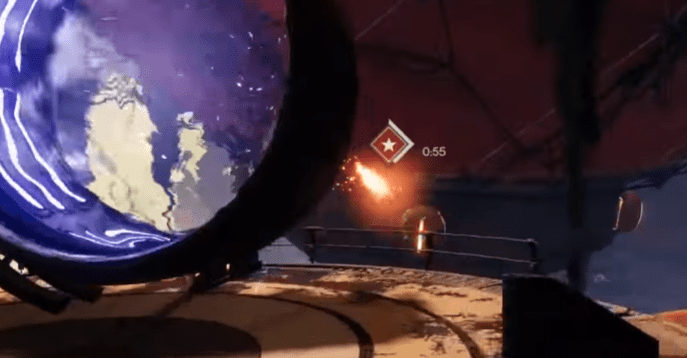
- After shooting it to the structure in the middle, you have to double back and go to each platform you came from and do the same thing there as there are mobs and a Servitar spawned on all platforms.
- After you have done that enough times, there will appear a platform in the center of the arena, right below the structure. Make sure you bring the Scorch Cannon with you when you make your way to the center platform.
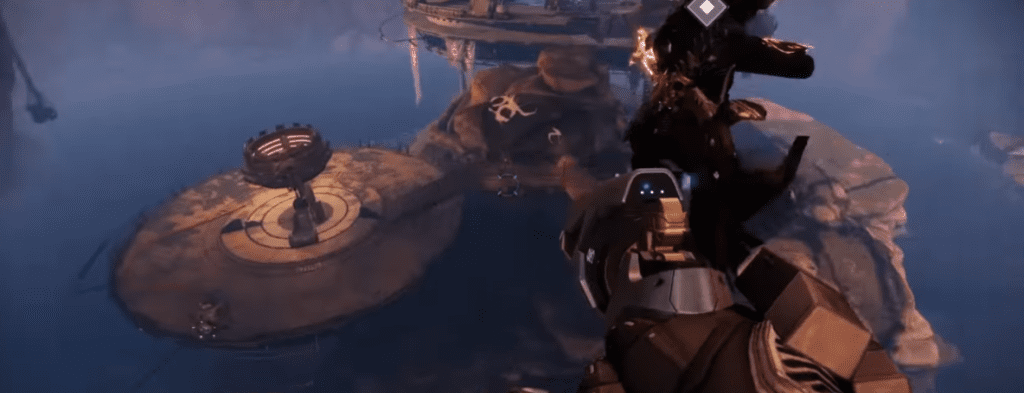
- Here you will find a Man-Cannon that is pointing upwards towards the structure. Take that cannon and go enter the structure.
- Once you go through this structure, you will be in the Final Boss arena.
Sixth Area: Final Boss Captain Avarokk
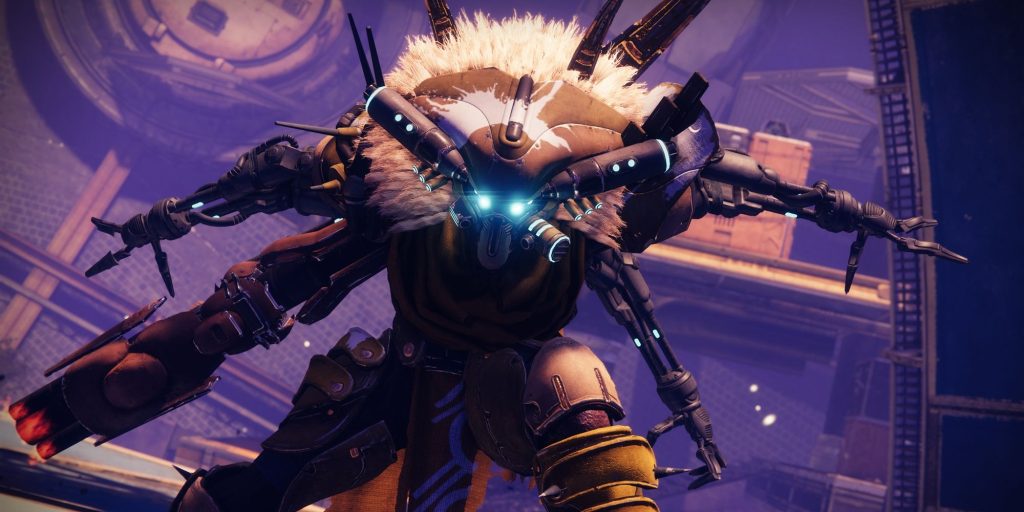
The time is finally upon us, all the sweat and backpain you endured to get to this point is finally about to bear fruit as you come face to face with the final boss of the dungeon. Although the boss isn’t necessarily difficult to defeat, it’s the mini-bosses it spawns with that dish out a lot of damage, and the fact that you have to incorporate all the mechanics you’ve learned throughout the dungeon in this fight that makes it a little difficult. So without wasting any time, let’s jump right into it.
- Once you get to the final boss battle, locate all the important objectives first. Find out where the generators are, where the crystal is located, and where are the doors that are opened by the generators.
- Once you have located them, go look for the Yellow Bar Fallen to get your hands on a Scorch Cannon if you don’t already have one from the last section.
- We suggest that you get rid of the mini-bosses, the Vandal and a Tracer Shank as they put forth a lot a damage and can cause problems for your team. Additionally, if you take them out, you get more Engrams.
- Once you have the Scorch Cannon, look for the operational generator out of the two in the arena. Shoot it with the cannon at max power and it will open up gateways that will spill out 30 Engrams all over the arena.
- Collect the Engrams and move towards the second generator. Collecting 60 Engrams and depositing them in the crystal will enter damage mode for the boss and you can just unload into him.
- After the phase ends, you just have to repeat the process and kill the mini-bosses each phase as they respawn.
- Keep repeating this till you kill the boss.
And there you have it, you have finally reached the end, young guardian. It was an arduous journey, yet you prevailed, and we congratulate you for it. Give yourself a pat on the back and enjoy the rewards you get from the dungeon.
Note: All images are provided by KackisHD on YouTube.
Did you find this guide to be useful? Is there anything else you would like for us to cover? Let us know in the comment section. Also, because you stuck around till the end, here’s a quick guide on how to find the ForeRunner, you’ve earned it!

