Rust is extremely fun to play game that becomes even better if you install plugins on your server. However, if you have not installed any plugins before, you might find the whole process confusing. Worry not because this guide will show you how to install Oxide plugins on your Rust server.
The steps shown in this guide will work in almost all of the uMod plugins, but there will be some that will require additional steps. Having a modded server has its benefits as it provides a customized user experience. These mods enable additional functionality that can only be installed by the server owners. With that said, let’s get started and find out how to install Oxide plugins on your Rust server.
Rust: How to Install Oxide Plugins (uMod) on Your Server
There are a few steps that you need to follow in order to get the plugins running but that shouldn’t be a problem for you if you follow this guide. Keep in mind that you will need to install uMod beforehand to install any mod to your server. To install uMod, you must:
- Download the latest version of uMod
- Install uMod to a RUST server
- Verify that uMod is running on the RUST server
Now that you have downloaded uMod, you will be able to access hundreds of free or paid plugins to install on your Rust server. However, you must meet certain prerequisites in order to install the plugins via uMod:
- Admin access to an existing RUST server
- Installed and updated uMod on the server
- Downloaded the uMod plugins to be installed
Installing Oxide Plugins on Your Server

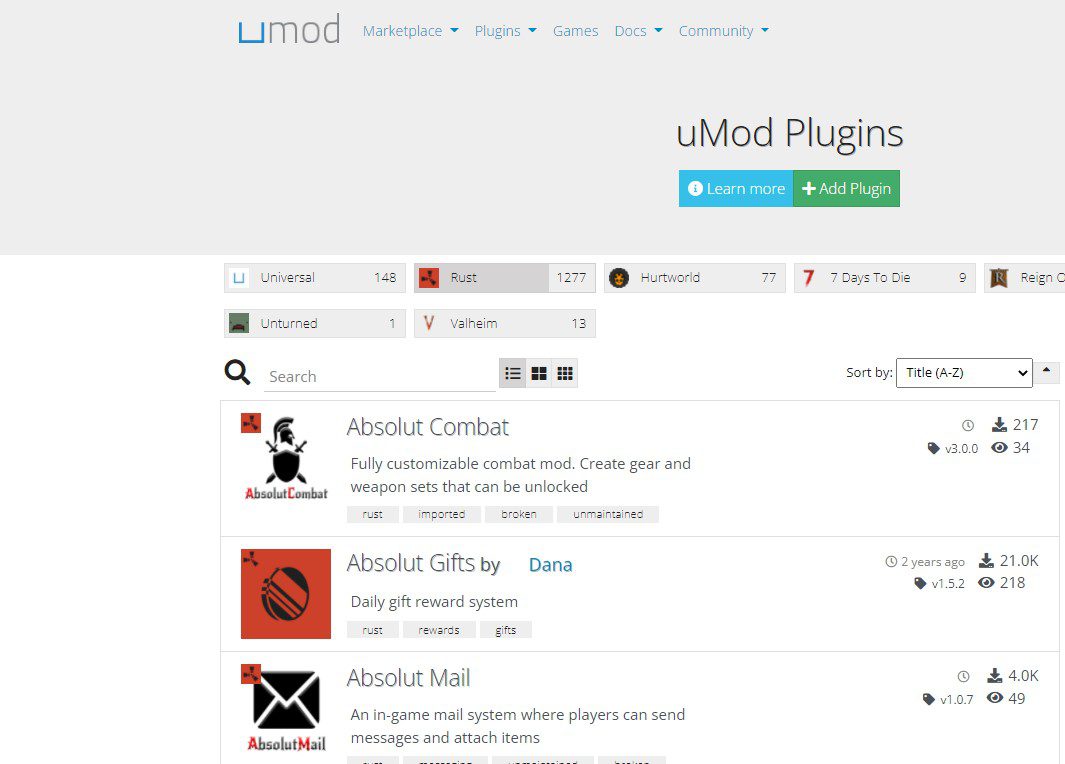
After you have successfully installed uMod, you are ready to download and install various plugins. Open the uMod website and choose whichever plugin you wish to download. Next up, you will want to log in to your FTP File Access by going into your control panel. Afterward, go to:
- Files > FTP File Access
- Open the directory
/oxide/plugins/ - On the left-hand panel, click Upload
- Under the Files section, press Browse and select the downloaded
.csfile - Press Submit then navigate to the main page of your control and start your server

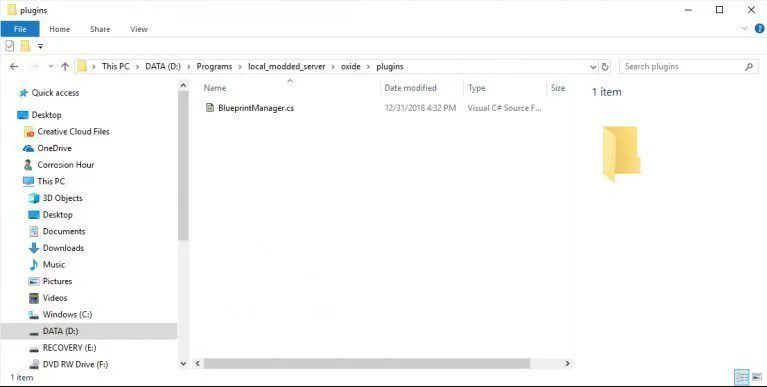
Note: If you want to manually find your server access, you must locate where the RUST server is installed and navigate to the /plugins/ folder. It will look a little something like this:
/your_server_identity/oxide/plugins/As you can tell, installing the plugins is relatively simple if you know what you are doing. After installing a mod, you need to give permission to other users in your server so they can use the mod as well. Usually, the plugins come with their own default permissions but you can customize them accordingly.
That’s everything you need to know about how to install Oxide plugins on your Rust server. Choose the best plugins according to your server and install them. We would love to hear about your favorite plugins and why. Let us know in the comments below if you managed to install the mods or not.


