Destiny 2 got a massive expansion with the recent 30th Anniversary Celebration which lead to a lot of new content being added to the game, such as new dungeons, and new exotic weapons. However, that’s not all as the new dungeon also comes along with an entirely unique set of collectibles and this guide will help you find all of them.
Destiny 2 has been filled with content, and with the new additions, players have even more to explore. However, in order to get access to all the collectibles in Grasp Of Avarice, we suggest that you first take a look at this dungeon guide to better understand the progression of areas and make it easier to find the collectibles. So without wasting any more time, let’s jump into it.
Grasp of Avarice Collectibles Locations In Destiny 2
If you are running the Grasp of Avarice dungeon for the first time, we suggest that you start collecting the collectibles from the get-go as it is easier to do it on the way than to come back for all of them. Here are the locations for all the collectibles in the dungeon:
Number 1:
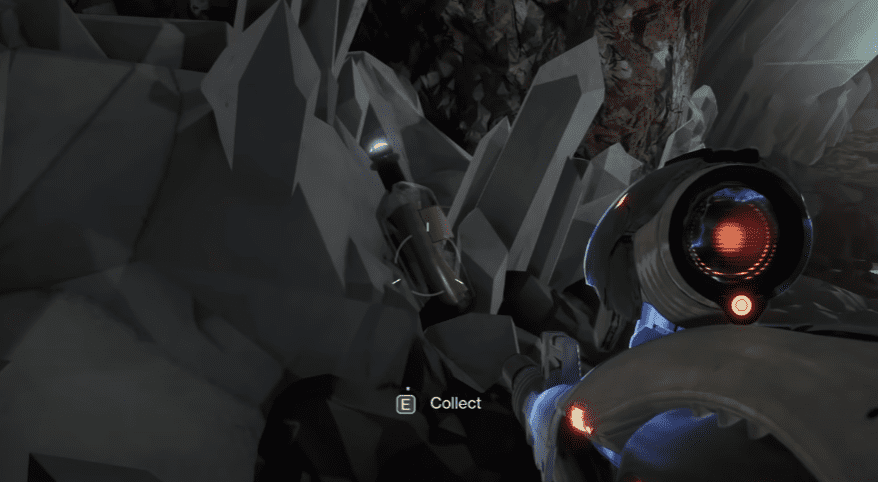
After you enter the loot cave and head-on down towards the main dungeon floor, you will find this collectible in the crystalline passageway that connects the two areas. Just keep a lookout for it alongside the left wall of the passageway and you should be able to spot it.
Number 2:
As soon as you get out of the crystal passageway, go left and at the end of the platform, jump to the next one.
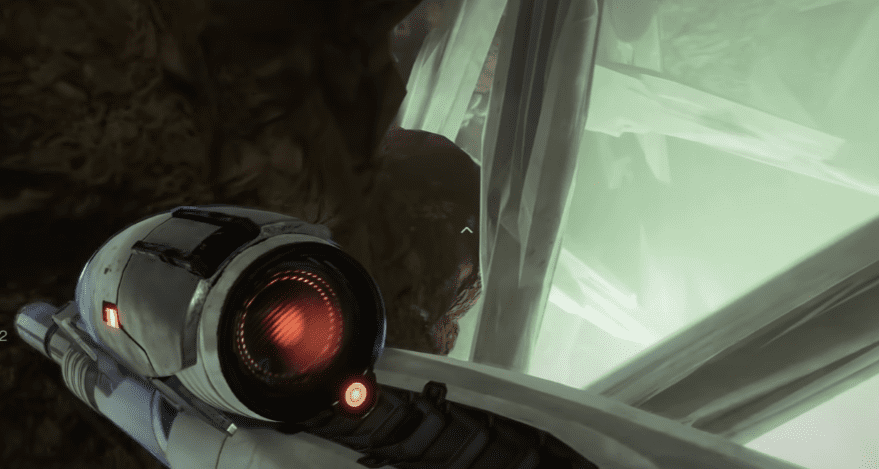
From here, keep on walking while hugging the left wall till you come across a crystal bridge that connects this platform to the next one and go across it.
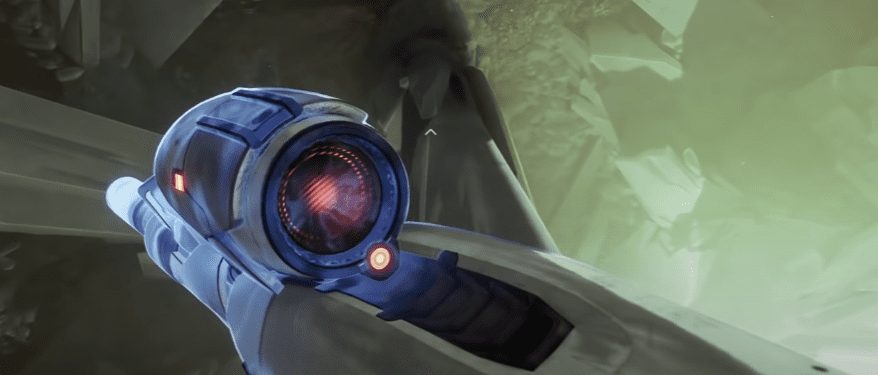
As soon as you reach the end of the bridge, turn left and you should see a small gorge in the wall. The second collectible can be found here.
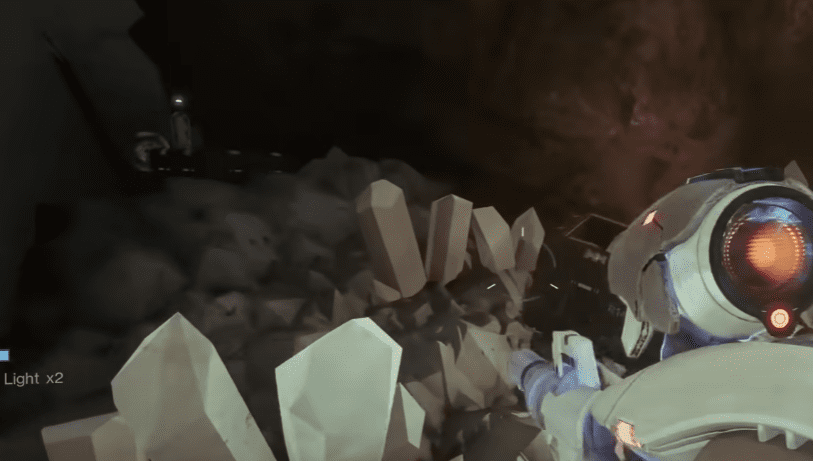
Number 3:
The third collectible can be found at the start of the “Navigate the Facility” section of the dungeon and requires you to enter the Left gate on the Right Side of the corridor.
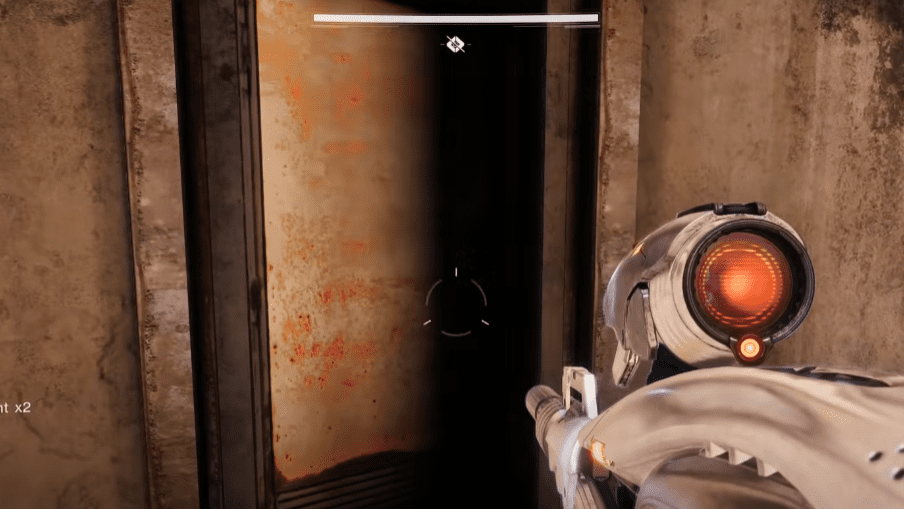
Once inside, make sure to avoid the pressure plate as it would mean instant death if you step on it. You would have to come here to progress the dungeon however skip the activation panel for now and walk forward and to the left, you will see a path going up.
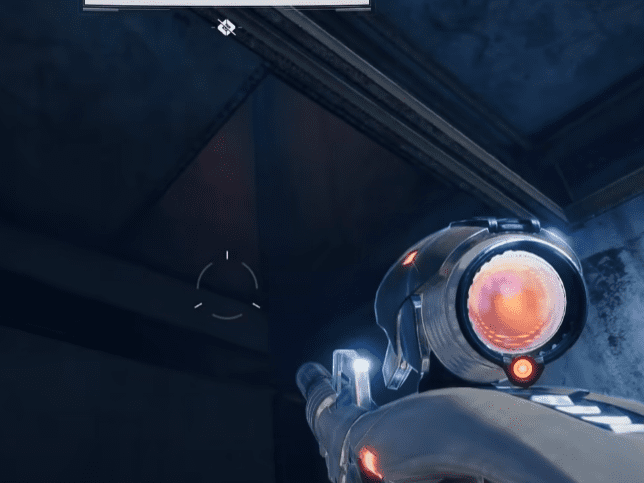
Enter that path and the third collectible should be right infront of you.
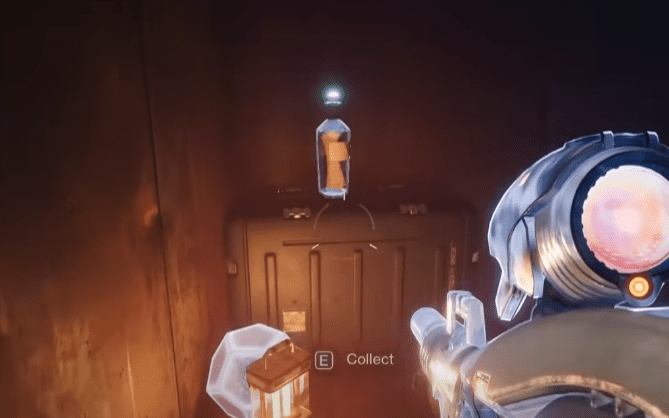
Number 4:
The fourth collectible can be found after you have progressed somewhat through the section and have opened the upper chambers in the facility.
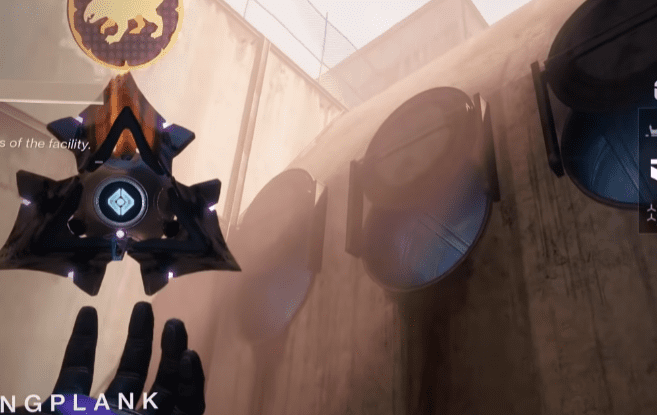
After doing that, enter the Leftmost tunnel on the right wall and proceed to stand on the pressure plate that will open a pathway on the roof.
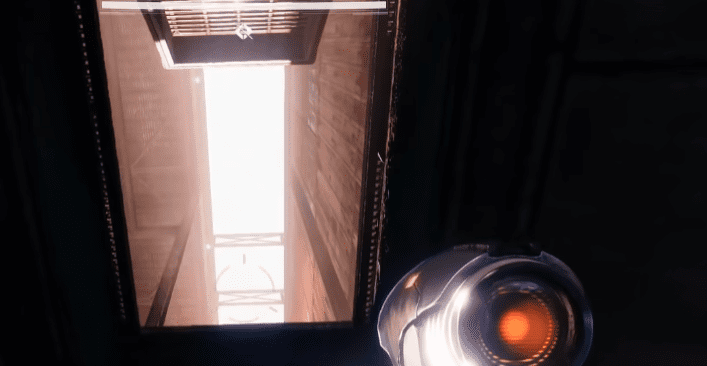
Once open, go up and proceed to jump your way through avoiding the pressure plate until you are at this point.
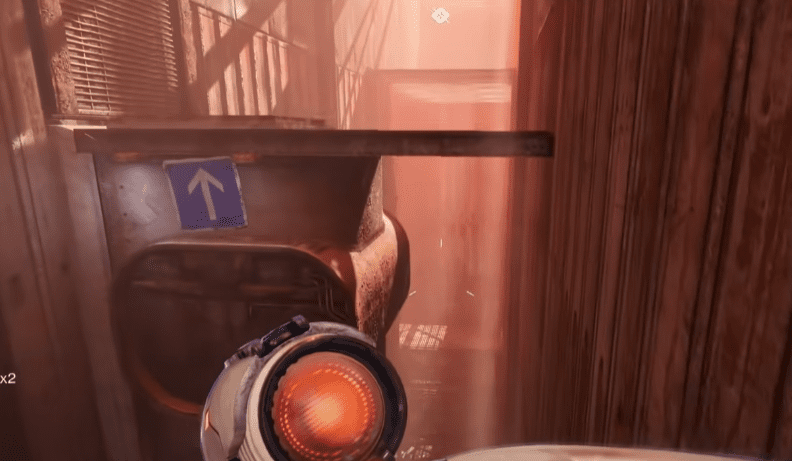
Once here, turn around and you will see another platform. Jump onto it.
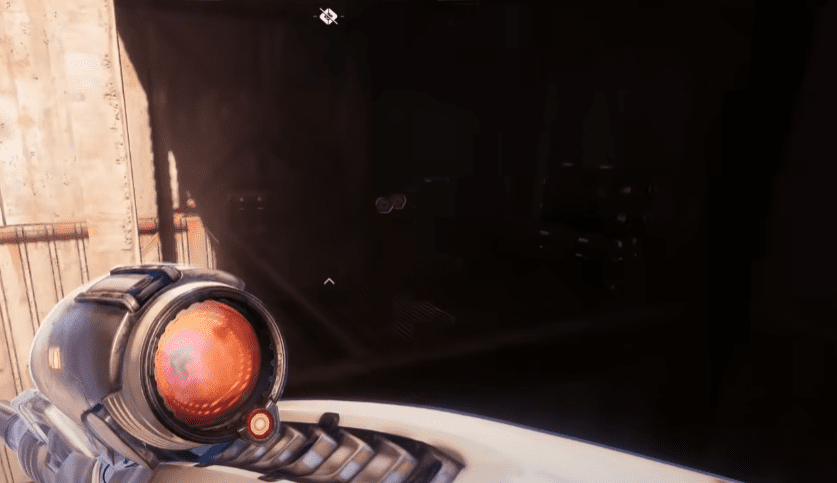
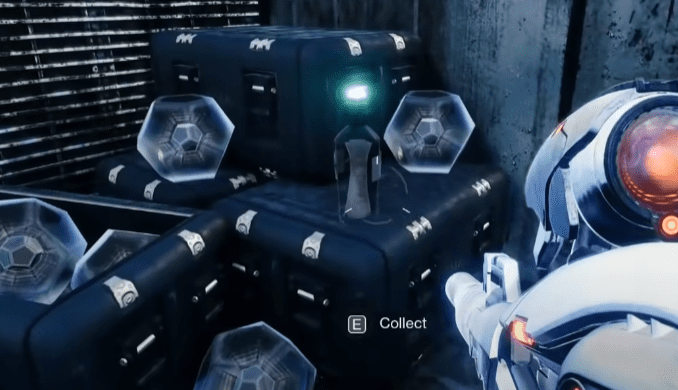
On the platform, go hug the front wall and start walking right, you will be able to enter the room with the fourth collectible.
Number 5:
After you have progressed to the point where you are at the arena with the first activation panel puzzle, you would need to complete phase 1 on the puzzle and stop right before the shrieker spawns. This can be done by skipping the last lever for a second.
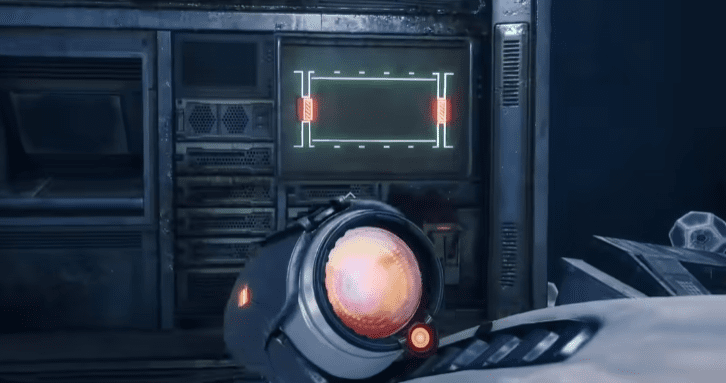
After pressing down the last lever and spawning the Shrieker, look to your top right and you will see a pathway. Enter there.
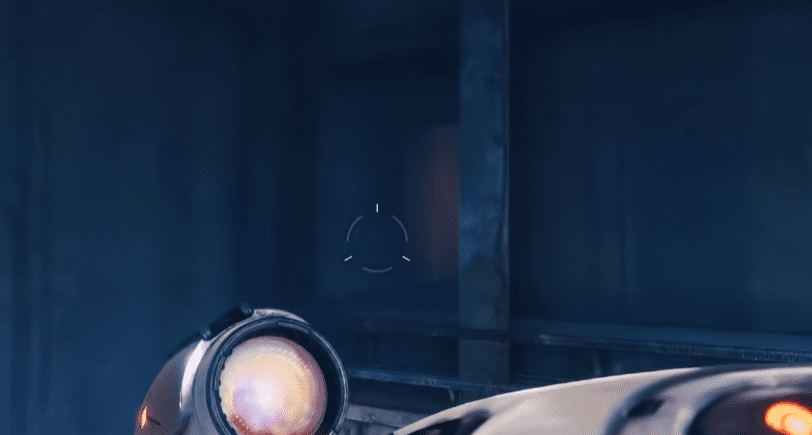
Inside should be the fifth collectible.
Number 6:
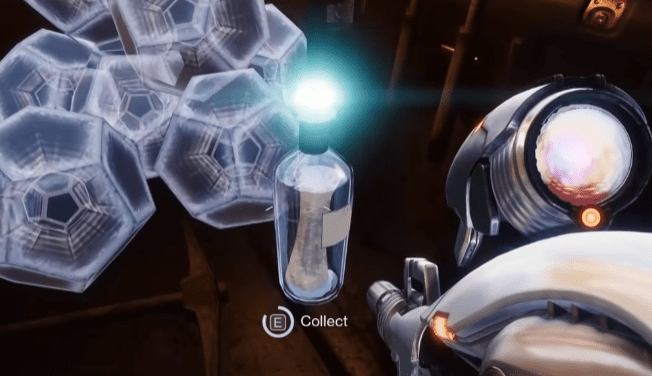
The sixth collectible can be found near the end of the “Navigate the Facility” section of the dungeon. This is where you have used the Scorch Cannon to get the door to open up and had gone up the stairs. After entering the passageway, push forward till you reach this door and enter it.
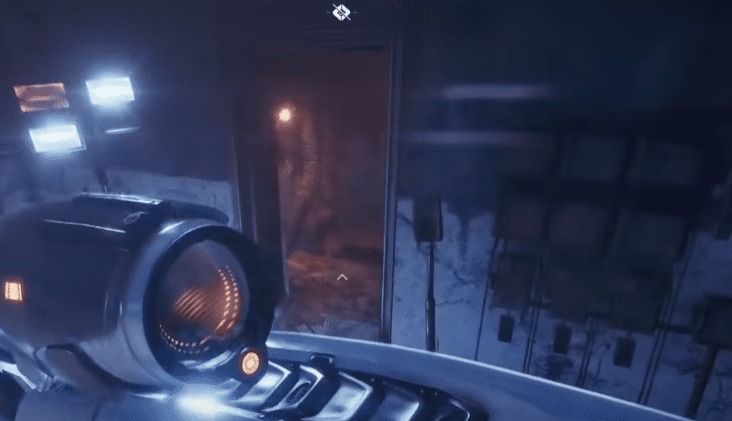
Avoid the pressure plate right in front of the door, and keep moving till you reach the end. Here, look to your right and you should be able to spot a hole in the wall, enter through it.
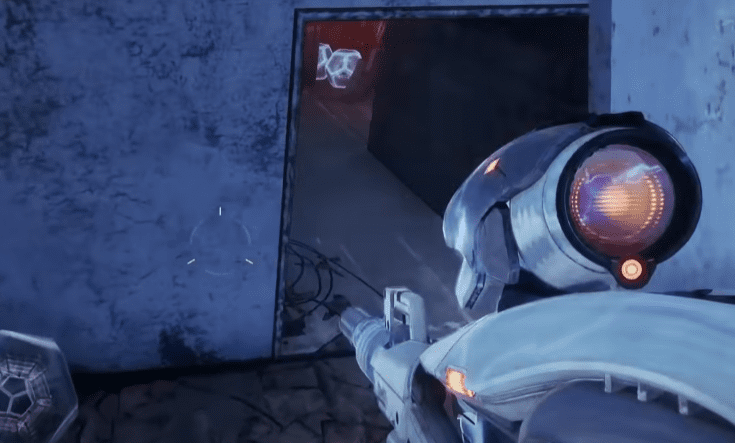
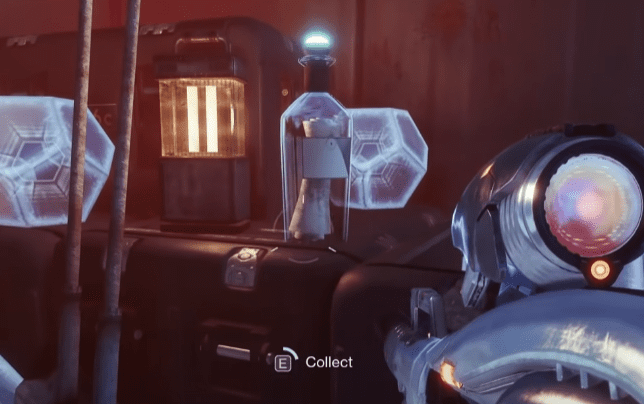
The sixth collectible will be right at the end of this newly found tunnel.
Number 7:
Collectible number 7 can be found right after you defeat the first boss of the dungeon, Phry’zhia The Insatiable. After defeating the boss, move up the ramp and go forward on the right side to enter a door right in front of you.
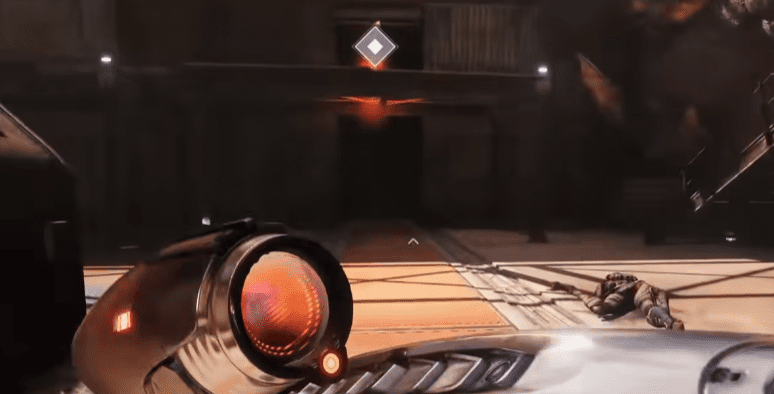
Once inside, turn left and you should be able to see this capsule-like structure.
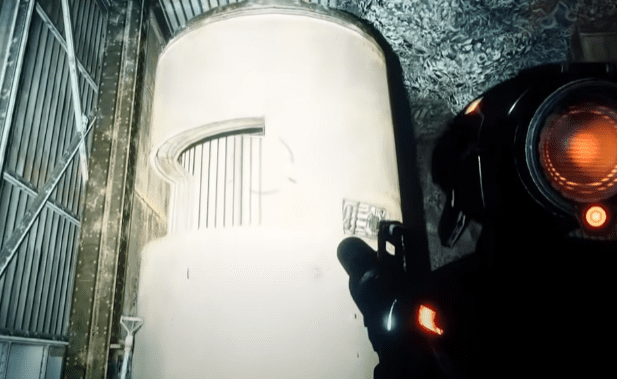
Jump up and go inside the capsule. The 7th collectible will be inside.
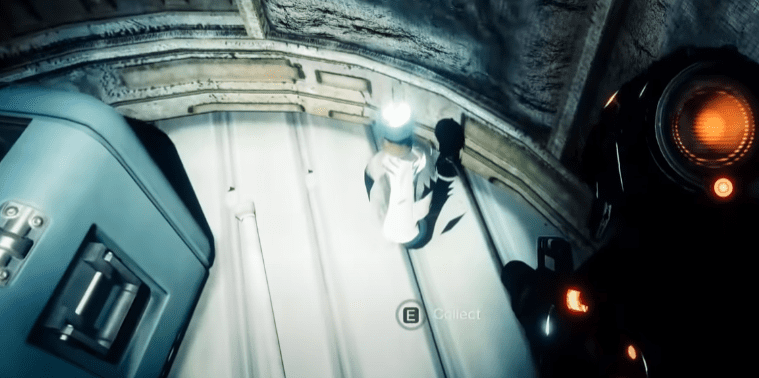
Number 8:
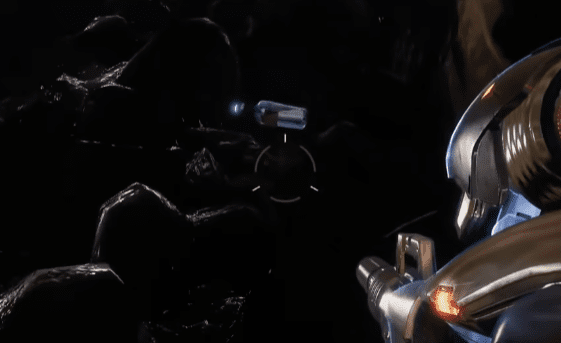
Number 8 would require you to do some back-tracking as it can be found during the Disarming of Mine section of the dungeon and you can’t really take a detour being against the clock and all. After you have taken the lift and jumped to the skull to disarm the final mine, head to the mouth of the skull and jump down from the right side on the nearby platform.
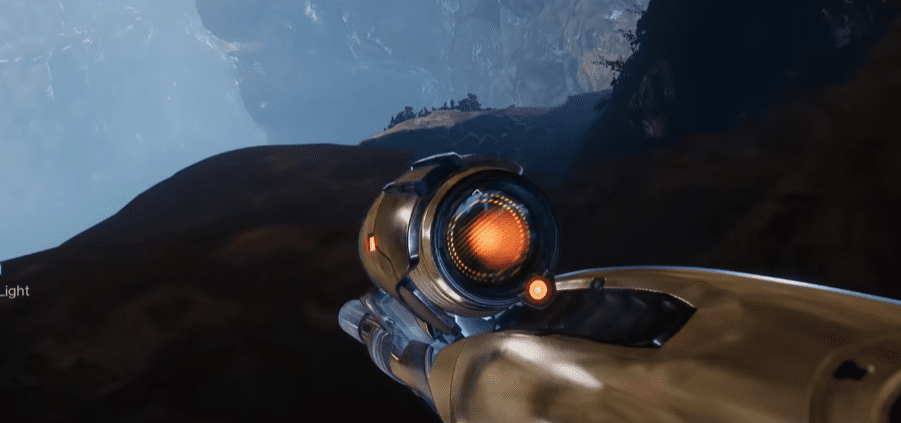
Keep going till you reach this platform.
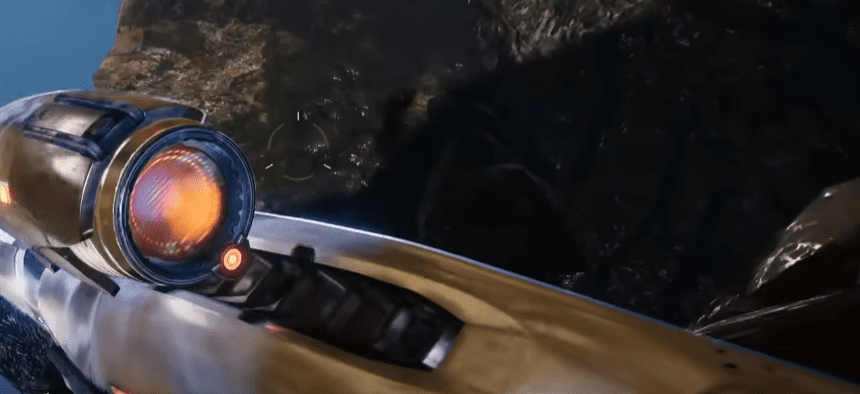
Once on the platform and turn around. Near the left corner, you will be able to find the eighth collectible.
Number 9:
Number 9 is fairly close to number 8. All you need to do is progress into the skull like you normally would until you reach the crystalline cave. In this cave, you will see a large crystal protruding out. Jump on it.
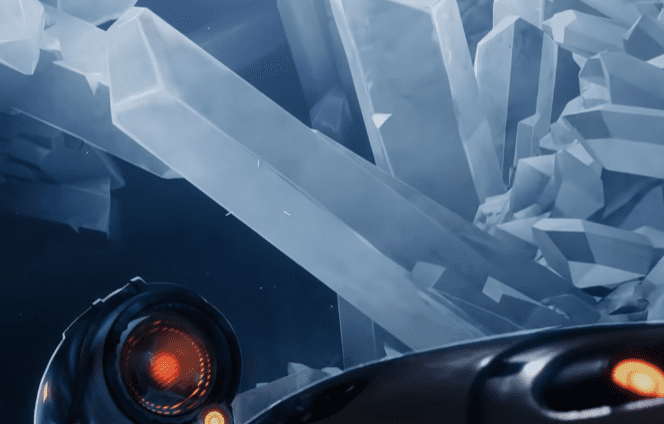
After doing that, jump on to the next one.
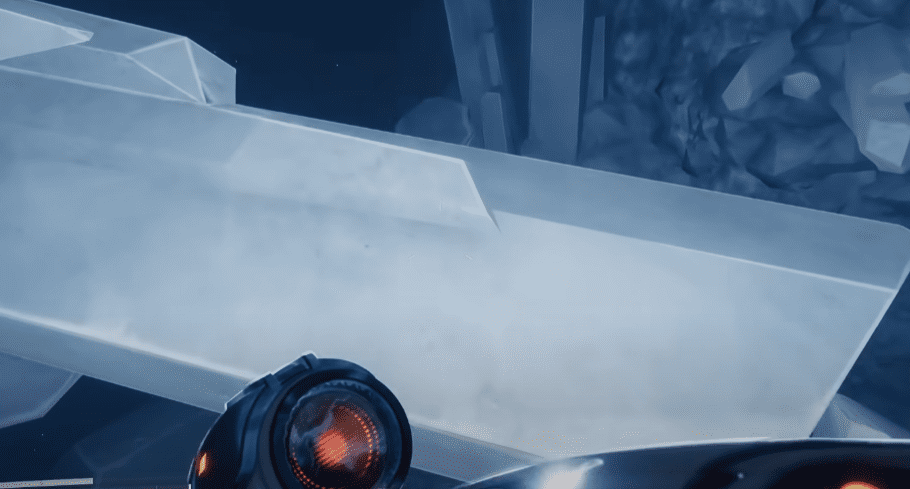
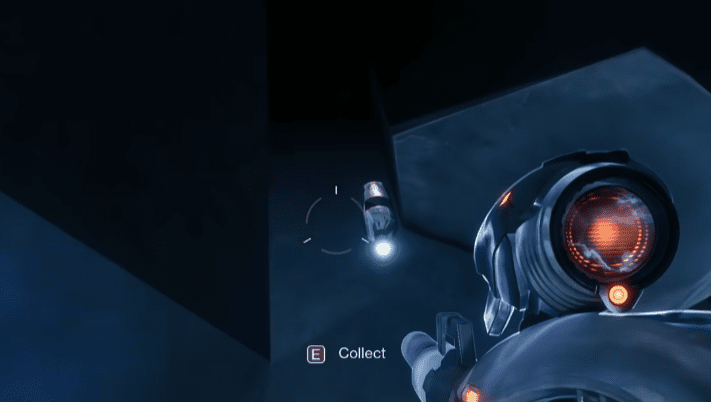
The ninth collectible can be found on top of this crystal.
Number 10:
When you reach the middle platform in the “Fallen Sheild” section, jump back to the platform where you fought the first Servitar. Here you would see something that looks like a dangling jet engine.
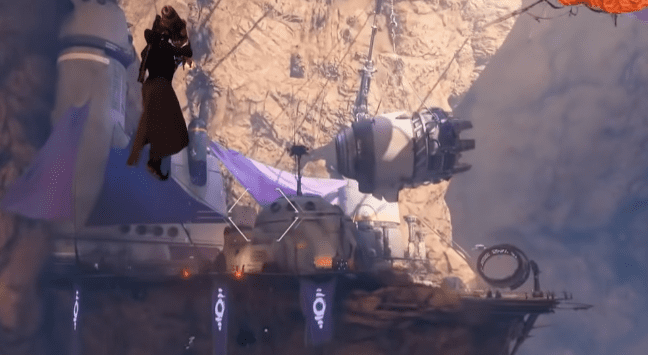
Once on the platform, jump inside the jet-engine-looking structure and the 10th collectible can be found there.
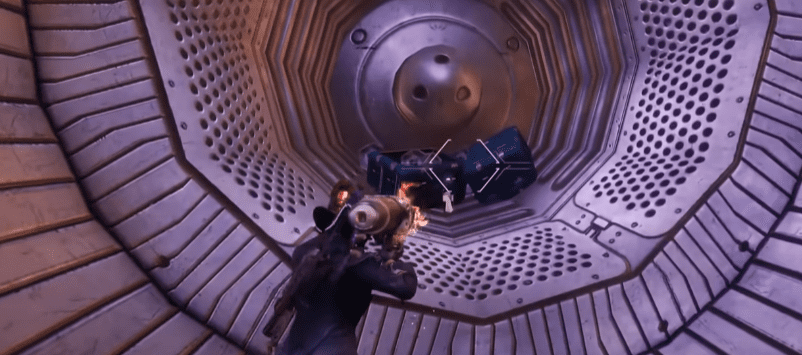
Number 11:
The 11th collectible can be found after reaching the middle platform in the “Fallen Sheild” section of the dungeon. When you are on the middle platform, jump down from the right side of the stairs onto the platform below.
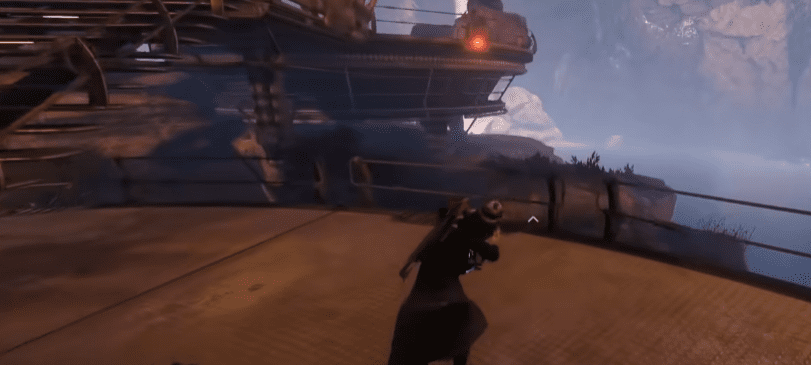
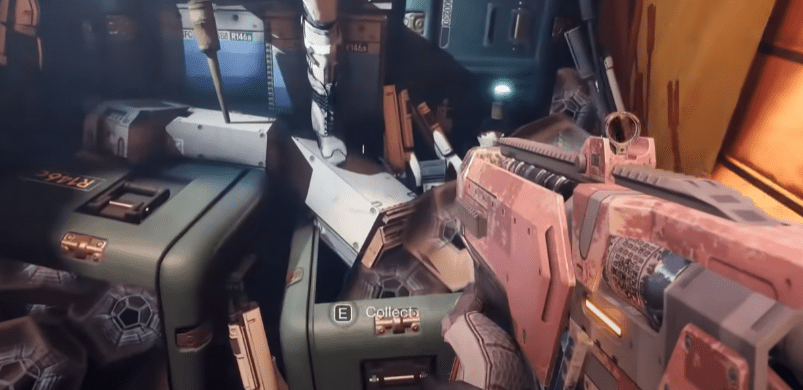
Follow the patch of the platform till you reach the collectible sitting in a pile of junk.
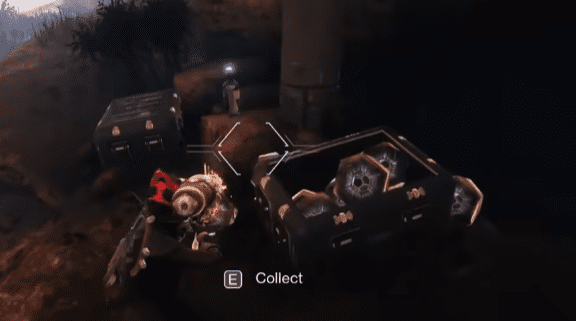
Number 12:
After you have defeated the final boss of the dungeon, Captain Avarokk, a new pod that was previously locked up will be opened. Inside the pod lies the final collectible.
After going through all these steps, you should be able to clear out all the collectibles and achieve the 30th Anniversary Triumph ” The Richest Dead Man Alive.”
Was this guide helpful for you? Is there something else you want us to cover? Let us know in the comment section. And to thank you for reading this guide patiently here’s one that could get you to the legendary Exotic Gjallarhorn.

