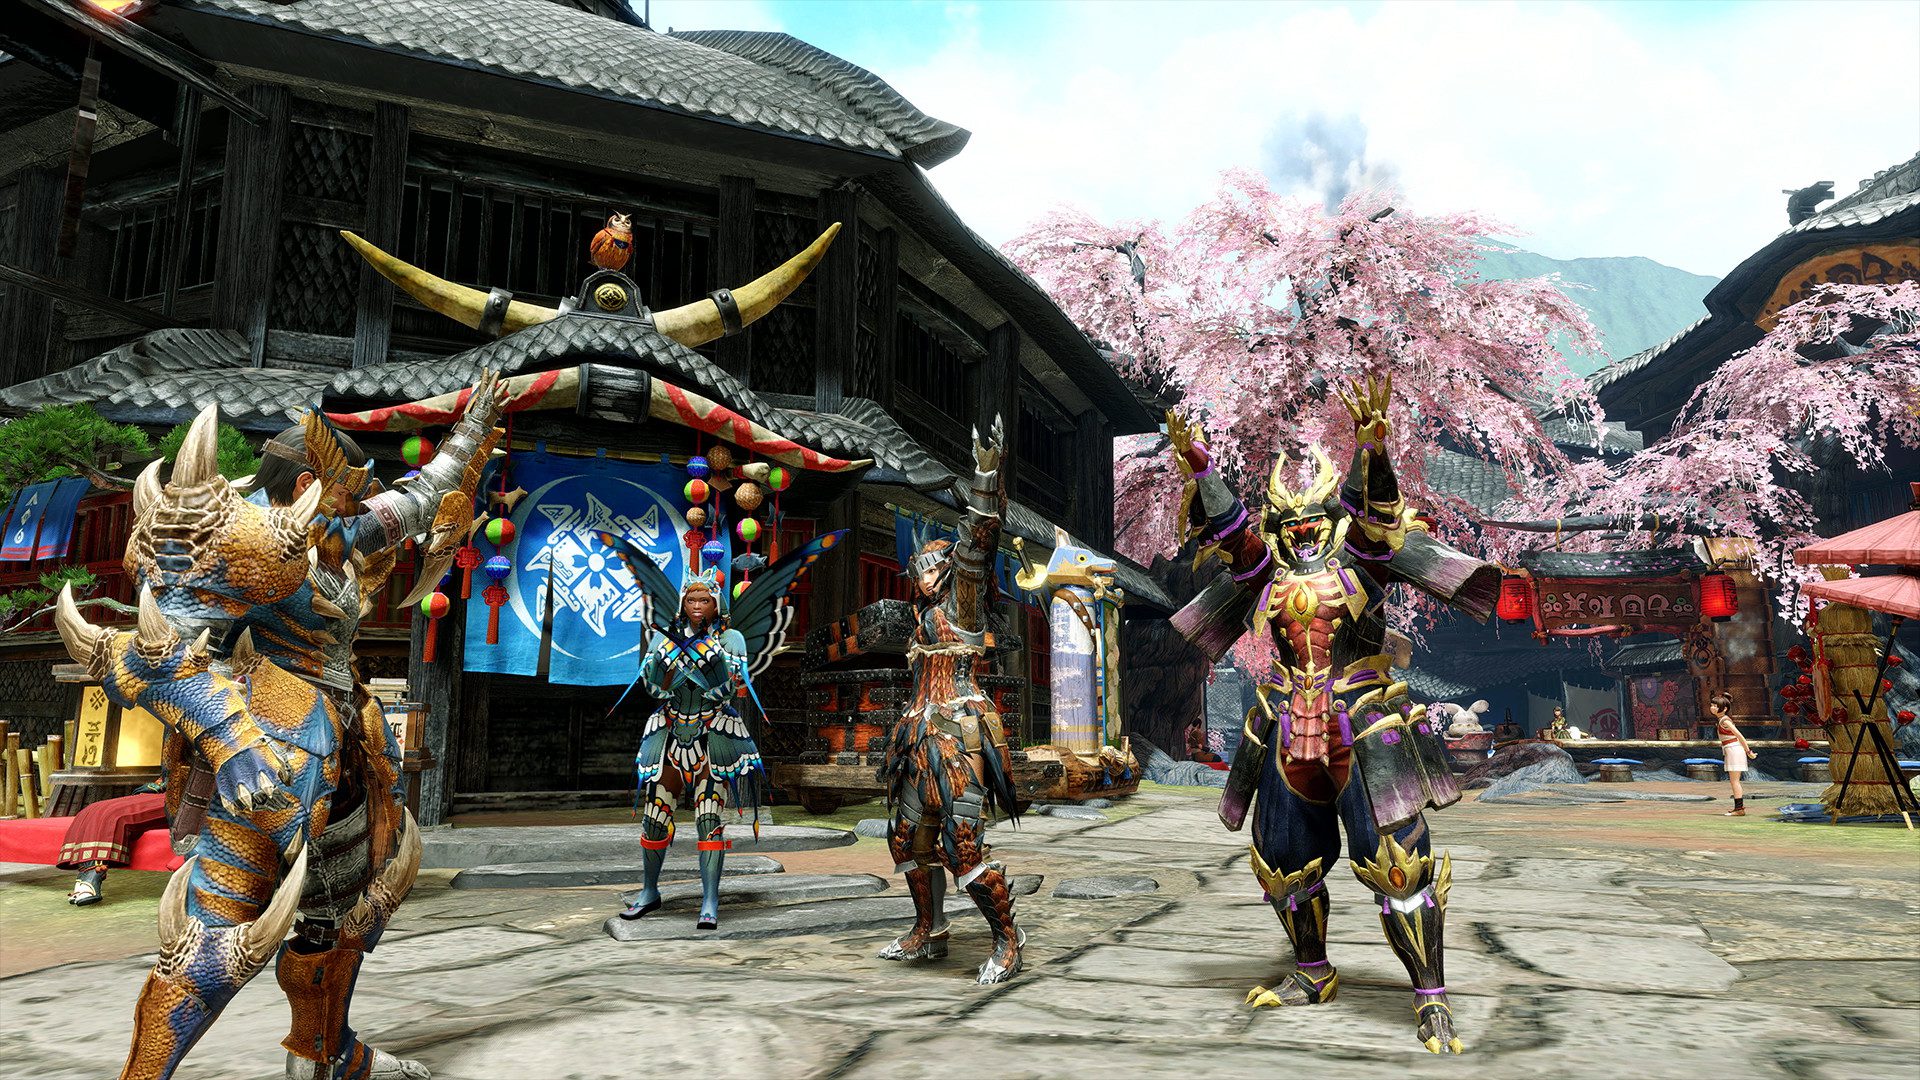
Since the launch of Monster Hunter Rise on the PC yesterday, the game has run into a number of problems – including the “renderdevicedx12.cpp Fatal D3D” error. We have already discussed a number of other problems with this game, like performance and crashing issues, “failed to save” error and talked about some of the known bugs that the developers are aware of. Unfortunately, the game is also plagued with some graphical issues that we show you here how to fix.
In case you use an overclocked GPU, there is a good chance that is why you are getting the “renderdevicedx12.cpp Fatal D3D” error when playing Monster Hunter Rise on the PC. We have a few possible solutions that might work for you, so let’s go directly at them below.
1. Check PC Requirements
One of the first things you need to check and make sure is that your GPU is able to handle the load you are trying to put on it. Make sure your PC has sufficient graphics processing to run Monster Hunter Rise smoothly. If unsure, here are the minimum PC specifications needed to run this game:
| Particulars | Requirements |
| Operating System | Windows 10 (64-bit) |
| Processor | Intel Core i3-4130 or Core i5-3470 or AMD FX-6100 |
| Memory | 8 GB RAM |
| Graphics | NVIDIA GeForce GT 1030 (DDR4) or AMD Radeon RX 550 |
| DirectX | Version 12 |
| Network | Broadband Internet connection |
| Storage Space | 23 GB available space |
2. Set Max FPS Limit
Another possible reason for this error could be a glitch or outdated graphics drivers in your PC. In case you have everything up-to-date, you will need to wait for an update from the game developers or your GPU manufacturer. As a quick workaround, you can try putting a cap on the maximum FPS this game go up to.
To do that, open the Nvidia Control Panel and navigate to Manage 3D Settings > Program Settings and select Monster Hunter Rise. Make sure you set the FPS to at least 60 FPS if it was previously set to no limits. However, if the default was set to 60 FPS, then lower it down to 30 FPS for the GPU to do less processing work to run the game.
To learn more about the all the available PC settings and the best graphics settings, check out our available guides for Monster Hunter Rise.
3. Run in High Performance Mode
One of the best working solutions available right now for Monster Hunter Rise’s “renderdevicedx12.cpp Fatal D3D” error is to run the game in High Performance mode in Windows. This time, we will let the Operating System manage the load and free up resources so it can effectively run the game.
- Search for GPU settings in Windows 10
- In the list of available software, search for MonsterHunterRise.exe (YOUR_STEAM_PATH/steamapps/common/MonsterHunterRise)
- Next, add MonsterHunterRise.exe to the list
- Select it and then go to Settings
- Select “High performance”
- Close the GPU settings window and restart your PC
- Once rebooted, now run Monster Hunter Rise and play
Were you able to get rid of the “renderdevicedx12.cpp Fatal D3D” error for Monster Hunter Rise? Do let us know in the comments below if there is anything else that has worked for you.


