Apex Legends Mobile is now finally here and players are extremely excited about it. The game features tons of interesting mechanics taken from its PC and consoles counterpart. Since this is a battle royale game for mobile, having the ideal settings will give you an edge over the competition. That is why this guide will show you the best settings to configure in Apex Legends Mobile.
The game feature tons of settings from firing options, graphics to sound. We will cover all of these settings so that you can have the optimal experience when playing the game on your mobile devices. With that said, let’s dive right in and take a look at the Apex Legends Mobile settings for maximum FPS and performance. One thing to note here, much of these settings also apply to iOS devices like iPhone / iPad, as well as Android phones and tablets.
Best Apex Legends Mobile Settings
As aforementioned, the game has tons of various settings that you can adjust. While you might not like all of the settings mentioned below, we suggest that you give them a try to see how you like them.
After adjusting your settings, practice them in a few matches to truly get the hang of them. If you do not like certain parts of this guide, let us know in the comments below what settings you prefer and why. With that said, let’s get started!
Firing Settings
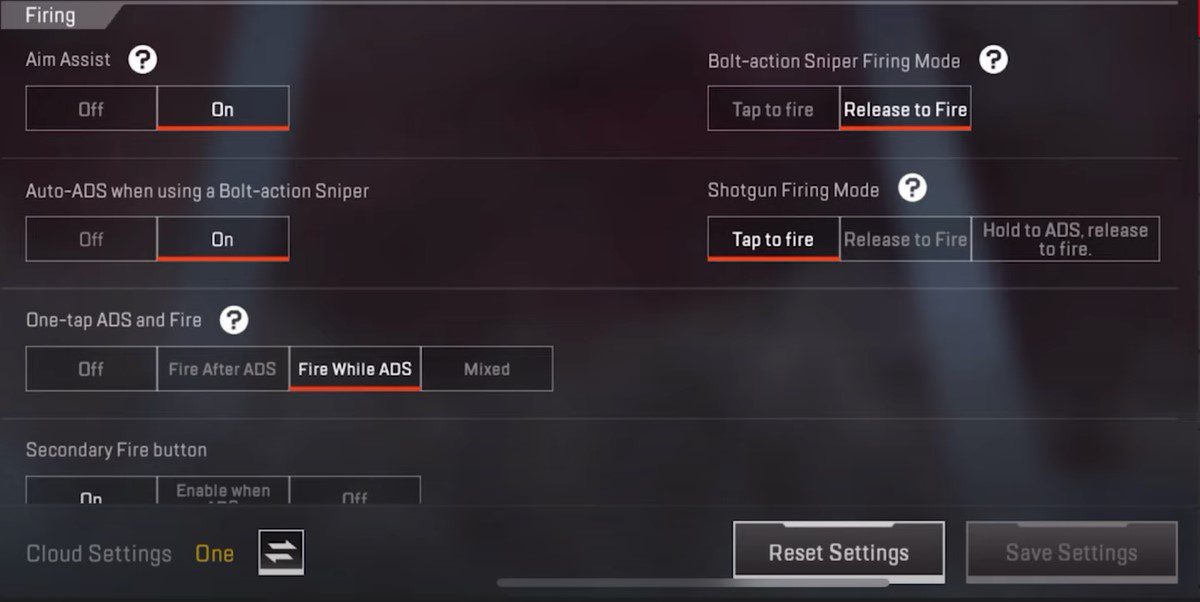
- Aim Assist: On
- Bolt-action Sniper Firing Mode: Release to Fire
- Auto-ADS when using a Bolt-action Sniper: On
- Shotgun Firing Mode: Tap to Fire
- One-tap ADS and Fire: Off
- Secondary Fire Button: On
Keep in mind that you should turn off Aim Assist once you get the hang of the game. Otherwise, your aim will not improve and you’ll have a tough time at higher levels.
ADS Settings

ADS in Apex Legends Mobile can make or break things for you when inside an intense match. Make sure you practice and try out all the various given options to experiment and see which one is best suitable for you.
- ADS Mode: Mixed
- Quick Throw: On
- Scope Mode: Classic Mode
Gyroscope Settings

- Gyroscope Mode: Off
- Invert Vertical Control: Off
- Invert Horizontal Control: Off
Using a Gyroscope is completely up to you. If you are used to it and want to enable it, then do so. I am not a big fan of using Gyroscope settings as I feel like it messes up my aim, so I have it turned off.
Advanced Firing Settings
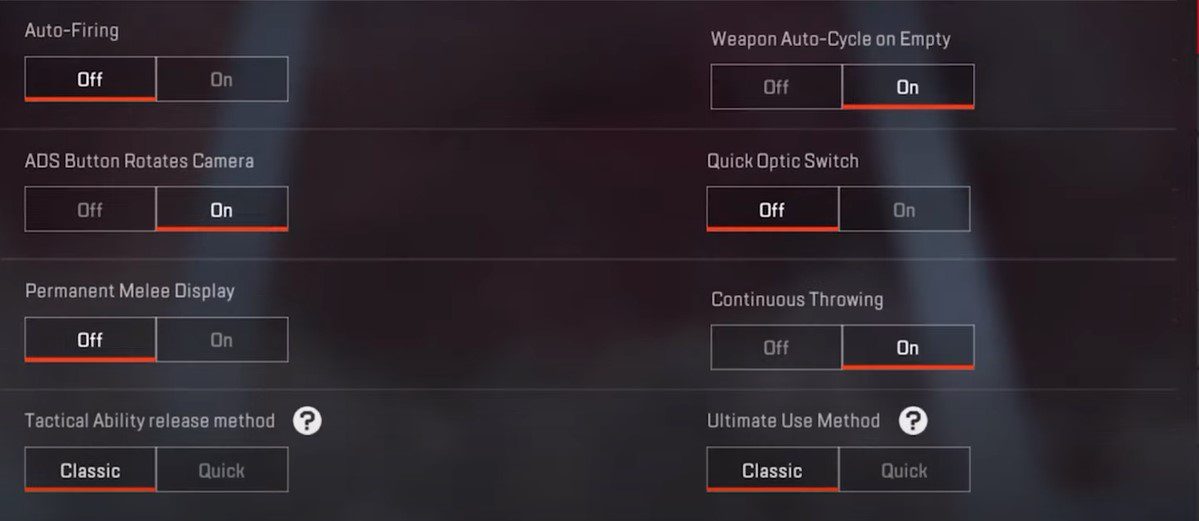
- Auto-Firing: Off
- Weapon Auto-Cycle on Empty: On
- ADS Button Rotates Camera: On
- Quick Optic Switch: Off
- Permanent Melee Display: Off
- Tactical Ability release method: Quick
- Continuous Throwing: On
- Ultimate Use Method: Classic
Gameplay Settings
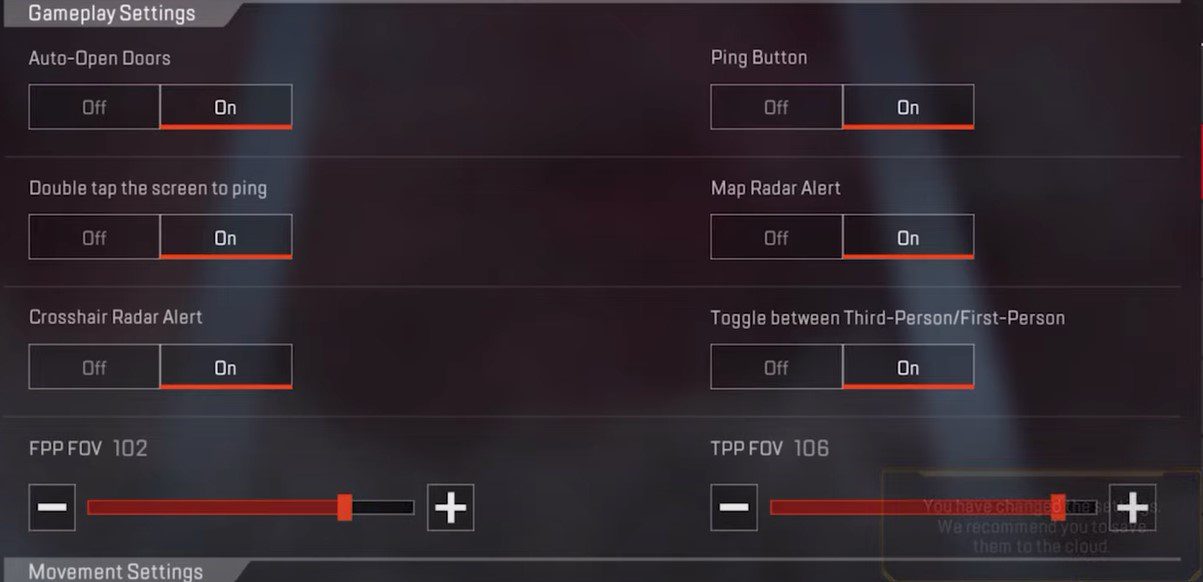
- Auto-Open Doors: On
- Ping Button: On
- Double-tap the screen to ping: On
- Map Radar Alert: On
- Crosshair Radar Alert: On
- Toggle between TPP/FPP: On
- FPP FOV: 102
- TPP FOV: 106
Read More: Apex Legends Mobile Bugs, Known Issues and Workarounds
Movement Settings
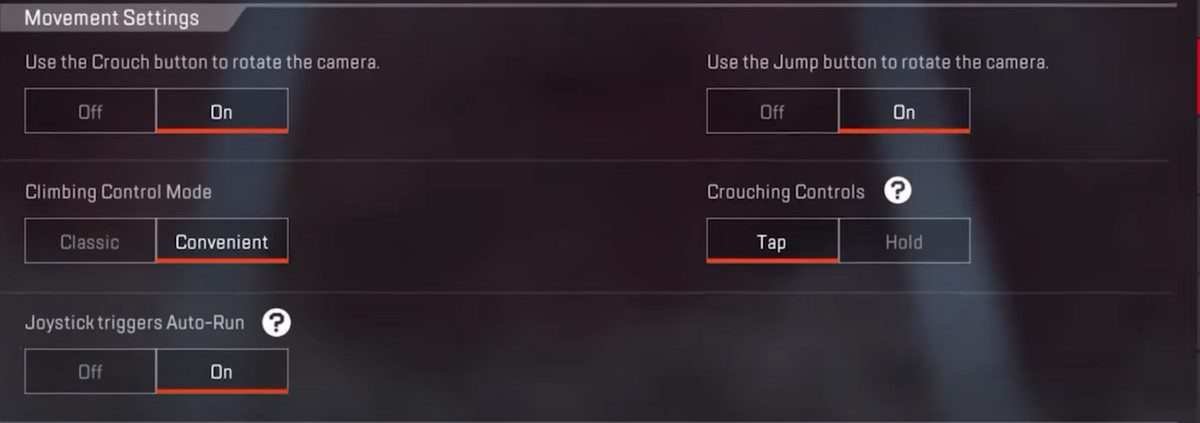
- Use the Crouch button to rotate the camera: On
- Climbing Control Mode: Conveneint
- Joystick triggers Auto-Run: On
- Use the Jump button to rotate the camera: On
- Crouching Controls: Tap
Advanced Gameplay Setting Options
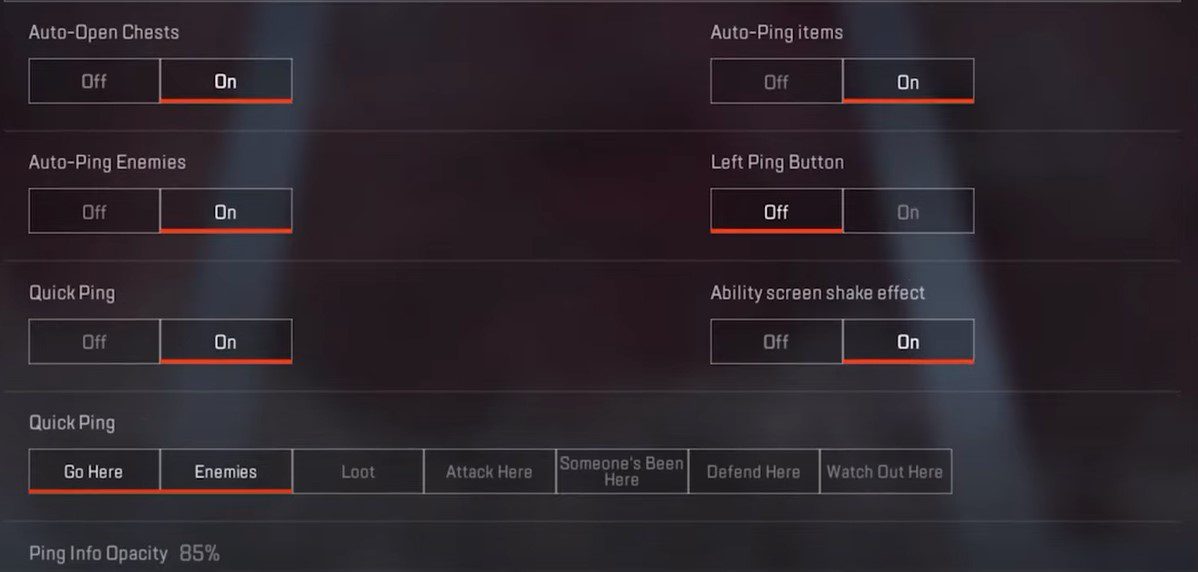
The advanced setting options for ‘Gameplay Settings’ are many. They are for providing quick help for the players. Turning these ON/OFF won’t impact your gameplay that much but you should consider the following if you aren’t a professional. These settings will give you an extra hand.
- Auto-Open Chests: On
- Auto-Ping items: Off
- Auto-Ping Enemies: On
- Left Ping Button: Off
- Quick Ping: On
- Ability screen shake effect: On
- Quick Ping: Player Preferenece (I use Go Here and Enemies)
- Ping Info Capacity: Default
- Attachment Backpack: On
- Smart Healing Item Recommendation: On
- Toggle to use Healing Items: On
- Continuously use Health Items: Off
- Continuously use Shield Battery: On
- Vertical Zipline Interact Button: On
- Vertical Zipline Direction Tips: On
- Zipline Button Settings: Display
- Riding on Zipline Modes: Double Tap
- Direction when riding on Vertical Zipline: Orientation
- Allow Left Shoulder Camera: Off
- Minimap Rotation: Off
- Enable Autoplay for Squadmates after going offline: On
- Subtitles: Player Preference
Pickup Settings
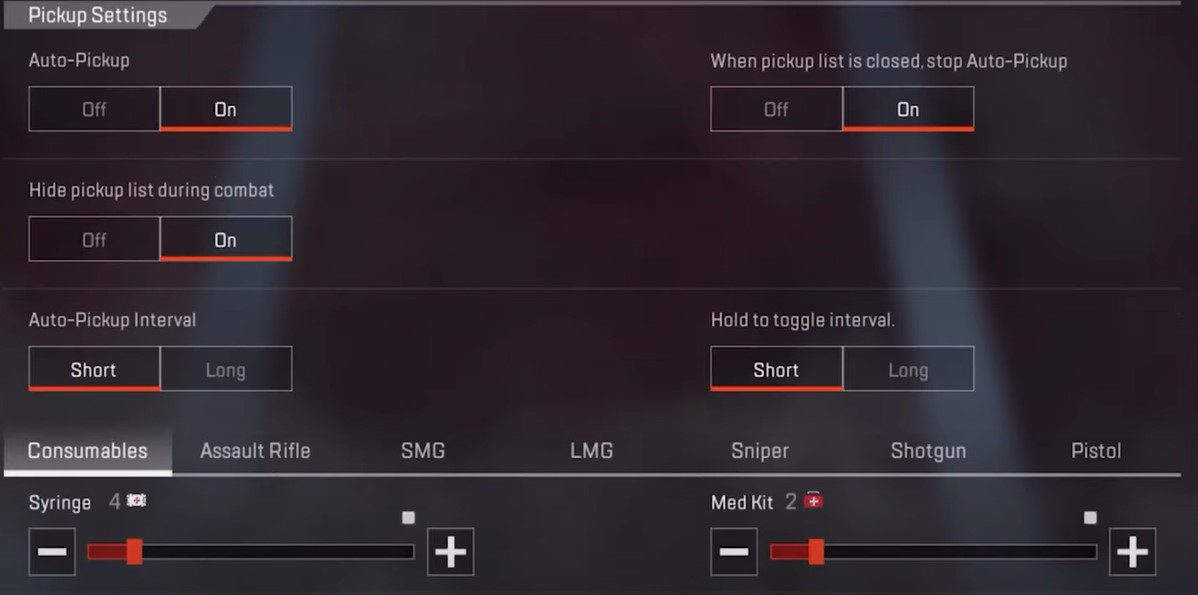
Auto pickup is a useful feature. But players need to set the limit for each item according to their needs when playing. So, we didn’t put any exact numbers of items so that the players can set them to match their needs.
- Auto-Pickup: On
- When the pickup list is closed, stop Auto-Pickup: On
- Hide pickup list during combat: On
- Auto-Pickup Interval: Short
- Hold to toggle interval: Short
Graphics / Display Settings
A higher frame rate means a smoother experience. So, always select the highest frame rate option as per your device’s capability. However, high graphics quality puts more pressure on a device’s GPU, causing fluctuations in frame rate. You can try to keep the graphics quality low. But, if your device can handle the framerate smoothly while on higher graphics, you can go for that so you can experience great animations and game graphics.
Basic Display Settings
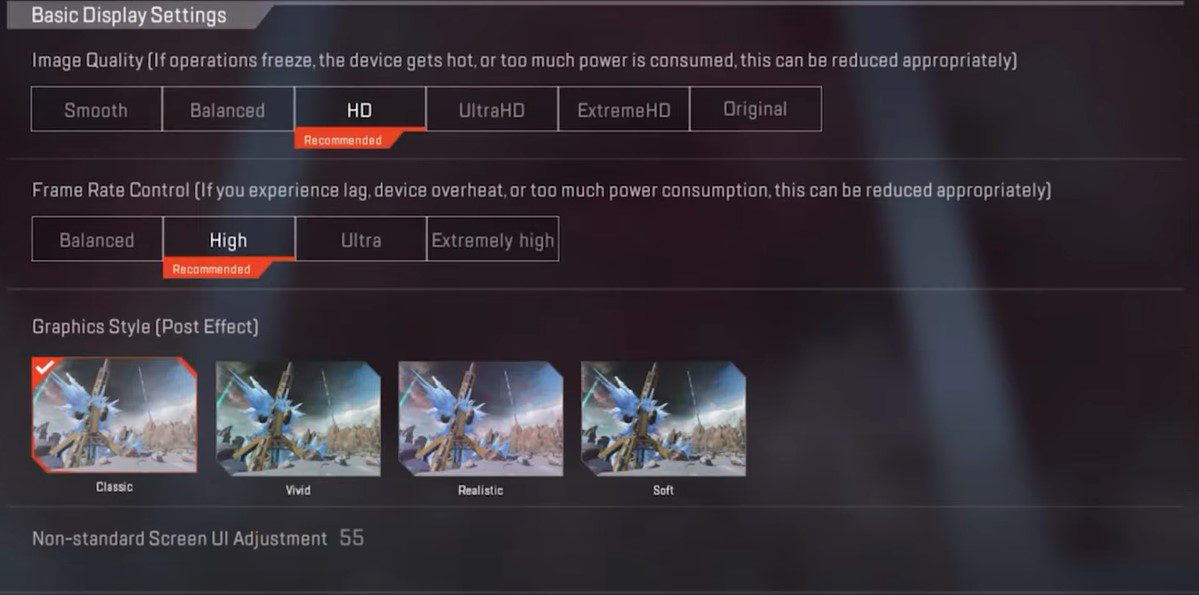
- Image Quality: As per the device’s capability
- Frame Rate Control: High
- Graphics Style (Post Effect): Classic
- Non-standard Screen UI Adjustments: Recommended Setting
- Adaptive Smoothing: On
Advanced Display Settings Options

Turning ‘Off’ shadows will provide a higher framerate along with an advantage to spot enemies easily.
- Dynamic Shadows: Off
- Anti-Aliasing: Off
Battle Feedback
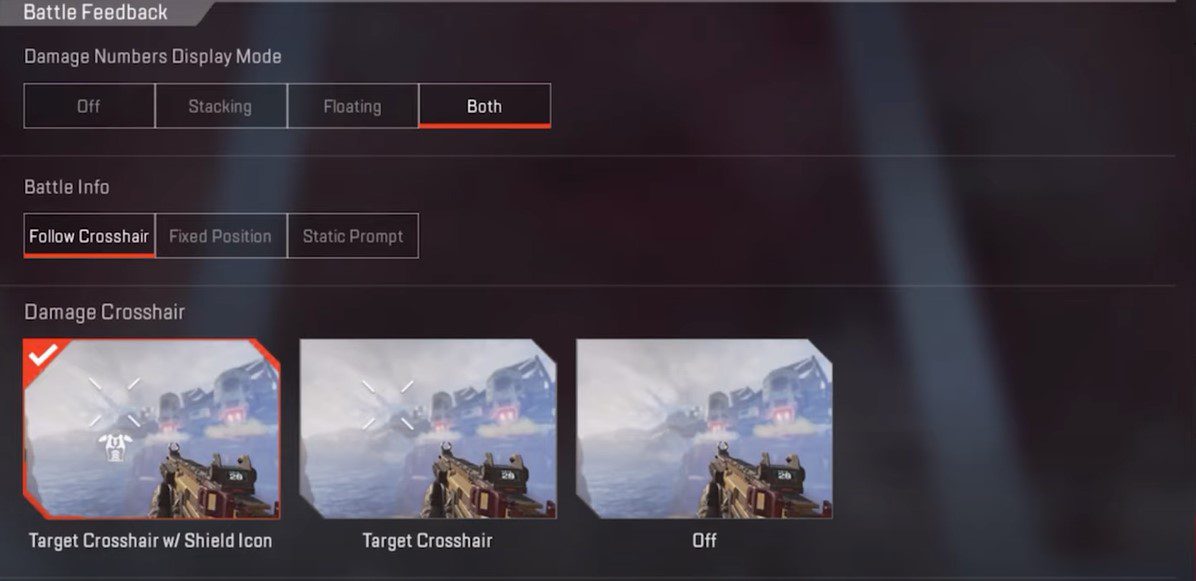
- Damage Numbers Display Mode: Both
- Battle Info: Follow Crosshair
- Damage Crosshair: Target Crosshair w/ Sheild Icon
- Incoming Damage Feedback: 3D Icon
Sensitivity, Control, and Sound Settings
Each player has a distinct playstyle. According to one’s preference, they need to choose the control settings and the matching sensitivity according to their control. Play some matches to try different sensitivities and set one as you need. However, an overall sensitivity is given below.
Overall Sensitivity
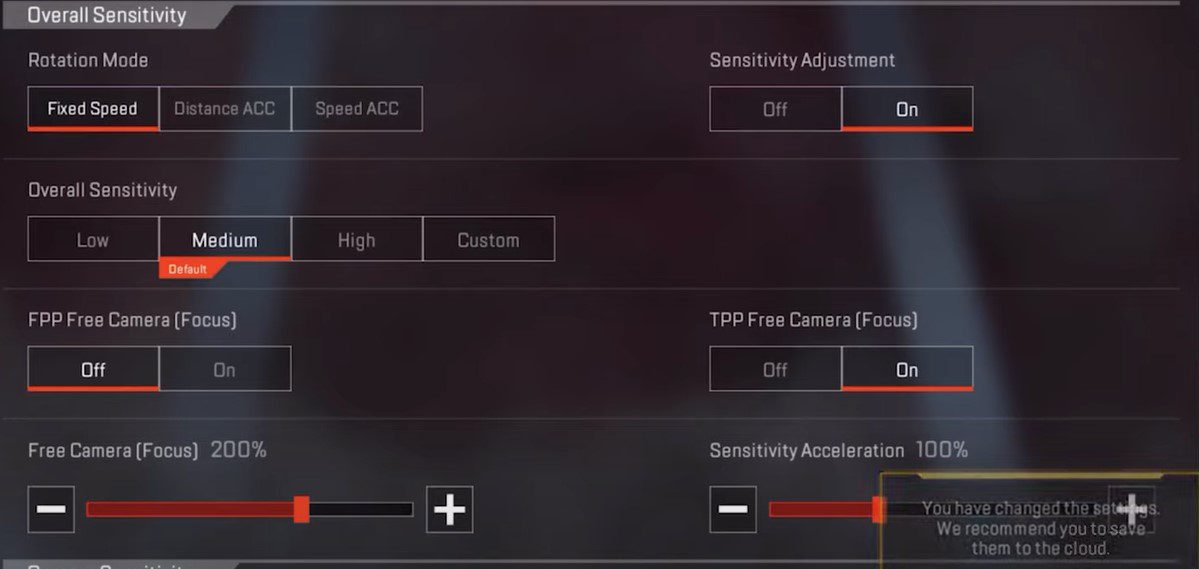
- Rotation Mode: Fixed Speed
- Sensitivity Adjustment: On
- Overall Sensitivity: Custom (Try several numbers for each)
- FPP Free Camera (Focus): Off
- TPP Free Camera: On
- Free Camera (Focus): 200%
- Sensitivity Acceleration: 100%
For the best control settings, we have previously discussed the following two layouts featuring the 2-thumb and 4-fingers claw layout to play Apex Legends Mobile. You can read more about them below:
- Best Apex Legends Mobile HUD Layout: 4 Fingers Claw Grip
- Best Apex Legends Mobile 2 Fingers Grip HUD Layout
And not to miss out, if playing mobile games with controllers is your thing, we are glad to let you know Apex Mobile supports gampads and controllers. Alternatively, you can also connect your PlayStation 4, PS5 or an Xbox controller with your Android device and play it. But do note, you will only be paired with other similar players using a controller to counter any unfair advantage.
What are the Best Apex Legends Mobile Settings?
Honestly, there is no one best setting for Apex Legends Mobile. The game is already highly optimized for a smooth gameplay with great graphics, but you always have that extra advantage to tweak things your own way for the best comfortable play style. Every mobile device is different, with a wide range of chipsets and built-in GPUs.
So the best answer here will be that you will eventually need to experiment and practice with a number of setting combinations before you find out the best one for yourself. With the above given settings, we try to provide you with the most optimal balance between good graphics and better performance.
There you have it, those are the best settings in Apex Legends Mobile. We would love to hear your thoughts on this and would love to know which settings you are currently using. Let us know in the comments below if you are enjoying the game or not.
If you found this guide helpful, there are a few more Apex Legends Mobile related tips and guides we have covered on the site that you might find interesting:

